In Super Rentals we want to arrive at a home page which shows a list of rentals. From there, we should be able to navigate to an about page and a contact page.
Ember provides a robust routing mechanism to define logical, addressable pages within our application.
An About Route
Let's start by building our "about" page. To create a new, URL addressable page in the application, we need to generate a route using Ember CLI.
If we run ember help generate, we can see a variety of tools that come with Ember for automatically generating files for various Ember resources.
Let's use the route generator to start our about route.
ember generate route aboutor for short,
ember g route aboutThe output of the command displays what actions were taken by the generator:
installing route
  create app/routes/about.js
  create app/templates/about.hbs
updating router
  add route about
installing route-test
  create tests/unit/routes/about-test.js
A route is composed of the following parts:
- An entry in
/app/router.js, mapping the route name to a specific URI.(app/router.js) - A route handler JavaScript file, instructing what behavior should be executed when the route is loaded.
(app/routes/about.js) - A route template, describing the page represented by the route.
(app/templates/about.hbs)
Opening /app/router.js shows that there is a new line of code for the about route, calling this.route('about') in the map function.
Calling the function this.route(routeName), tells the Ember router to load the specified route handler when the user navigates to the URI with the same name.
In this case when the user navigates to /about, the route handler represented by /app/routes/about.js will be used.
See the guide for defining routes for more details.
import Ember from 'ember';
import config from './config/environment';

const Router = Ember.Router.extend({
  location: config.locationType,
  rootURL: config.rootURL
});

Router.map(function() {
  this.route('about');
});

export default Router;
By default, the about route handler loads the about.hbs template.
This means we don't actually have to change anything in the new app/routes/about.js file for the about.hbs template to render as we want.
With all of the routing in place from the generator, we can get right to work on coding our template.
For our about page, we'll add some HTML that has a bit of information about the site:
<div class="jumbo">
  <div class="right tomster"></div>
  <h2>About Super Rentals</h2>
  <p>
    The Super Rentals website is a delightful project created to explore Ember.
    By building a property rental site, we can simultaneously imagine traveling
    AND building Ember applications.
  </p>
</div>
Run ember server (or ember serve or even ember s for short) from the shell to start the Ember development server,
and then go to http://localhost:4200/about to see our new app in action!
A Contact Route
Let's create another route with details for contacting the company. Once again, we'll start by generating a route, a route handler, and a template.
ember g route contactThe output from this command shows a new contact route in app/router.js,
and a corresponding route handler in app/routes/contact.js.
In the route template /app/templates/contact.hbs, we can add the details for contacting our Super Rentals HQ:
<div class="jumbo">
  <div class="right tomster"></div>
  <h2>Contact Us</h2>
  <p>
    Super Rentals Representatives would love to help you<br>
    choose a destination or answer any questions you may have.
  </p>
  <p>
    Super Rentals HQ
    <address>
      1212 Test Address Avenue<br>
      Testington, OR 97233
    </address>
    <a href="tel:503.555.1212">+1 (503) 555-1212</a><br>
    <a href="mailto:superrentalsrep@emberjs.com">superrentalsrep@emberjs.com</a>
  </p>
</div>
Now we have completed our second route.
If we go to the URL http://localhost:4200/contact, we'll arrive on our contact page.
Navigating with Links and the {{link-to}} Helper
We'd like to avoid our users having knowledge of our URLs in order to move around our site, so let's add some navigational links at the bottom of each page. Let's make a contact link on the about page and an about link on the contact page.
Ember has built-in template helpers that provide functionality for interacting with the framework.
The {{link-to}} helper provides special ease of use features in linking to Ember routes.
Here we will use the {{link-to}} helper in our code to perform a basic link between routes:
<div class="jumbo">
  <div class="right tomster"></div>
  <h2>About Super Rentals</h2>
  <p>
    The Super Rentals website is a delightful project created to explore Ember.
    By building a property rental site, we can simultaneously imagine traveling
    AND building Ember applications.
  </p>
  {{#link-to 'contact' class="button"}}
    Contact Us
  {{/link-to}}
</div>
The {{link-to}} helper takes an argument with the name of the route to link to, in this case: contact.
When we look at our about page at http://localhost:4200/about, we now have a working link to our contact page.

Now, we'll add a link to our contact page so we can navigate back and forth between about and contact.
<div class="jumbo">
  <div class="right tomster"></div>
  <h2>Contact Us</h2>
  <p>
    Super Rentals Representatives would love to help you<br>
    choose a destination or answer any questions you may have.
  </p>
  <p>
    Super Rentals HQ
    <address>
      1212 Test Address Avenue<br>
      Testington, OR 97233
    </address>
    <a href="tel:503.555.1212">+1 (503) 555-1212</a><br>
    <a href="mailto:superrentalsrep@emberjs.com">superrentalsrep@emberjs.com</a>
  </p>
  {{#link-to 'about' class="button"}}
    About
  {{/link-to}}
</div>
A Rentals Route
We want our application to show a list of rentals that users can browse.
To make this happen we'll add a third route and call it rentals.
ember g route rentalsLet's update the newly generated app/templates/rentals.hbs with some basic markup to add some initial content our rentals list page.
We'll come back to this page later to add in the actual rental properties.
<div class="jumbo">
  <div class="right tomster"></div>
  <h2>Welcome!</h2>
  <p>We hope you find exactly what you're looking for in a place to stay.</p>
  {{#link-to 'about' class="button"}}
    About Us
  {{/link-to}}
</div>
An Index Route
With our three routes in place, we are ready to add an index route, which will handle requests to the root URI (/) of our site.
We'd like to make the rentals page the main page of our application, and we've already created a route.
Therefore, we want our index route to simply forward to the rentals route we've already created.
Using the same process we did for our about and contact pages, we will first generate a new route called index.
ember g route indexWe can see the now familiar output for the route generator:
installing route
  create app/routes/index.js
  create app/templates/index.hbs
installing route-test
  create tests/unit/routes/index-test.js
Unlike the other route handlers we've made so far, the index route is special:
it does NOT require an entry in the router's mapping.
We'll learn more about why the entry isn't required when we look at nested routes in Ember.
Let's start by implementing the unit test for our new index route.
Since all we want to do is transition people who visit / to /rentals,
our unit test will make sure that the route's replaceWith method is called with the desired route.
replaceWith is similar to the route's transitionTo function; the difference being that replaceWith will replace the current URL in the browser's history, while transitionTo will add to the history.
Since we want our rentals route to serve as our home page, we will use the replaceWith function.
In our test, we'll make sure that our index route is redirecting by stubbing the replaceWith method for the route and asserting that the rentals route is passed when called.
A stub is simply a fake function that we provide to an object we are testing, that takes the place of one that is already there.
In this case we are stubbing the replaceWith function to assert that it is called with what we expect.
import { moduleFor, test } from 'ember-qunit';

moduleFor('route:index', 'Unit | Route | index');

test('should transition to rentals route', function(assert) {
  let route = this.subject({
    replaceWith(routeName) {
      assert.equal(routeName, 'rentals', 'replace with route name rentals');
    }
  });
  route.beforeModel();
});
In our index route, we simply add the actual replaceWith invocation.
import Ember from 'ember';

export default Ember.Route.extend({
  beforeModel() {
    this.replaceWith('rentals');
  }
});
Now visiting the root route / will result in the /rentals URL loading.
Adding a Banner with Navigation
In addition to providing button-style links in each route of our application, we would like to provide a common banner to display both the title of our application, as well as its main pages.
To show something in every page of your application, you can use the application template.
The application template is generated when you create a new project.
Let's open the application template at /app/templates/application.hbs, and add the following banner navigation markup:
<div class="container">
  <div class="menu">
    {{#link-to 'index'}}
      <h1 class="left">
        <em>SuperRentals</em>
      </h1>
    {{/link-to}}
    <div class="left links">
      {{#link-to 'about'}}
        About
      {{/link-to}}
      {{#link-to 'contact'}}
        Contact
      {{/link-to}}
    </div>
  </div>
  <div class="body">
    {{outlet}}
  </div>
</div>
Notice the inclusion of an {{outlet}} within the body div element.
The {{outlet}} in this case is a placeholder for the content rendered by the current route, such as about, or contact.
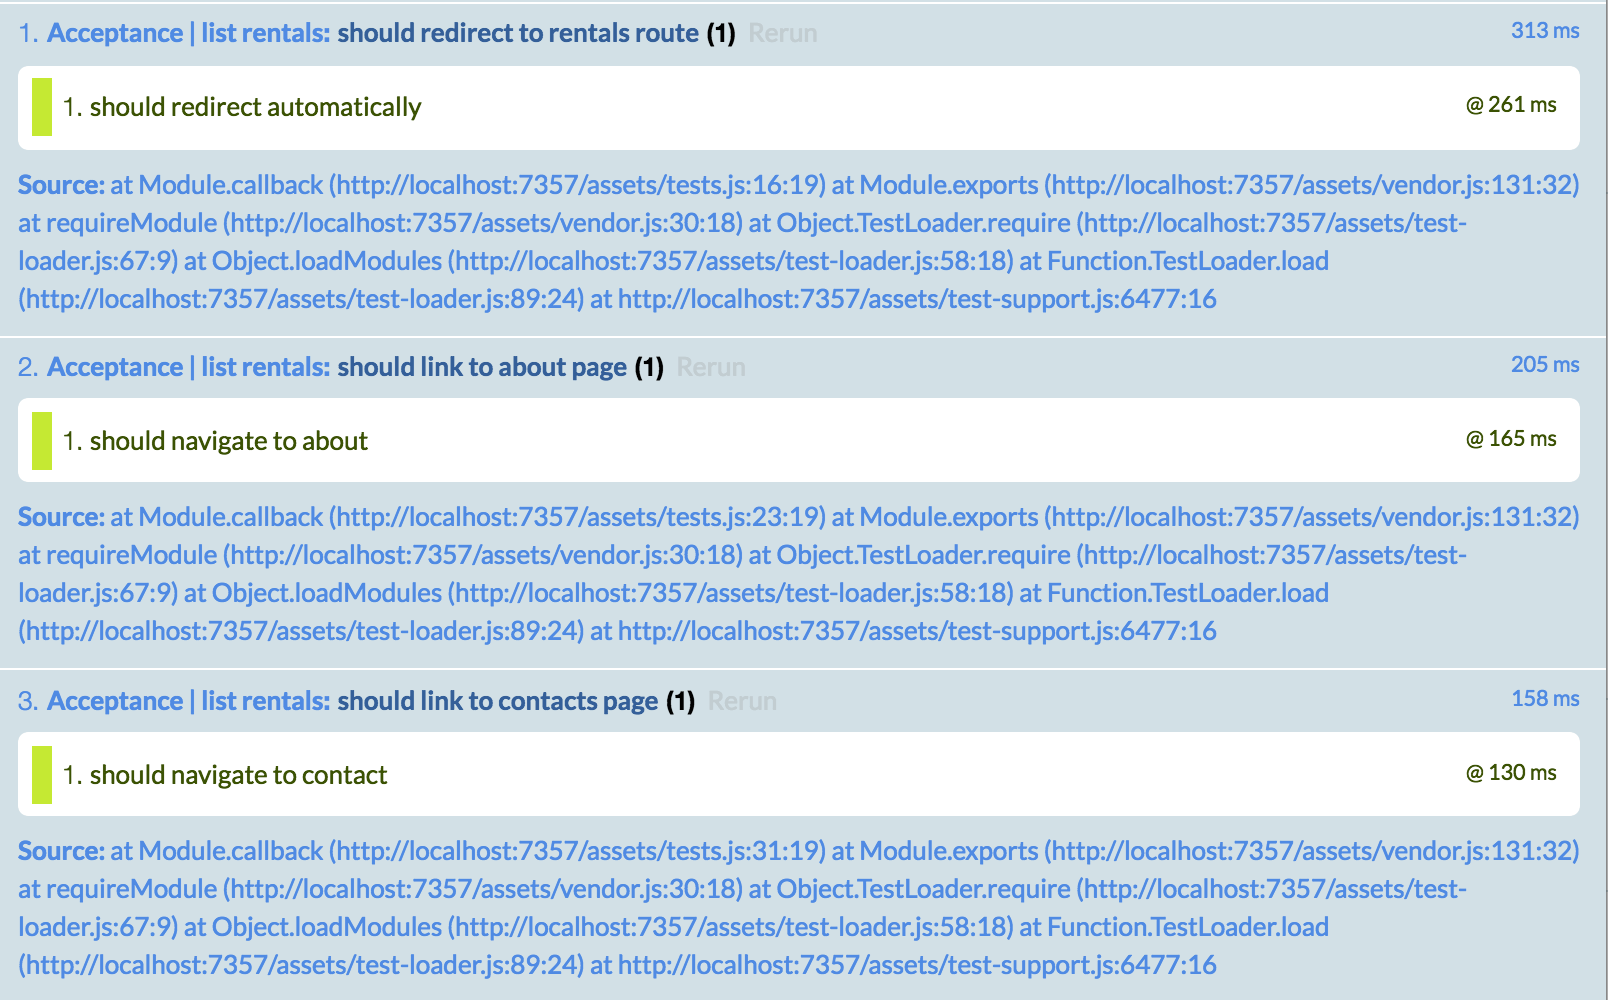
Now that we've added routes and linkages between them, the three acceptance tests we created for navigating to our routes should now pass.