Now, let's add a list of available rentals to the rentals page we've just created.
Ember keeps data for a page in an object called a model.
To keep things simple at first,
we'll populate the model for our rental listing page to use a hard-coded array of JavaScript objects.
Later, we'll switch to using Ember Data,
a library for robustly managing data in our app.
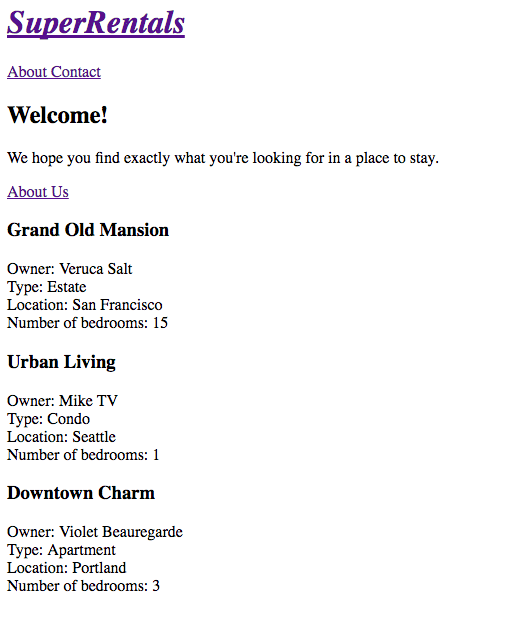
Here's what our homepage will look like when we're done:

In Ember, route handlers are responsible for loading the model with data for the page.
It loads the data in a function called model.
The model function acts as a hook, meaning that Ember will call it for us during different times in our app.
The model function we've added to our rentals route handler will be called when a user navigates to the rentals route via root URL http://localhost:4200, or via http://localhost:4200/rentals.
Let's open app/routes/rentals.js and return an array of rental objects from the model function:
import Ember from 'ember';

export default Ember.Route.extend({
  model() {
    return [{
      id: 'grand-old-mansion',
      title: 'Grand Old Mansion',
      owner: 'Veruca Salt',
      city: 'San Francisco',
      propertyType: 'Estate',
      bedrooms: 15,
      image: 'https://upload.wikimedia.org/wikipedia/commons/c/cb/Crane_estate_(5).jpg',
      description: 'This grand old mansion sits on over 100 acres of rolling hills and dense redwood forests.'
    }, {
      id: 'urban-living',
      title: 'Urban Living',
      owner: 'Mike TV',
      city: 'Seattle',
      propertyType: 'Condo',
      bedrooms: 1,
      image: 'https://upload.wikimedia.org/wikipedia/commons/2/20/Seattle_-_Barnes_and_Bell_Buildings.jpg',
      description: 'A commuters dream. This rental is within walking distance of 2 bus stops and the Metro.'

    }, {
      id: 'downtown-charm',
      title: 'Downtown Charm',
      owner: 'Violet Beauregarde',
      city: 'Portland',
      propertyType: 'Apartment',
      bedrooms: 3,
      image: 'https://upload.wikimedia.org/wikipedia/commons/f/f7/Wheeldon_Apartment_Building_-_Portland_Oregon.jpg',
      description: 'Convenience is at your doorstep with this charming downtown rental. Great restaurants and active night life are within a few feet.'

    }];
  }
});
Note that here, we are using the ES6 shorthand method definition syntax: model() is the same as writing model: function().
Ember will use the model object returned above and save it as an attribute called model,
available to the rentals template we generated with our route in Routes and Templates.
Now, let's switch over to our rentals page template.
We can use the model attribute to display our list of rentals.
Here, we'll use another common Handlebars helper called {{each}}.
This helper will let us loop through each of the rental objects in our model:
<div class="jumbo">
  <div class="right tomster"></div>
  <h2>Welcome!</h2>
  <p>
    We hope you find exactly what you're looking for in a place to stay.
  </p>
  {{#link-to 'about' class="button"}}
    About Us
  {{/link-to}}
</div>

{{#each model as |rental|}}
  <article class="listing">
    <h3>{{rental.title}}</h3>
    <div class="detail owner">
      <span>Owner:</span> {{rental.owner}}
    </div>
    <div class="detail type">
      <span>Type:</span> {{rental.propertyType}}
    </div>
    <div class="detail location">
      <span>Location:</span> {{rental.city}}
    </div>
    <div class="detail bedrooms">
      <span>Number of bedrooms:</span> {{rental.bedrooms}}
    </div>
  </article>
{{/each}}
undefined
In this template, we loop through each object.
On each iteration, the current object gets stored in a variable called rental.
From the rental variable in each step, we create a listing with information about the property.
You may move onto the next page to keep implementing new features, or continue reading on testing the app you've created.
Acceptance Testing the Rental List
To check that rentals are listed with an automated test, we will create a test to visit the index route and check that the results show 3 listings.
In app/templates/rentals.hbs, we wrapped each rental display in an article element, and gave it a class called listing.
We will use the listing class to find out how many rentals are shown on the page.
To find the elements that have a class called listing, we'll use a test helper called find.
The find function returns the elements that match the given CSS selector.
In this case it will return an array of all the elements with a class called listing.
test('should list available rentals.', function (assert) {
  visit('/');
  andThen(function() {
    assert.equal(find('.listing').length, 3, 'should see 3 listings');
  });
});
Run the tests again using the command ember t -s, and toggle "Hide passed tests" to show your new passing test.
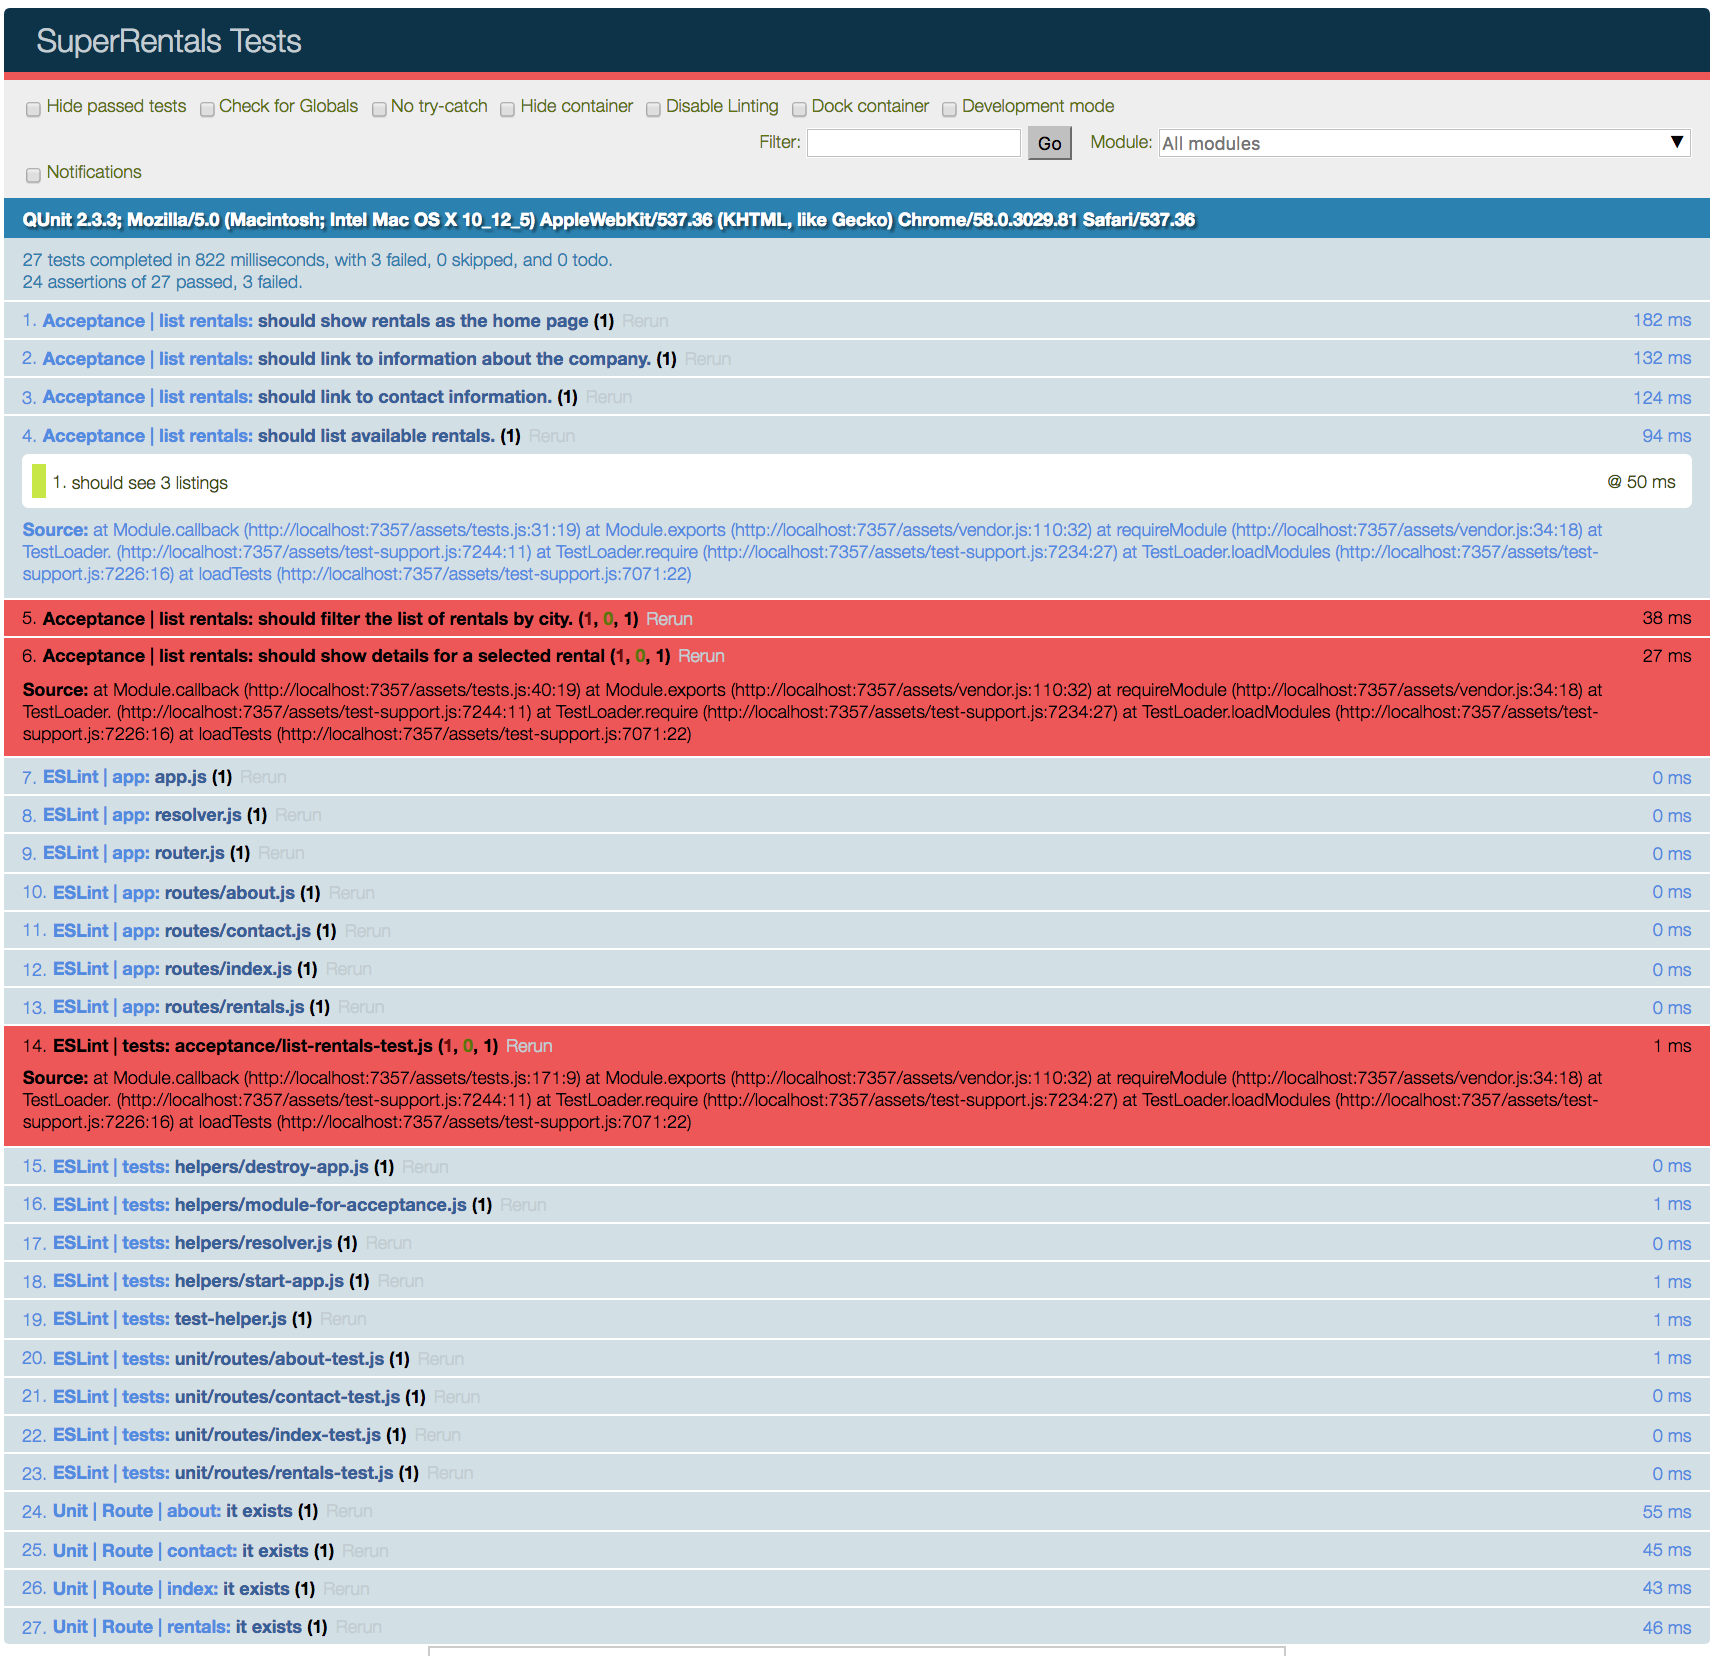
Now we are listing rentals, and verifying it with an acceptance test. This leaves us with 2 remaining acceptance test failures (and 1 ESLint failure):
