In this chapter, you will install Ember CLI, use it to generate a new Ember project, and add some basic templates and styles to your new app. By the end of this chapter, you should have a landing page with Professor Tomster's cute little face featured on it:

While building your landing page, you will learn about:
- Installing Ember CLI
- Creating a new Ember app with Ember CLI
- Starting and stopping the development server
- Editing files and live reload
- Working with HTML, CSS and assets in an Ember app
Installing Ember CLI
You can install the latest version of Ember CLI by running the following command. If you've already done this by following the Quick Start guide, feel free to skip ahead!
$ npm install -g ember-cliTo verify that your installation was successful, run:
$ ember --version
ember-cli: 3.17.0
node: 12.8.1
os: linux x64
If a version number is shown, you're ready to go.
Creating a New Ember App with Ember CLI
We can create a new project using Ember CLI's new command. It follows the pattern ember new <project-name>. In our case, the project name would be super-rentals:
$ ember new super-rentals
installing app
Ember CLI v3.17.0

Creating a new Ember app in /home/runner/work/super-rentals-tutorial/super-rentals-tutorial/dist/code/super-rentals:
  create .editorconfig
  create .ember-cli
  create .eslintignore
  create .eslintrc.js
  create .template-lintrc.js
  create .travis.yml
  create .watchmanconfig
  create README.md
  create app/app.js
  create app/components/.gitkeep
  create app/controllers/.gitkeep
  create app/helpers/.gitkeep
  create app/index.html
  create app/models/.gitkeep
  create app/router.js
  create app/routes/.gitkeep
  create app/styles/app.css
  create app/templates/application.hbs
  create config/environment.js
  create config/optional-features.json
  create config/targets.js
  create ember-cli-build.js
  create .gitignore
  create package.json
  create public/robots.txt
  create testem.js
  create tests/helpers/.gitkeep
  create tests/index.html
  create tests/integration/.gitkeep
  create tests/test-helper.js
  create tests/unit/.gitkeep
  create vendor/.gitkeep

Installing packages... This might take a couple of minutes.
npm: Installing dependencies ...
npm: Installed dependencies

Initializing git repository.
Git: successfully initialized.

Successfully created project super-rentals.
Get started by typing:

  $ cd super-rentals
  $ npm start

Happy coding!
This should have created a new folder for us called super-rentals. We can navigate into it using the cd command.
$ cd super-rentalsFor the rest of the tutorial, all commands should be run within the super-rentals folder. This folder has the following structure:
super-rentals
├── app
│   ├── components
│   │   └── .gitkeep
│   ├── controllers
│   │   └── .gitkeep
│   ├── helpers
│   │   └── .gitkeep
│   ├── models
│   │   └── .gitkeep
│   ├── routes
│   │   └── .gitkeep
│   ├── styles
│   │   └── app.css
│   ├── templates
│   │   └── application.hbs
│   ├── app.js
│   ├── index.html
│   └── router.js
├── config
│   ├── environment.js
│   ├── optional-features.json
│   └── targets.js
├── public
│   └── robots.txt
├── tests
│   ├── helpers
│   │   └── .gitkeep
│   ├── integration
│   │   └── .gitkeep
│   ├── unit
│   │   └── .gitkeep
│   ├── index.html
│   └── test-helper.js
├── vendor
│   └── .gitkeep
├── .editorconfig
├── .ember-cli
├── .eslintignore
├── .eslintrc.js
├── .gitignore
├── .template-lintrc.js
├── .travis.yml
├── .watchmanconfig
├── README.md
├── ember-cli-build.js
├── package.json
├── package-lock.json
└── testem.js

15 directories, 32 files
We'll learn about the purposes of these files and folders as we go. For now, just know that we'll spend most of our time working within the app folder.
Starting and Stopping the Development Server
Ember CLI comes with a lot of different commands for a variety of development tasks, such as the ember new command that we saw earlier. It also comes with a development server, which we can launch with the ember server command:
$ ember server
building...
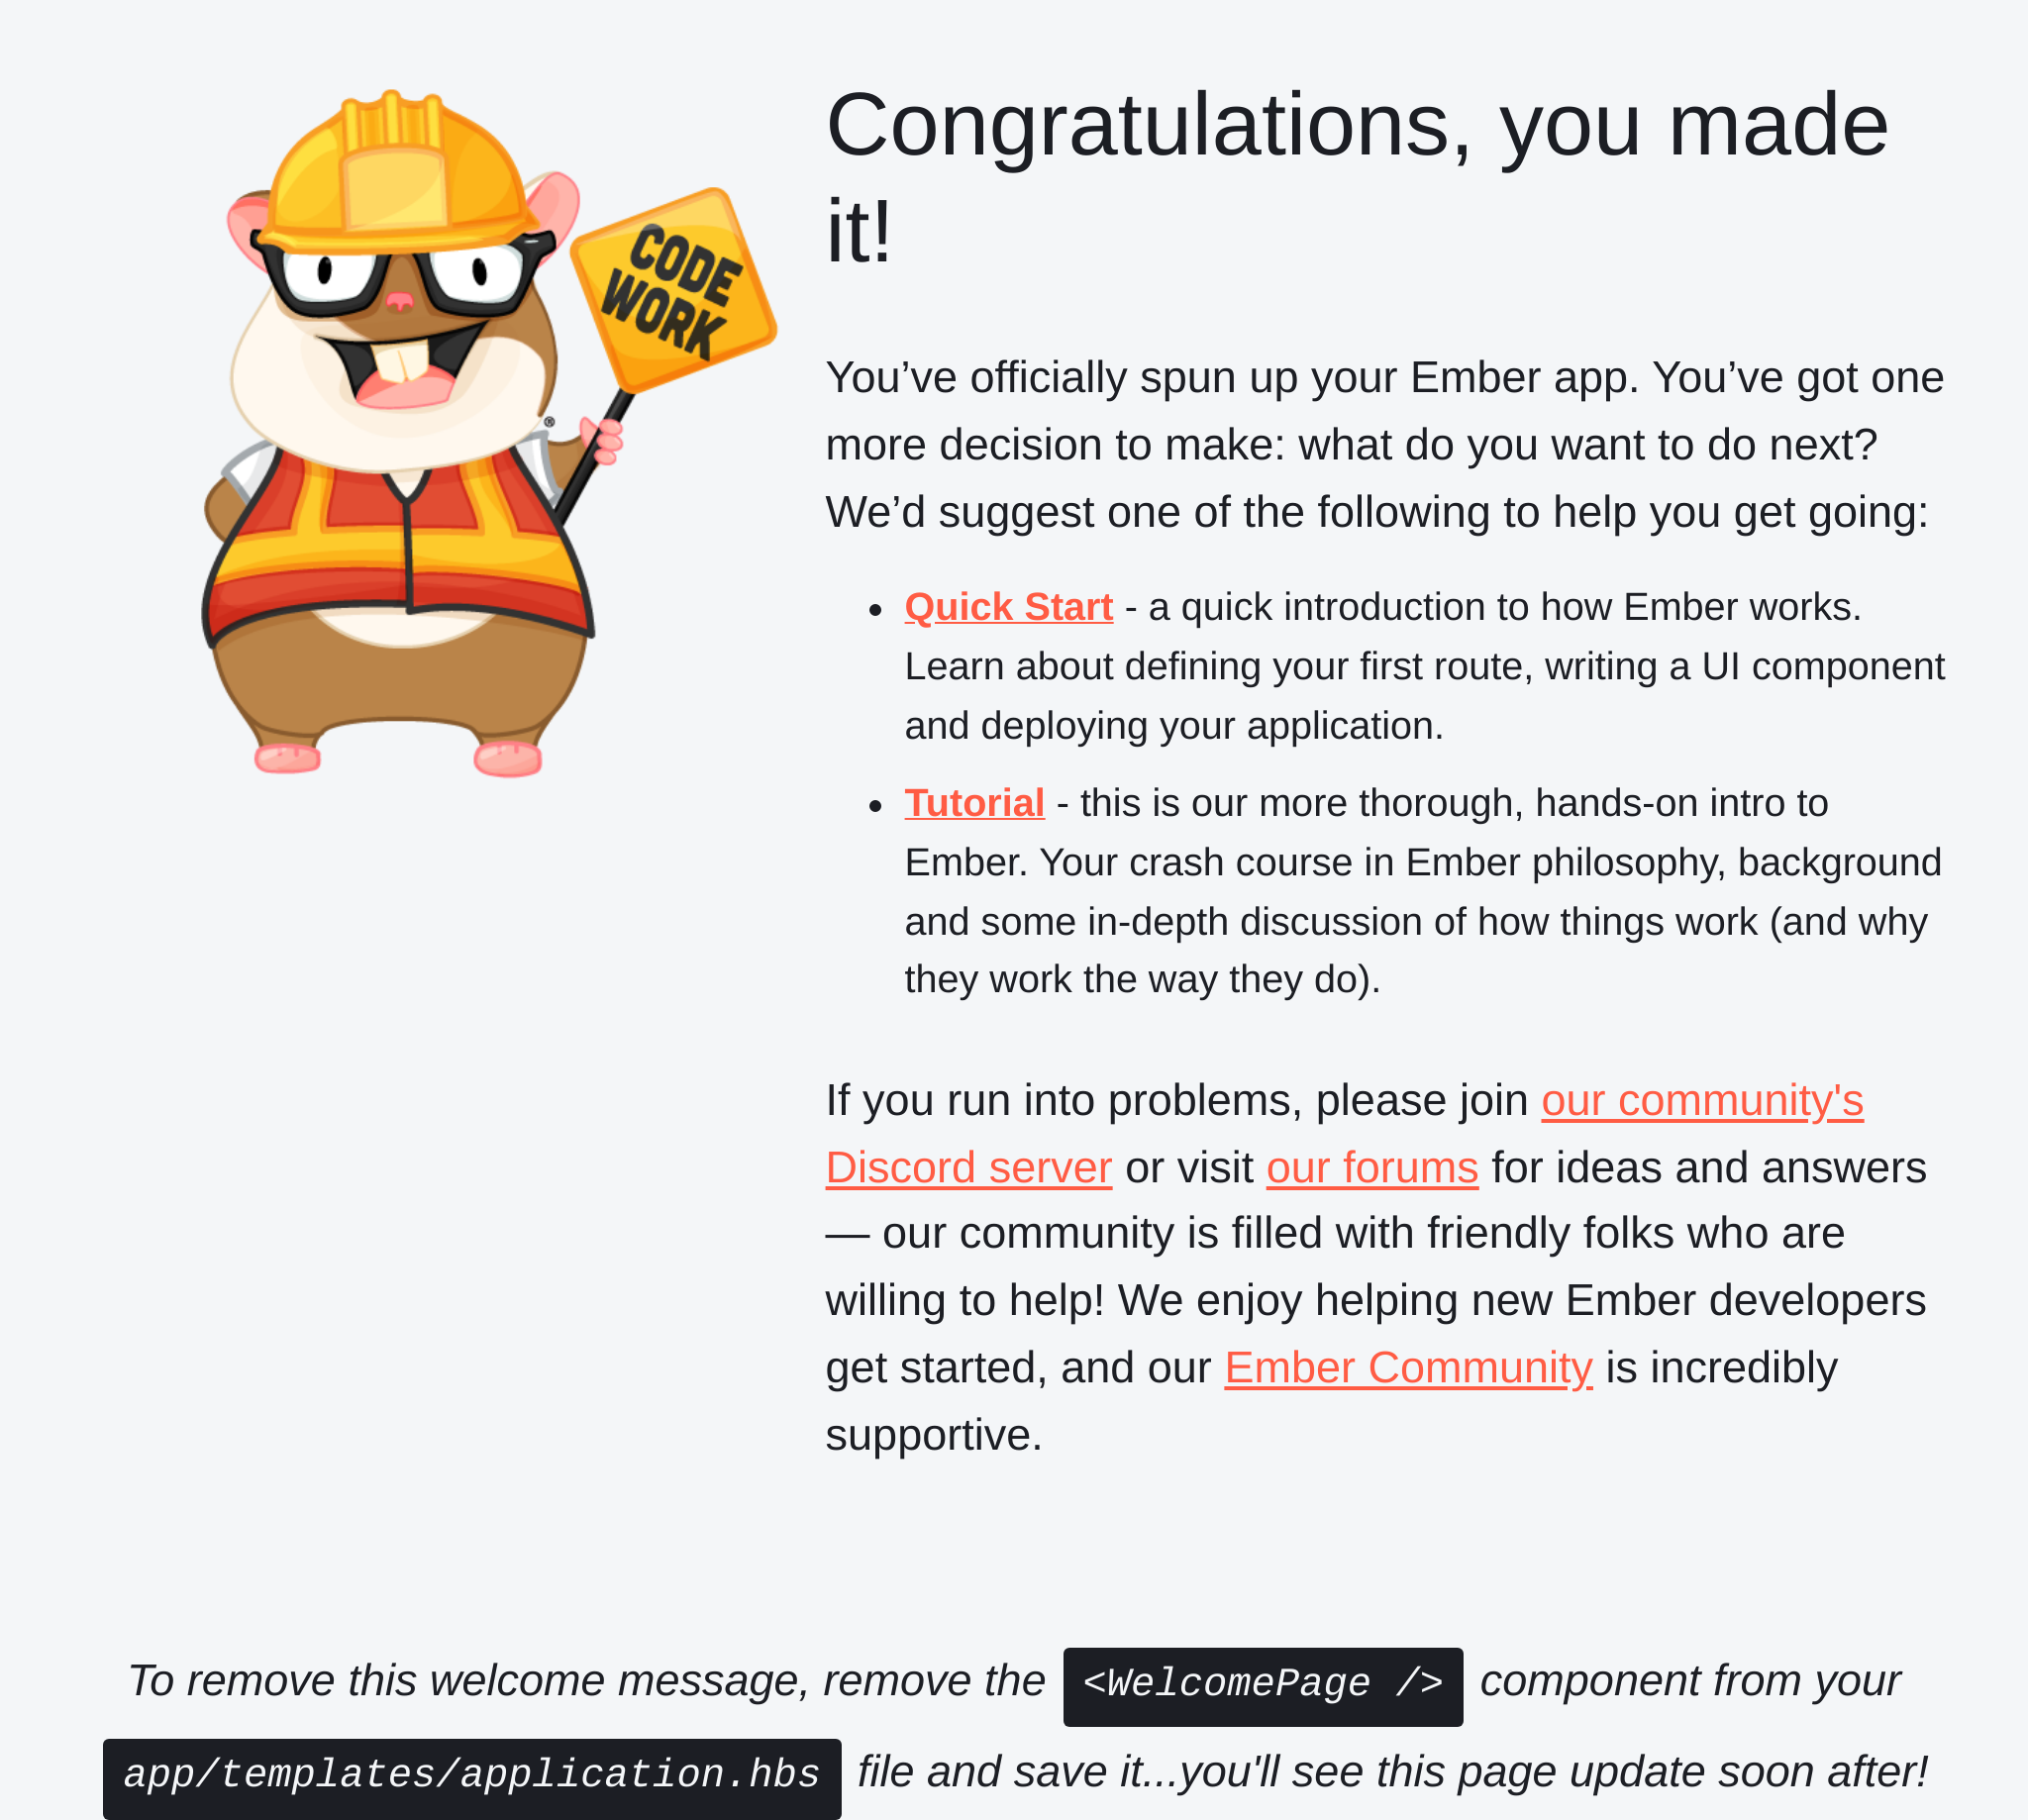
Build successful (9761ms) – Serving on http://localhost:4200/The development server is responsible for compiling our app and serving it to the browsers. It may take a while to boot up. Once it's up and running, open your favorite browser and head to http://localhost:4200. You should see the following welcome page:

You can exit out of the development server at any time by typing Ctrl + C into the terminal window where ember server is running. That is, typing the "C" key on your keyboard while holding down the "Ctrl" key at the same time. Once it has stopped, you can start it back up again with the same ember server command. We recommend having two terminal windows open: one to run the server in background, another to type other Ember CLI commands.
Editing Files and Live Reload
The development server has a feature called live reload, which monitors your app for file changes, automatically re-compiles everything, and refreshes any open browser pages. This comes in really handy during development, so let's give that a try!
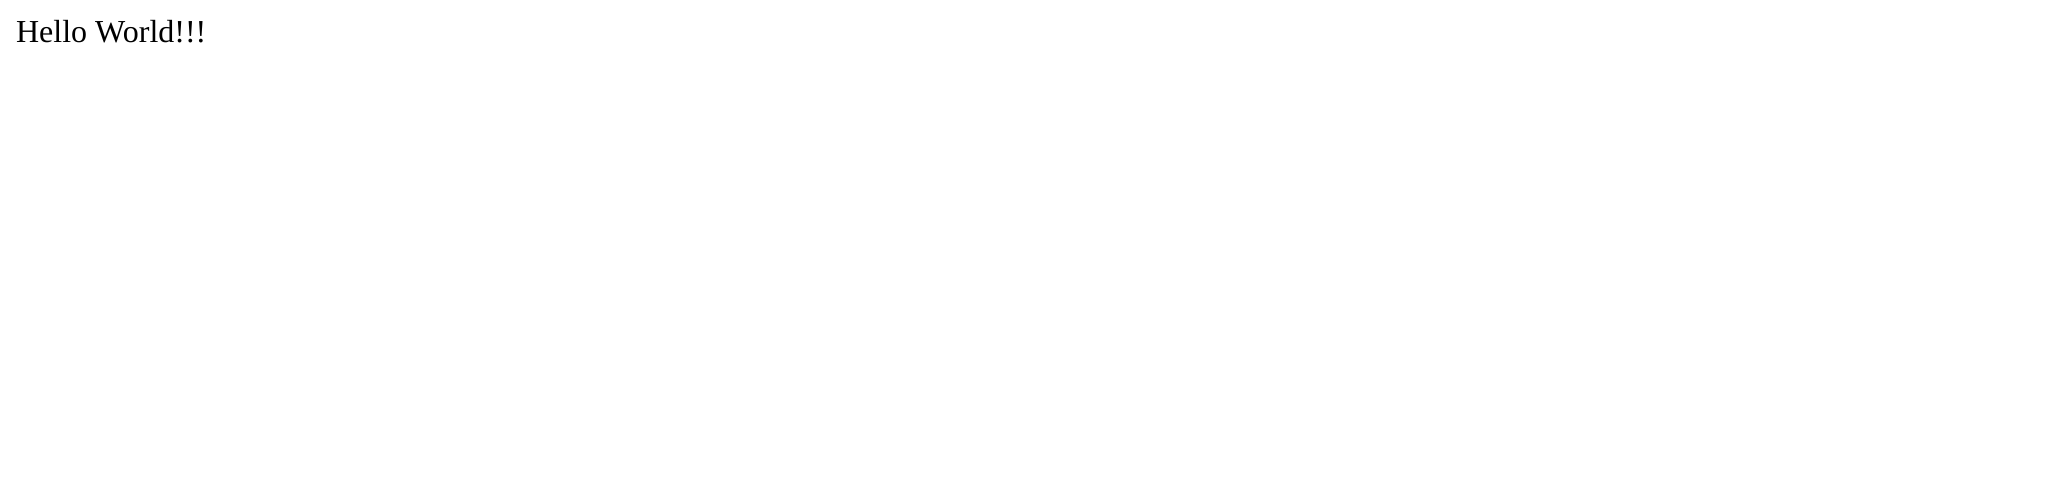
As text on the welcome page pointed out, the source code for the page is located in app/templates/application.hbs. Let's try to edit that file and replace it with our own content:
{{!-- The following component displays Ember's default welcome message. --}}
<WelcomePage />
{{!-- Feel free to remove this! --}}

{{outlet}}
Hello World!!!
Soon after saving the file, your browser should automatically refresh and render our greetings to the world. Neat!
When you are done experimenting, go ahead and delete the app/templates/application.hbs file. We won't be needing this for a while, so let's start afresh. We can add it back later when we have a need for it.
Again, if you still have your browser tab open, your tab will automatically re-render a blank page as soon as you delete the file. This reflects the fact that we no longer have an application template in our app.
Working with HTML, CSS and Assets in an Ember App
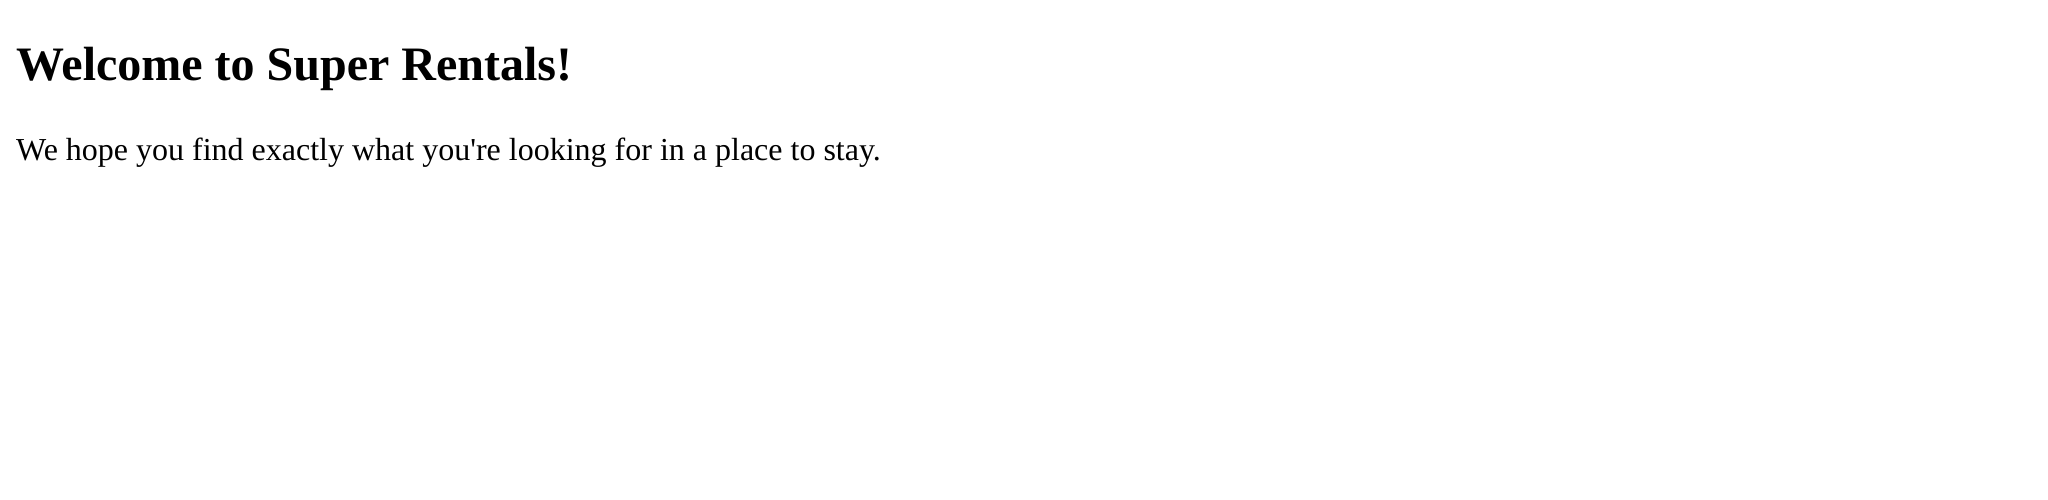
Create a app/templates/index.hbs file and paste the following markup.
<div class="jumbo">
  <div class="right tomster"></div>
  <h2>Welcome to Super Rentals!</h2>
  <p>We hope you find exactly what you're looking for in a place to stay.</p>
</div>
If you are thinking, "Hey, that looks like HTML!", then you would be right! In their simplest form, Ember templates are really just HTML. If you are already familiar with HTML, you should feel right at home here.
Of course, unlike HTML, Ember templates can do a lot more than just displaying static content. We will see that in action soon.
After saving the file, your browser tab should automatically refresh, showing us the welcome message we just worked on.
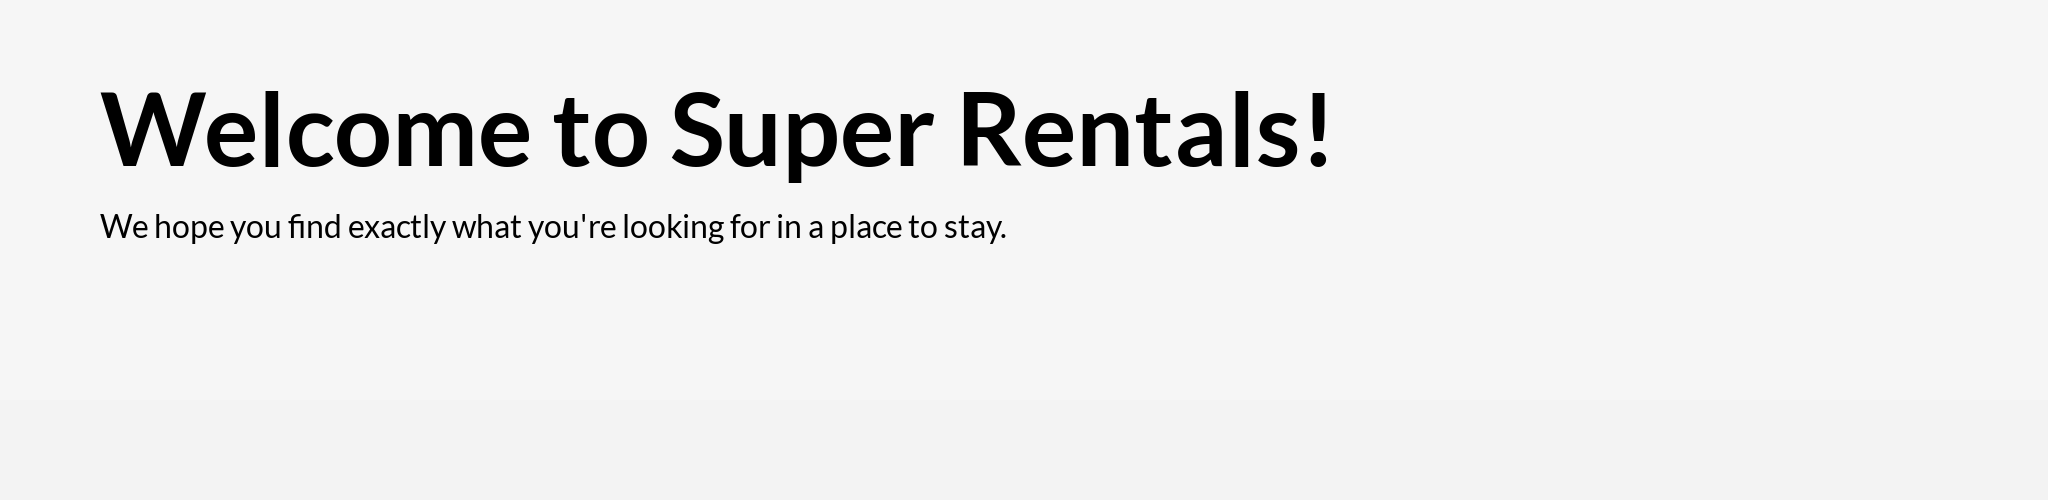
Before we do anything else, let's add some styling to our app. We spend enough time staring at the computer screen as it is, so we must protect our eyesight against unstyled markup!
Fortunately, our designer sent us some CSS to use, so we can download the stylesheet file and copy it into app/styles/app.css. This file has all the styles we need for building the rest of the app.
@import url(https://fonts.googleapis.com/css?family=Lato:300,300italic,400,700,700italic);

/**
 * Base Elements
 */

* {
  margin: 0;
  padding: 0;
}

body,
h1,
h2,
h3,
h4,
h5,
h6,
p,
div,
span,
a,
button {
  font-family: 'Lato', 'Open Sans', 'Helvetica Neue', 'Segoe UI', Helvetica, Arial, sans-serif;
  line-height: 1.5;
}

body {
  background: #f3f3f3;
}

/* ...snip... */
If you are familiar with CSS, feel free to customize these styles to your liking! Just keep in mind that you may see some visual differences going forward, should you choose to do so.
When you are ready, save the CSS file; our trusty development server should pick it up and refresh our page right away. No more unstyled content!
To match the mockup from our designer, we will also need to download the teaching-tomster.png image, which was referenced from our CSS file:
.tomster {
  background: url(../assets/images/teaching-tomster.png);
  /* ...snip... */
}
As we learned earlier, the Ember convention is to place your source code in the app folder. For other assets like images and fonts, the convention is to put them in the public folder. We will follow this convention by downloading the image file and saving it into public/assets/images/teaching-tomster.png.
Both Ember CLI and the development server understand these folder conventions and will automatically make these files available to the browser.
You can confirm this by navigating to
http://localhost:4200/assets/images/teaching-tomster.png. The image should also show up in the welcome page we have been working on. You may need to do a manual refresh for the browser to pick up the new file.