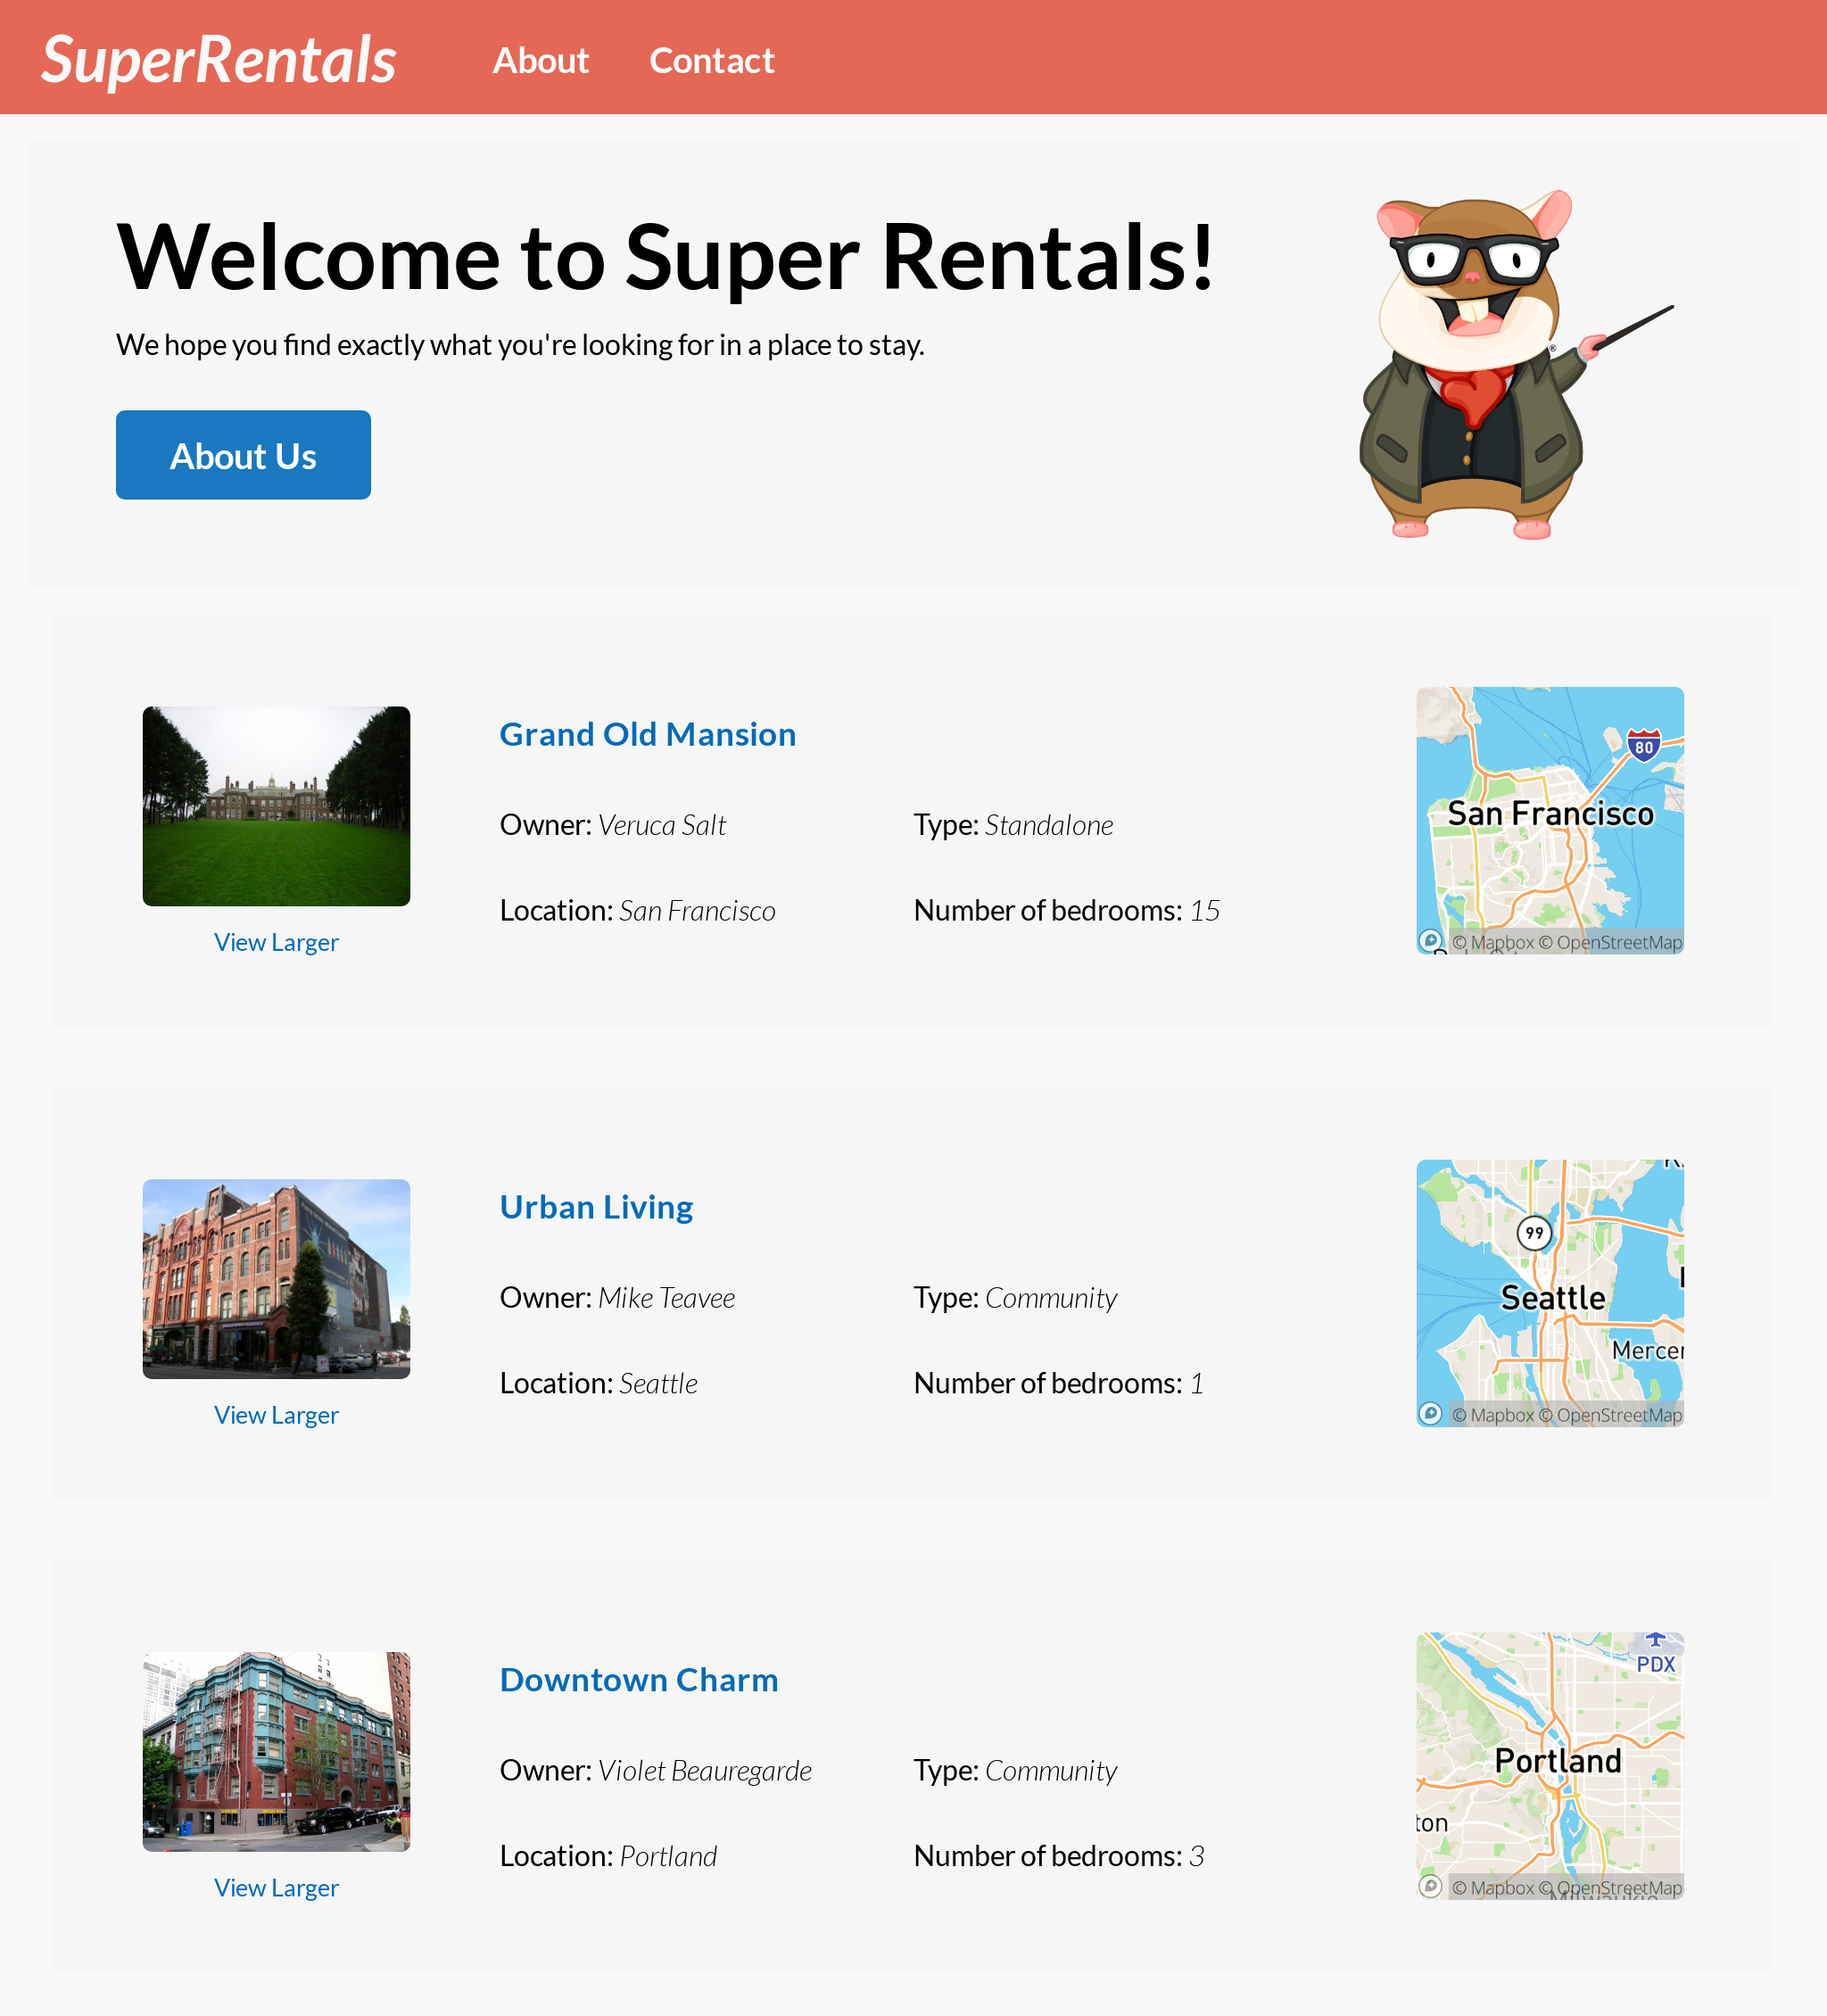
In this chapter, we will work on removing some code duplication in our route handlers, by switching to using Ember Data to manage our data. The end result looks exactly the same before:
During this refactor, you will learn about:
- Ember Data models
- Testing models
- Loading models in routes
- The Ember Data store
- Working with adapters and serializers
What is Ember Data?
Now that we've added some features, it's time to do some clean up again!
A while back, we added the rental route. If memory serves us well, we didn't do anything too fancy when we added that new route; we just copy-pasted a lot of the same logic from the index route.
import Route from '@ember/routing/route';

const COMMUNITY_CATEGORIES = [
  'Condo',
  'Townhouse',
  'Apartment'
];

export default class IndexRoute extends Route {
  async model() {
    let response = await fetch('/api/rentals.json');
    let { data } = await response.json();

    return data.map(model => {
      let { id, attributes } = model;
      let type;

      if (COMMUNITY_CATEGORIES.includes(attributes.category)) {
        type = 'Community';
      } else {
        type = 'Standalone';
      }

      return { id, type, ...attributes };
    });
  }
}import Route from '@ember/routing/route';
const COMMUNITY_CATEGORIES = [
'Condo',
'Townhouse',
'Apartment'
];
export default class RentalRoute extends Route {
async model(params) {
let response = await fetch(`/api/rentals/${params.rental_id}.json`);
let { data } = await response.json();
let { id, attributes } = data;
let type;
if (COMMUNITY_CATEGORIES.includes(attributes.category)) {
type = 'Community';
} else {
type = 'Standalone';
}
return { id, type, ...attributes };
}
}This duplication incurred a bit of technical debt for us, making our code base harder to maintain in the long run. For example, if we wanted to change something about how our data-fetching logic worked, we'd have to change it in both the index and rental routes. If we changed things in one place, but forgot about the other spot, we could end up with really subtle bugs in our app! Yikes!
Chances are, as we keep working on this app, we will need to add more routes that fetch data from the server. Since all of our server's API endpoints follow the JSON:API format, we'd have to keep copying this boilerplate for every single new route we add to the app!
Fortunately, we're not going to do any of that. As it turns out, there's a much better solution here: we can use Ember Data! As its name implies, Ember Data is a library that helps manage data and application state in Ember applications.
There's a lot to learn about Ember Data, but let's start by uncovering features that help with our immediate problem.
Ember Data Models
Ember Data is built around the idea of organizing your app's data into model objects. These objects represent units of information that our application presents to the user. For example, the rental property data we have been working with would be a good candidate.
Enough talking, why don't we give that a try!
import Model, { attr } from '@ember-data/model';

const COMMUNITY_CATEGORIES = [
  'Condo',
  'Townhouse',
  'Apartment'
];

export default class RentalModel extends Model {
  @attr title;
  @attr owner;
  @attr city;
  @attr location;
  @attr category;
  @attr image;
  @attr bedrooms;
  @attr description;

  get type() {
    if (COMMUNITY_CATEGORIES.includes(this.category)) {
      return 'Community';
    } else {
      return 'Standalone';
    }
  }
}
Here, we created a RentalModel class that extends Ember Data's Model superclass. When fetching the listing data from the server, each individual rental property will be represented by an instance (also known as a record) of our RentalModel class.
We used the @attr decorator to declare the attributes of a rental property. These attributes correspond directly to the attributes data we expect the server to provide in its responses:
{
  "data": {
    "type": "rentals",
    "id": "grand-old-mansion",
    "attributes": {
      "title": "Grand Old Mansion",
      "owner": "Veruca Salt",
      "city": "San Francisco",
      "location": {
        "lat": 37.7749,
        "lng": -122.4194
      },
      "category": "Estate",
      "bedrooms": 15,
      "image": "https://upload.wikimedia.org/wikipedia/commons/c/cb/Crane_estate_(5).jpg",
      "description": "This grand old mansion sits on over 100 acres of rolling hills and dense redwood forests."
    }
  }
}
We can access these attributes for an instance of RentalModel using standard dot notation, such as model.title or model.location.lat. In addition to the attributes we declared here, there will always be an implicit id attribute as well, which is used to uniquely identify the model object and can be accessed using model.id.
Model classes in Ember Data are no different than any other classes we've worked with so far, in that they allow for a convenient place for adding custom behavior. We took advantage of this feature to move our type logic (which is a major source of unnecessary duplication in our route handlers) into a getter on our model class. Once we have everything working here, we will go back to clean that up.
Attributes declared with the @attr decorator work with the auto-track feature (which we learned about in a previous chapter). Therefore, we are free to reference any model attributes in our getter (this.category), and Ember will know when to invalidate its result.
Testing Models
So far, we haven't had a good place to write tests for the rental property's type logic. Now that we have found a home for it in the model class, it also made it easy to test this behavior. We can add a test file for our model using the model-test generator:
$ ember generate model-test rental
installing model-test
  create tests/unit/models/rental-test.js
The generator created some boilerplate code for us, which serves as a pretty good starting point for writing our test:
import { module, test } from 'qunit';
import { setupTest } from 'ember-qunit';

module('Unit | Model | rental', function(hooks) {
  setupTest(hooks);

  // Replace this with your real tests.
  test('it exists', function(assert) {
  test('it has the right type', function(assert) {
    let store = this.owner.lookup('service:store');
    let model = store.createRecord('rental', {});
    assert.ok(model);
    let rental = store.createRecord('rental', {
      id: 'grand-old-mansion',
      title: 'Grand Old Mansion',
      owner: 'Veruca Salt',
      city: 'San Francisco',
      location: {
        lat: 37.7749,
        lng: -122.4194,
      },
      category: 'Estate',
      bedrooms: 15,
      image: 'https://upload.wikimedia.org/wikipedia/commons/c/cb/Crane_estate_(5).jpg',
      description: 'This grand old mansion sits on over 100 acres of rolling hills and dense redwood forests.',
    });

    assert.equal(rental.type, 'Standalone');

    rental.category = 'Condo';
    assert.equal(rental.type, 'Community');

    rental.category = 'Townhouse';
    assert.equal(rental.type, 'Community');

    rental.category = 'Apartment';
    assert.equal(rental.type, 'Community');

    rental.category = 'Estate';
    assert.equal(rental.type, 'Standalone');
  });
});
This model test is also known as a unit test. Unlike any of the other tests that we've written thus far, this test doesn't actually render anything. It just instantiates the rental model object and tests the model object directly, manipulating its attributes and asserting their value.
It is worth pointing out that Ember Data provides a store service, also known as the Ember Data store. In our test, we used the this.owner.lookup('service:store') API to get access to the Ember Data store. The store provides a createRecord method to instantiate our model object for us.
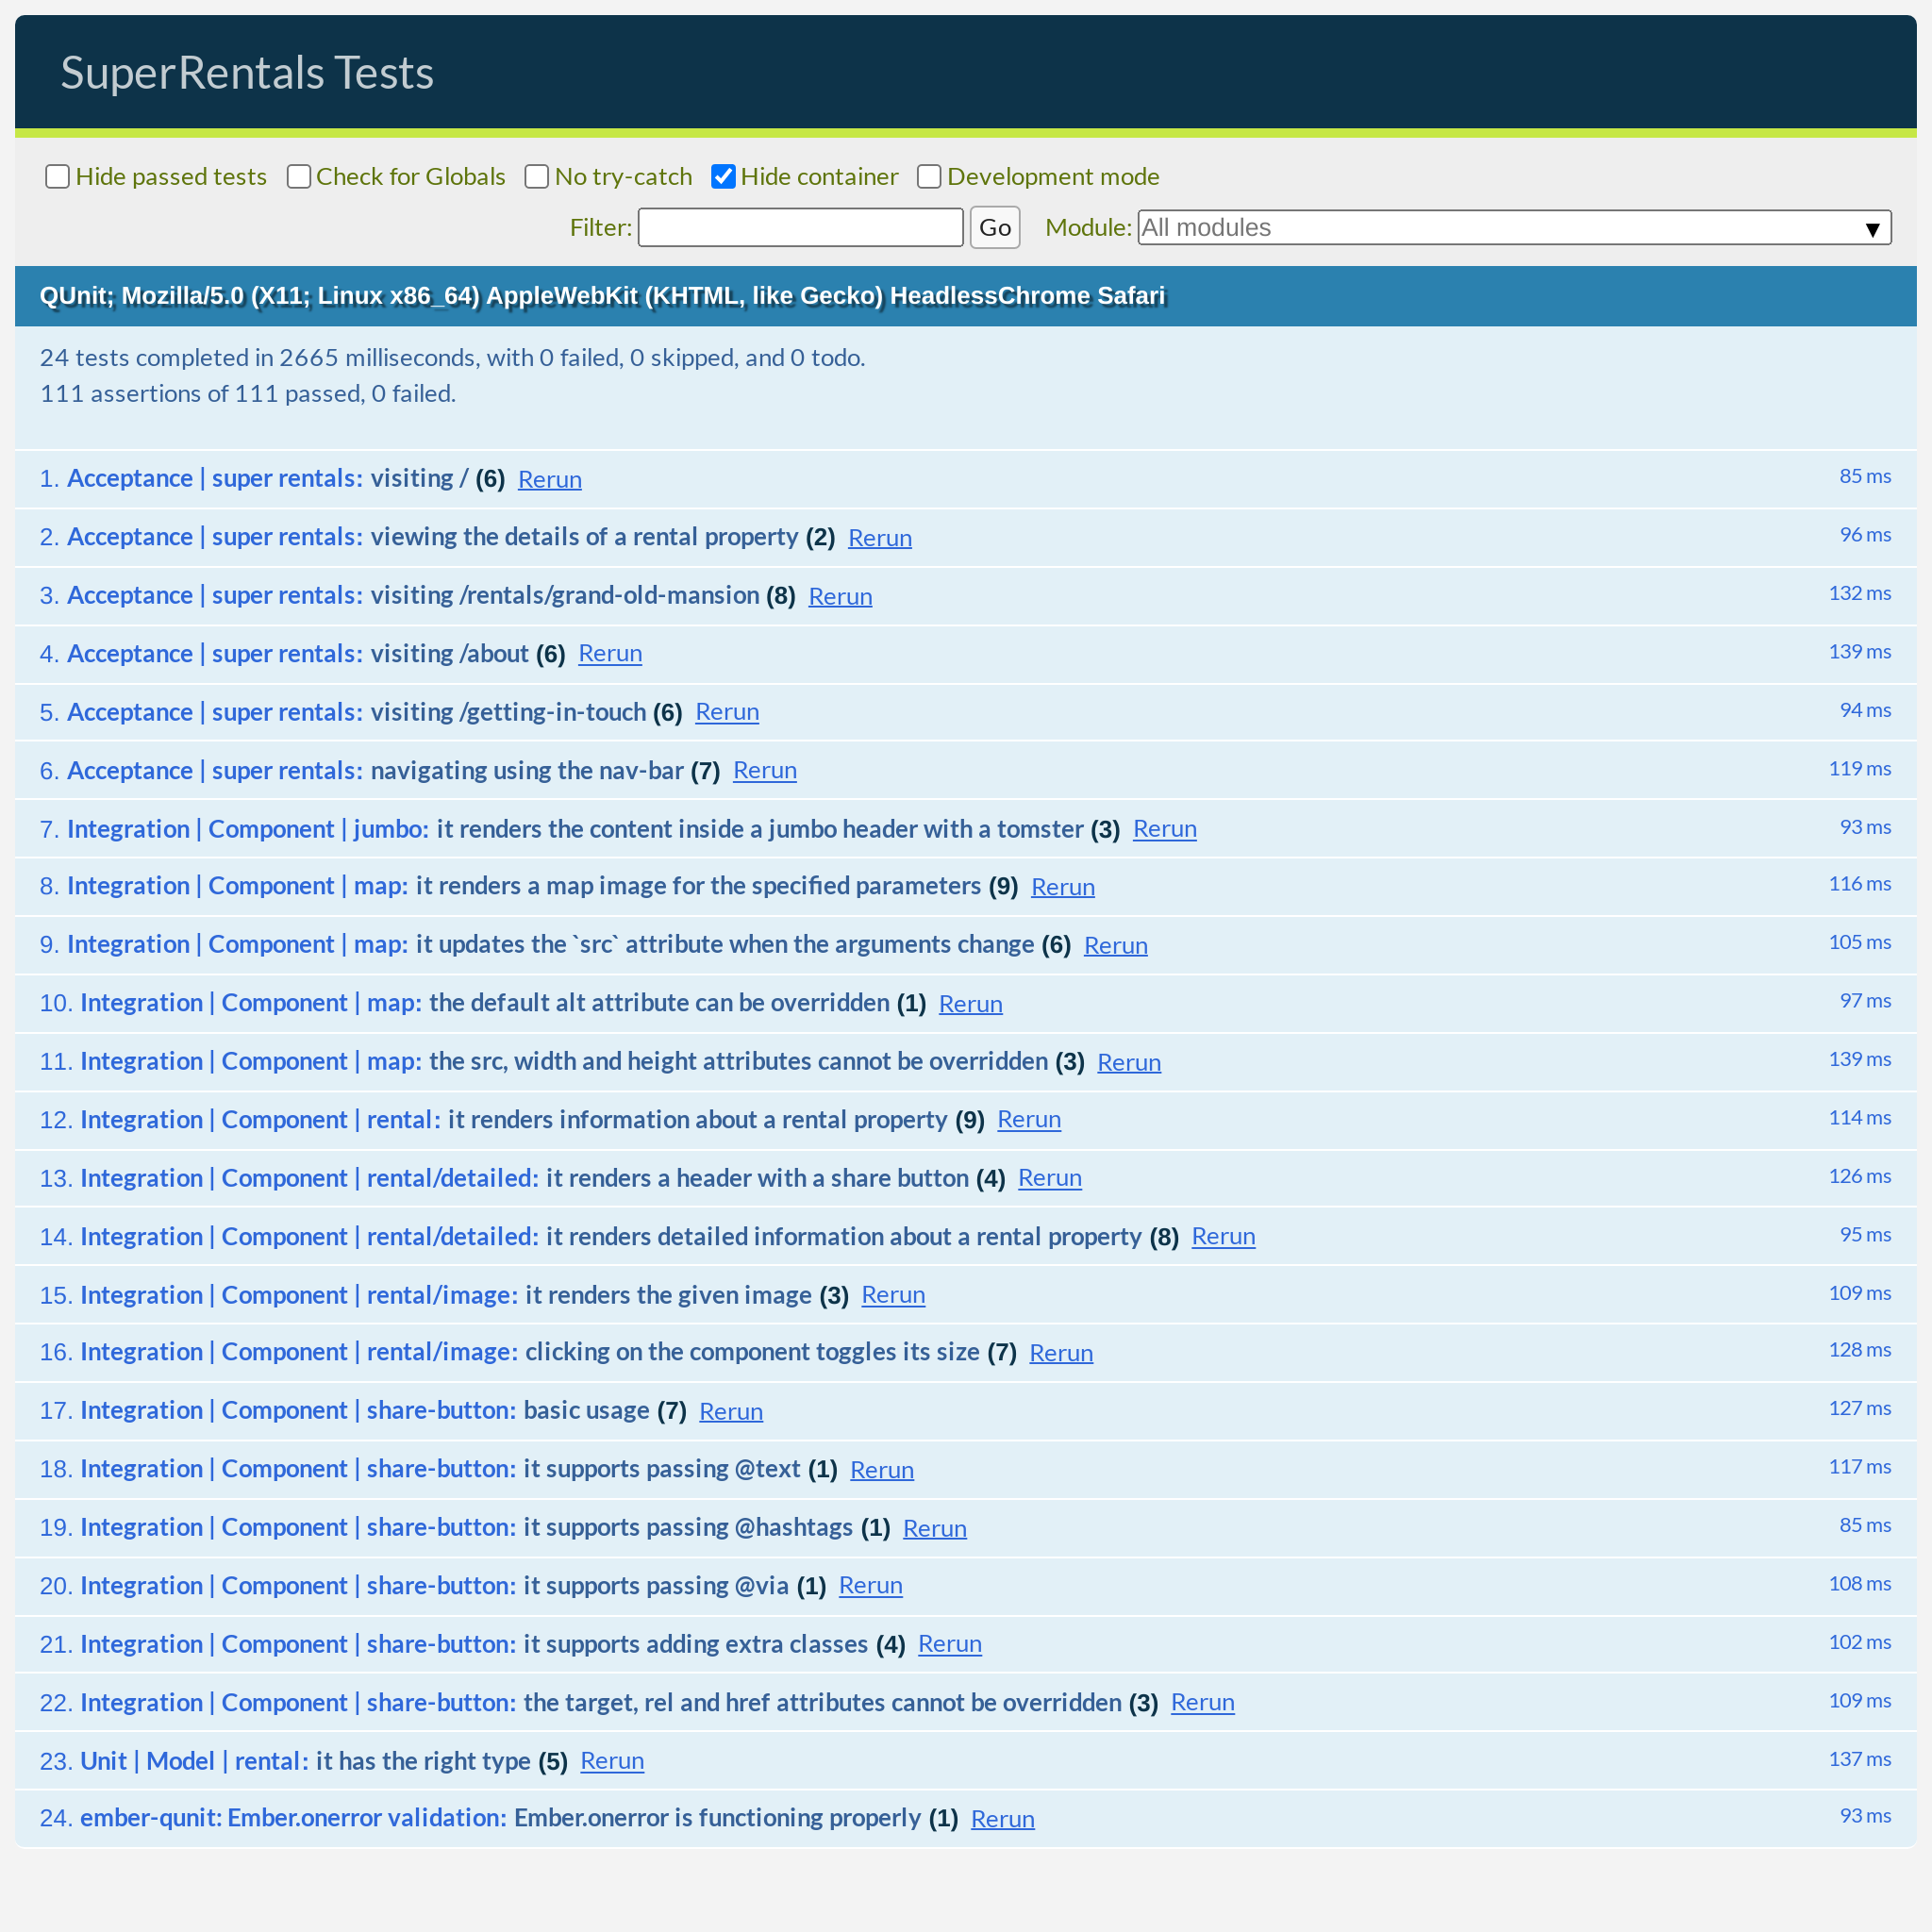
Running the tests in the browser confirms that everything is working as intended:
Loading Models in Routes
Alright, now that we have our model set up, it's time to refactor our route handlers to use Ember Data and remove the duplication!
import Route from '@ember/routing/route';

const COMMUNITY_CATEGORIES = [
  'Condo',
  'Townhouse',
  'Apartment'
];
import { inject as service } from '@ember/service';

export default class IndexRoute extends Route {
  async model() {
    let response = await fetch('/api/rentals.json');
    let { data } = await response.json();

    return data.map(model => {
      let { id, attributes } = model;
      let type;
  @service store;

      if (COMMUNITY_CATEGORIES.includes(attributes.category)) {
        type = 'Community';
      } else {
        type = 'Standalone';
      }

      return { id, type, ...attributes };
    });
  async model() {
    return this.store.findAll('rental');
  }
}import Route from '@ember/routing/route';
const COMMUNITY_CATEGORIES = [
'Condo',
'Townhouse',
'Apartment'
];
import { inject as service } from '@ember/service';
export default class RentalRoute extends Route {
async model(params) {
let response = await fetch(`/api/rentals/${params.rental_id}.json`);
let { data } = await response.json();
let { id, attributes } = data;
let type;
@service store;
if (COMMUNITY_CATEGORIES.includes(attributes.category)) {
type = 'Community';
} else {
type = 'Standalone';
}
return { id, type, ...attributes };
async model(params) {
return this.store.find('rental', params.rental_id);
}
}Wow... that removed a lot of code! This is all possible thanks to the power of conventions!
The Ember Data Store
As mentioned above, Ember Data provides a store service, which we can inject into our route using the @service store; declaration, making the Ember Data store available as this.store. It provides the find and findAll methods for loading records. Specifically, the find method takes a model type (rental in our case) and a model ID (for us, that would be params.rental_id from the URL) as arguments and fetches a single record from the store. On the other hand, the findAll method takes the model type as an argument and fetches all records of that type from the store.
The Ember Data store acts as a kind of intermediary between our app and the server; it does many important things, including caching the responses that were fetched from the server. If we request some records (instances of model classes) that we had already fetched from the server in the past, Ember Data's store ensures that we can access the records immediately, without having to fetch them again unnecessarily and wait for the server to respond. But, if we don't already have that response cached in our store, then it will go off and fetches it from the server. Pretty nice, right?
That's a lot of theory, but is this going to work in our app? Let's run the tests and find out!
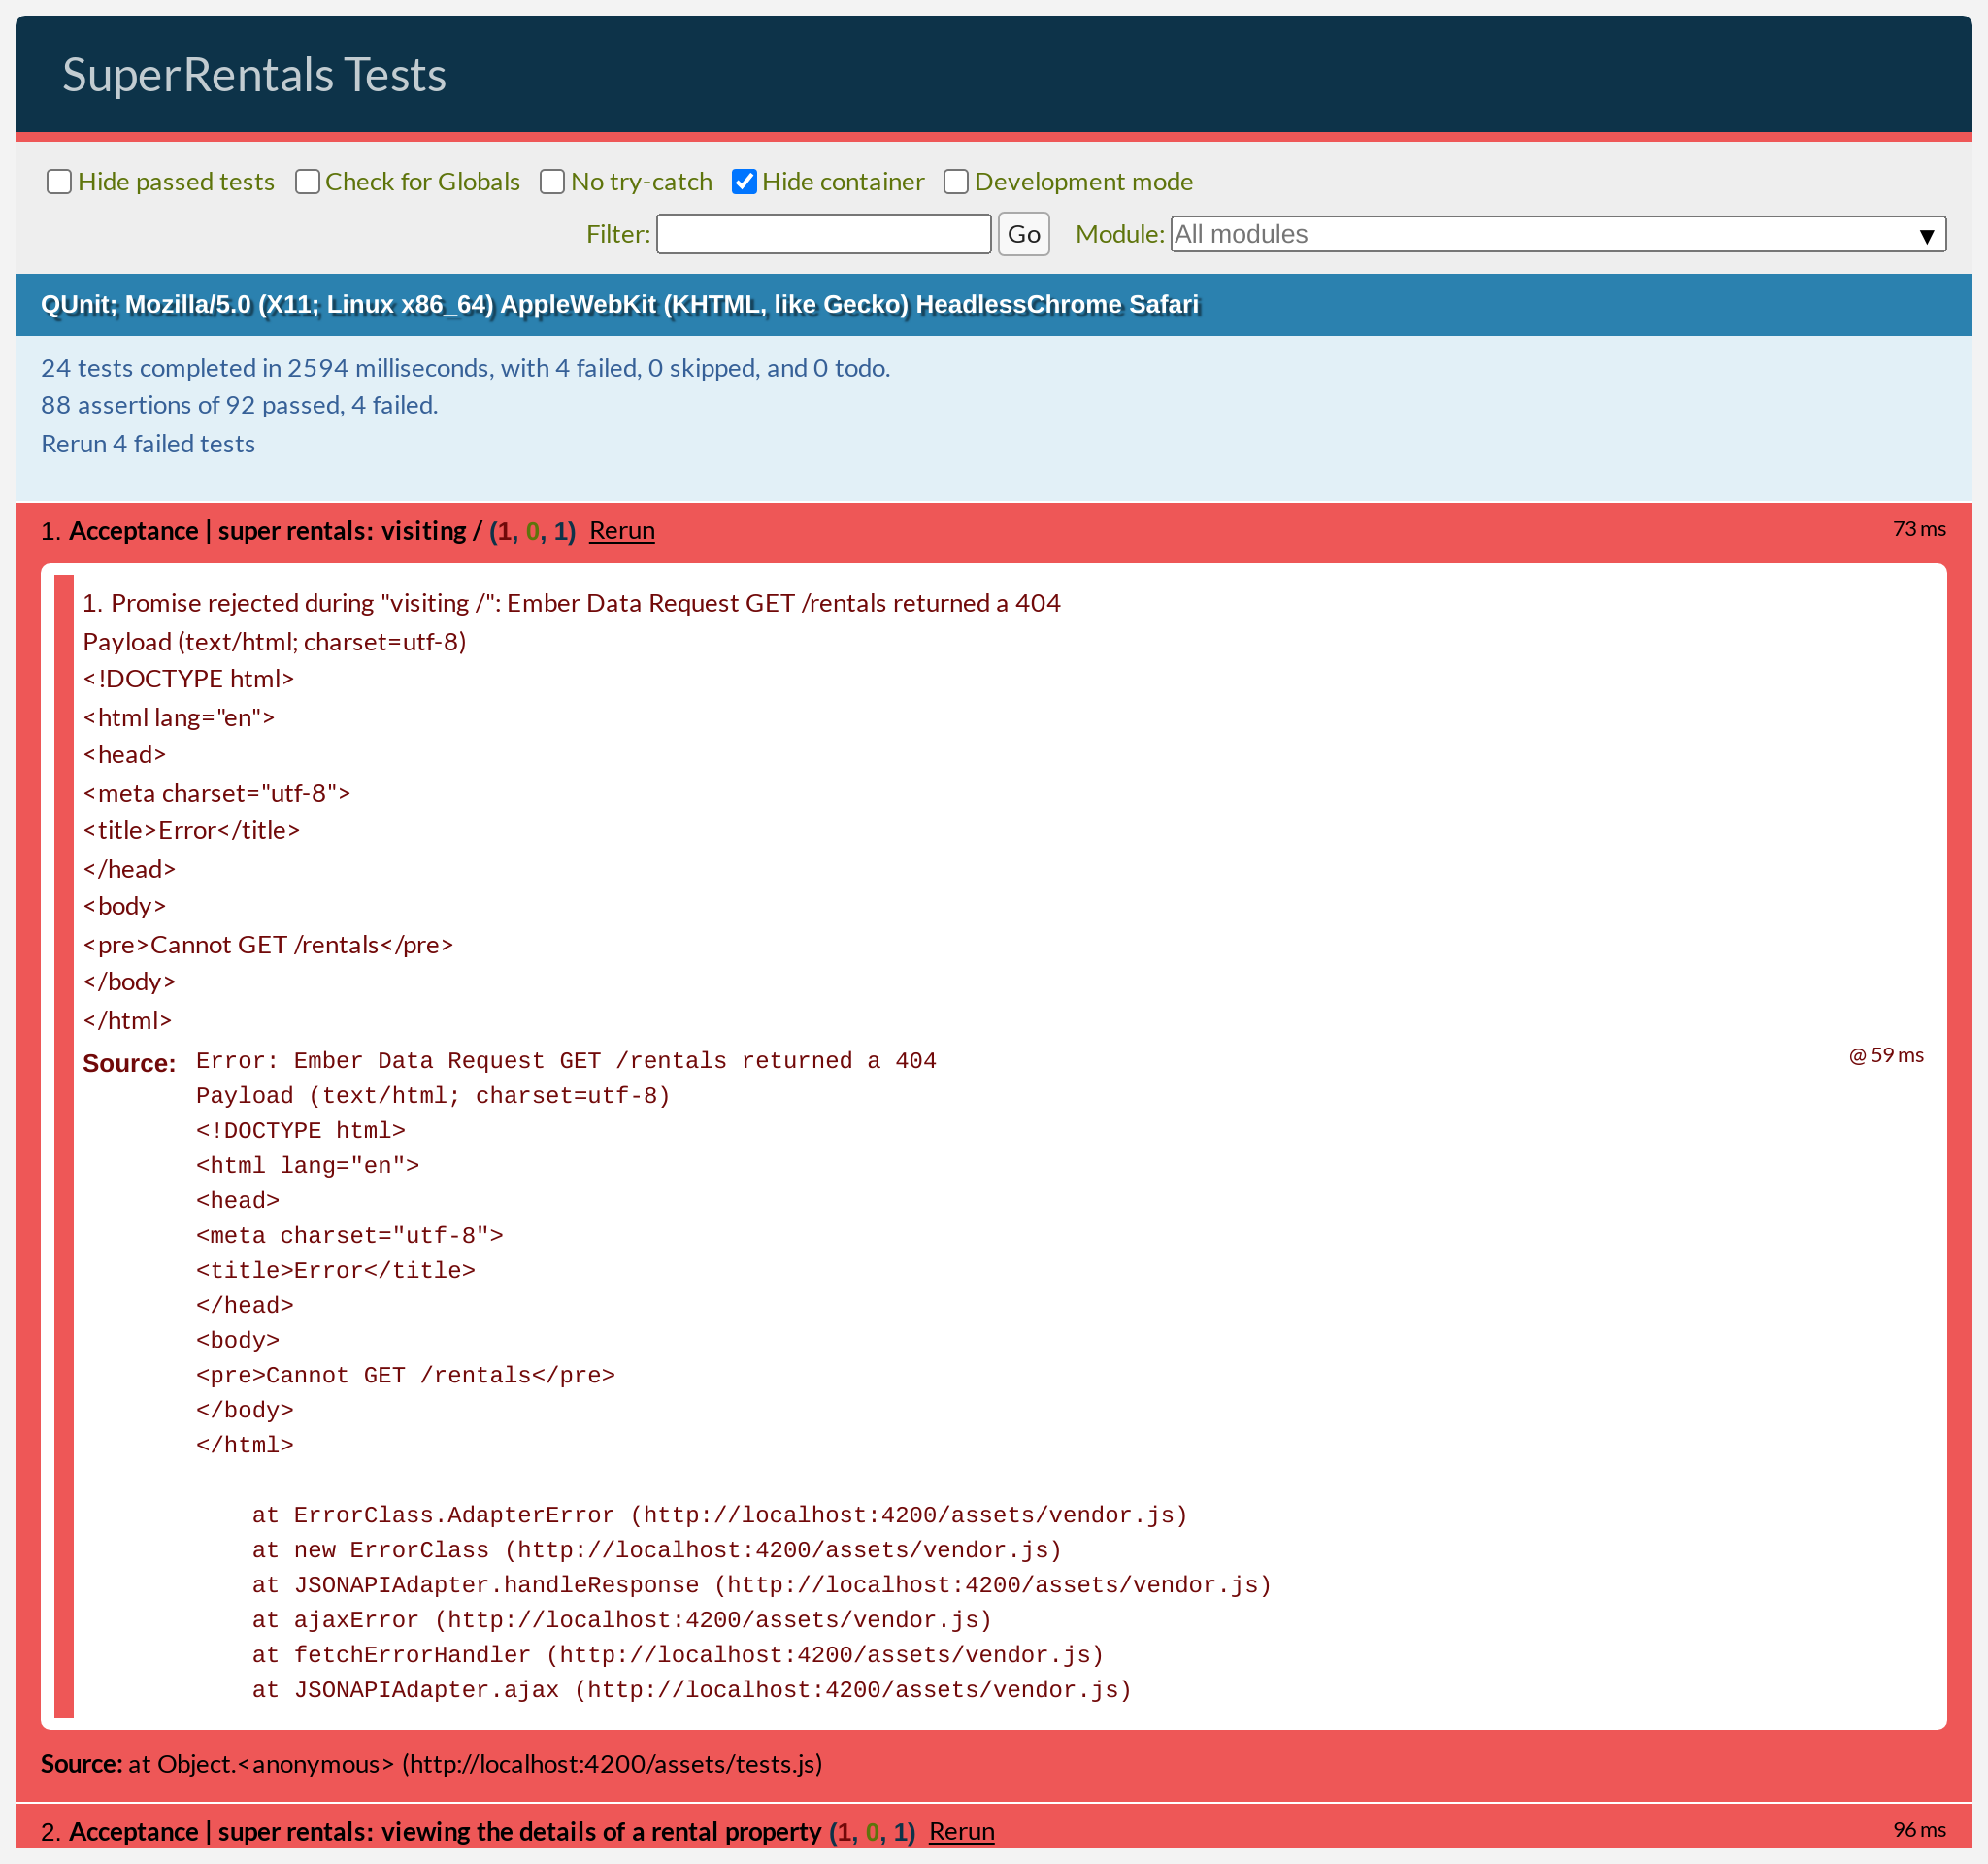
Darn, there were a couple of failing tests! At the same time, it's great that we were made aware of the potential problems – yay, regression tests!
Looking at the failure messages, the problem appears to be that the store went to the wrong URLs when fetching data from the server, resulting in some 404 errors. Specifically:
- When performing the
findAll('rental')query, it requested the data from/rentals, instead of/api/rentals.json. - When performing the
find('rental', 'grand-old-mansion')query, it requested the data from/rentals/grand-old-mansion, instead of/api/rentals/grand-old-mansion.json.
Hm, okay, so we have to teach Ember Data to fetch data from the correct location. But how does Ember Data know how to fetch data from our server in the first place?
Working with Adapters and Serializers
Ember Data uses an adapter and serializer architecture. Adapters deal with how and where Ember Data should fetch data from your servers, such as whether to use HTTP, HTTPS, WebSockets or local storage, as well as the URLs, headers and parameters to use for these requests. On the other hand, serializers are in charge of converting the data returned by the server into a format Ember Data can understand.
The idea is that, provided that your backend exposes a consistent protocol and interchange format to access its data, we can write a single adapter-serializer pair to handle all data fetches for the entire application.
As it turns out, JSON:API just happens to be Ember Data's default data protocol and interchange format. Out of the box, Ember Data provides a default JSON:API adapter and serializer. This is great news for us, since that is also what our server has implemented. What a wonderful coincidence!
However, as mentioned above, there are some minor differences between how our server works and Ember Data's default assumptions. We can customize the default behavior by defining our own adapter and serializer:
import JSONAPIAdapter from '@ember-data/adapter/json-api';

export default class ApplicationAdapter extends JSONAPIAdapter {
  namespace = 'api';

  buildURL(...args) {
    return `${super.buildURL(...args)}.json`;
  }
}import JSONAPISerializer from '@ember-data/serializer/json-api';
export default class ApplicationSerializer extends JSONAPISerializer {
}By convention, adapters are located at app/adapters. Furthermore, the adapter named application is called the application adapter, which will be used to fetch data for all models in our app.
Inside this newly created file, we defined an ApplicationAdapter class, inheriting from the built-in JSONAPIAdapter. This allows us to inherit all the default JSON:API functionalities, while customizing the things that didn't work for us by default. Specifically:
- Our resource URLs have an extra
/apinamespace prefix. - Our resource URLs have a
.jsonextension at the end.
Adding a namespace prefix happens to be pretty common across Ember apps, so the JSONAPIAdapter has an API to do just that. All we need to do is to set the namespace property to the prefix we want, which is api in our case.
Adding the .json extension is a bit less common, and doesn't have a declarative configuration API of its own. Instead, we will need to override Ember Data's buildURL method. Inside of buildURL, we will call super.buildURL(...args) to invoke the JSONAPIAdapter default implementation of buildURL. This will give us the URL that the adapter would have built, which would be something like /api/rentals and /api/rentals/grand-old-mansion after configuring the namespace above. All we have to do is to append .json to this URL and return it.
Similarly, serializers are located at app/serializers. Adapters and serializers are always added together as a pair. We added an application adapter, so we also added a corresponding serializer to go with it as well. Since the JSON data returned by our server is JSON:API-compliant, the default JSONAPISerializer work just fine for us without further customization.
With our adapter and serializer in place, all our tests should pass again.
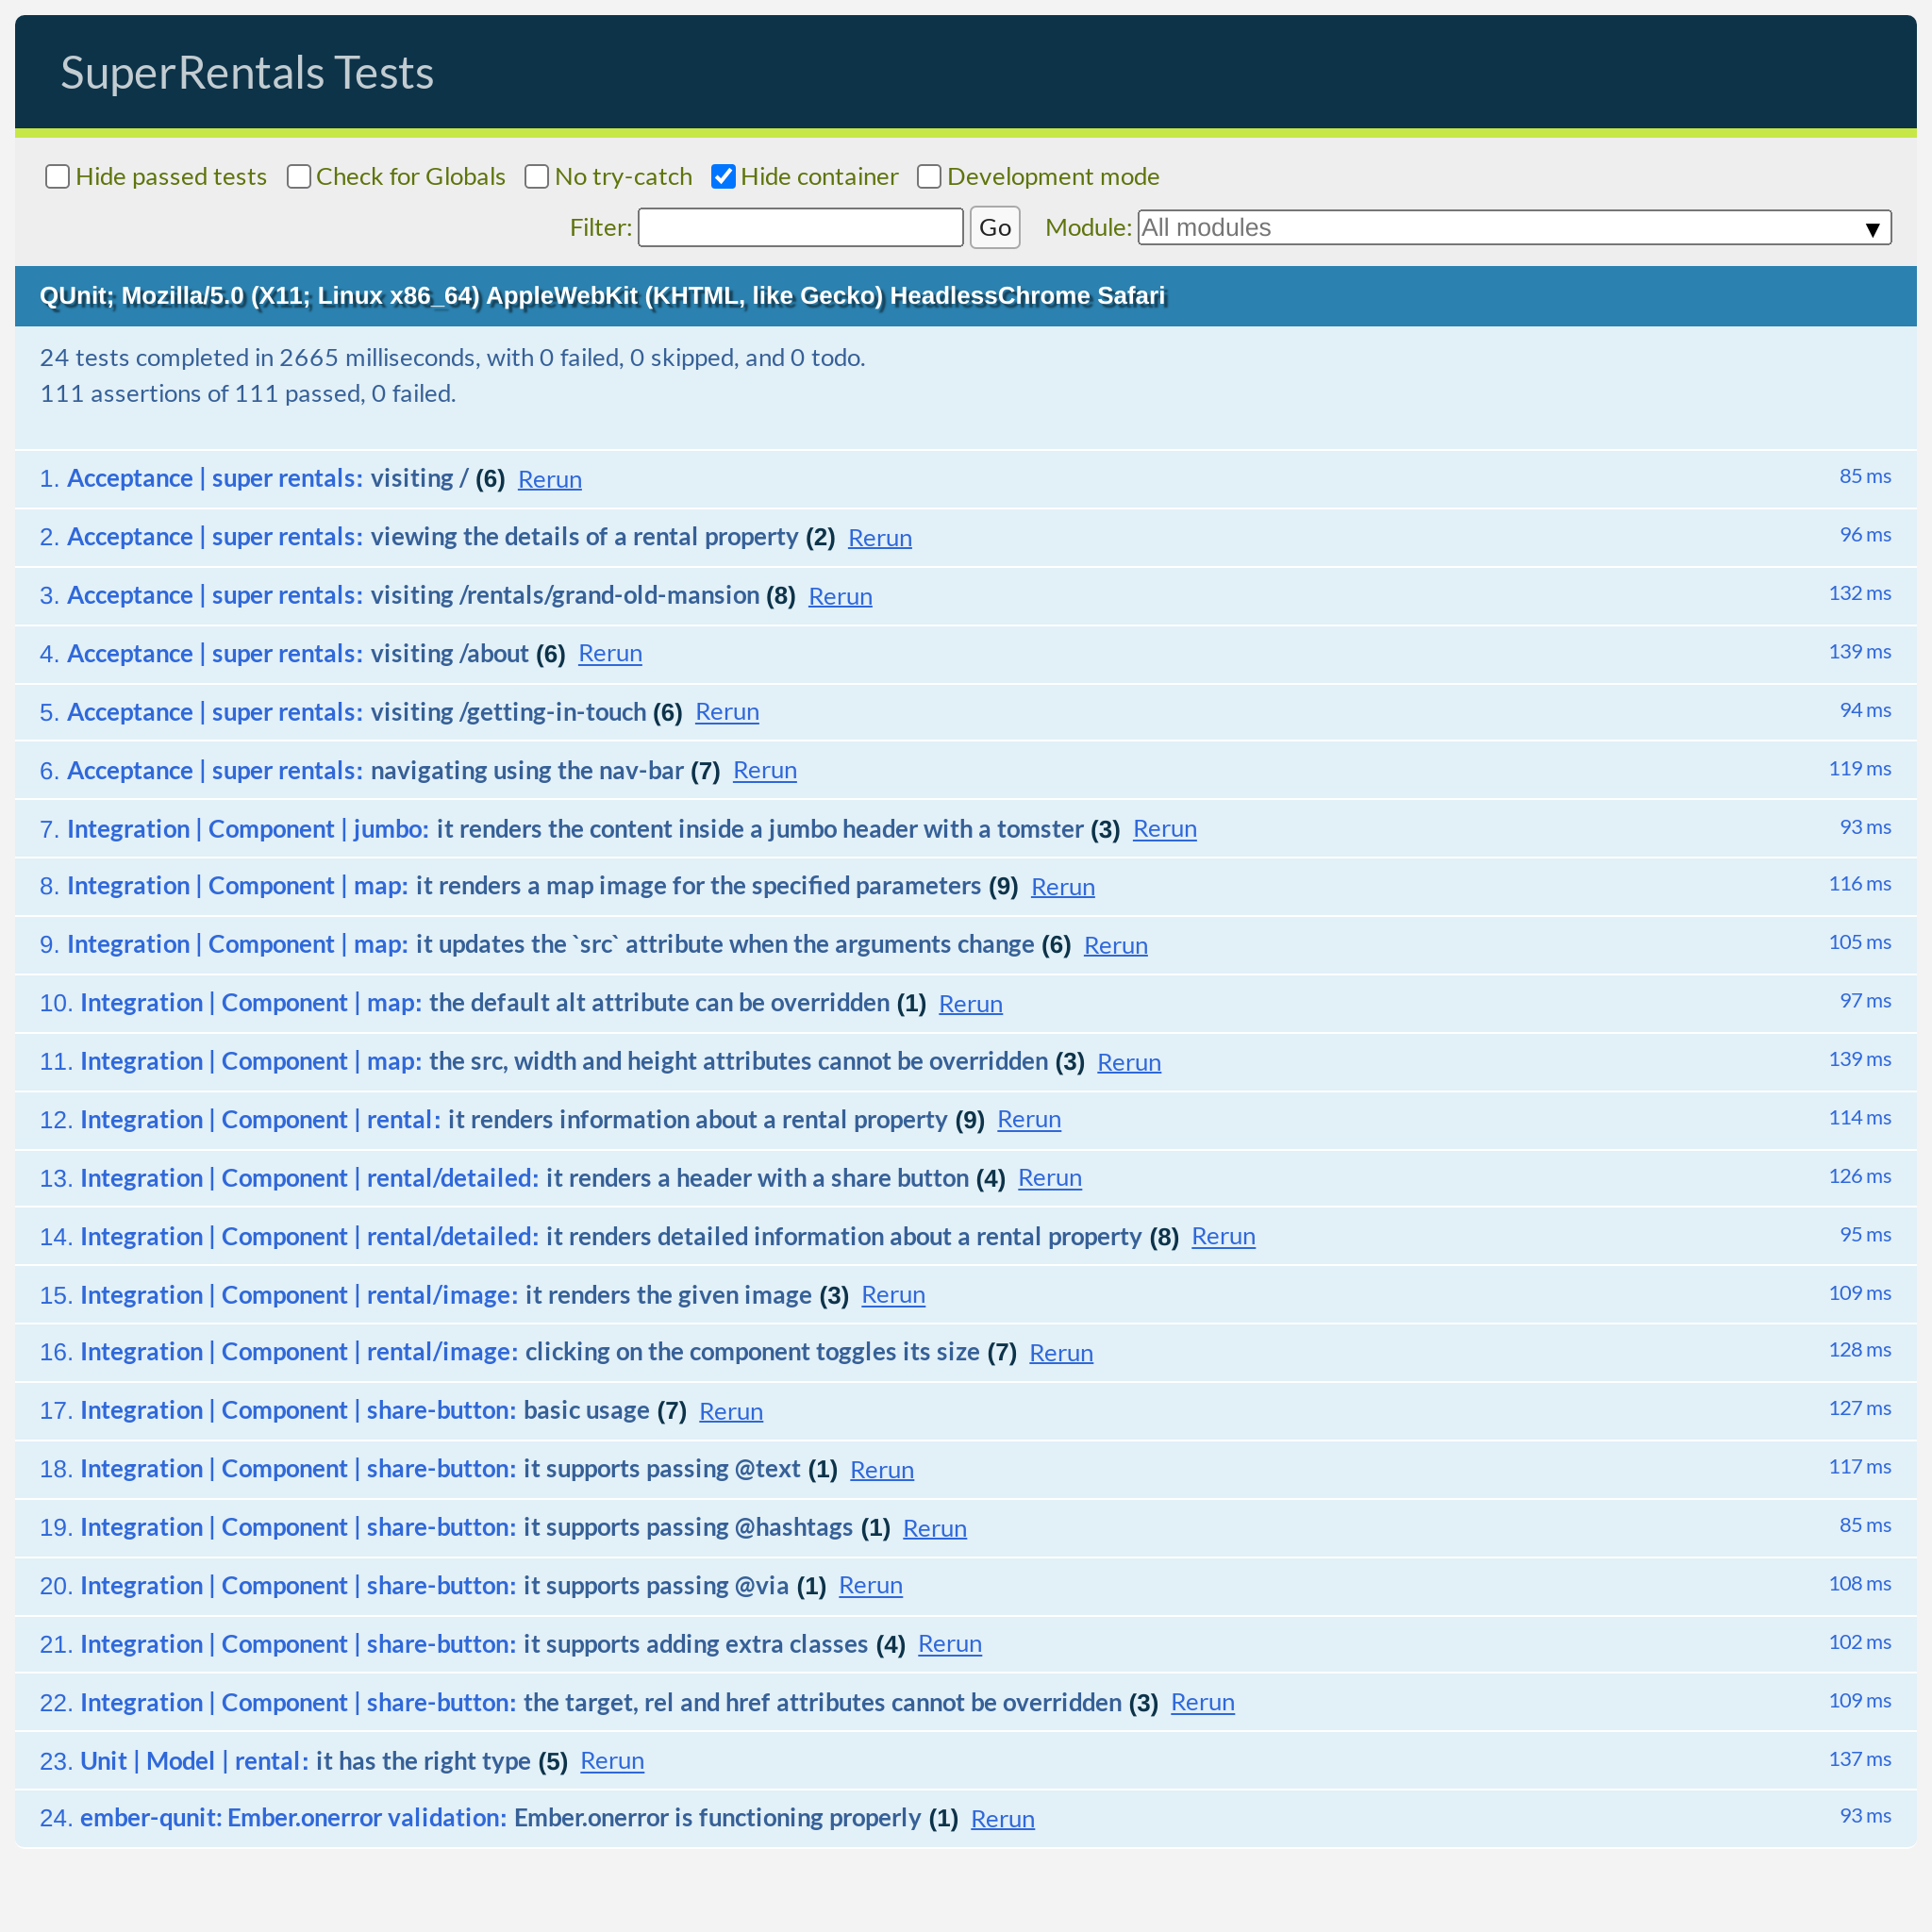
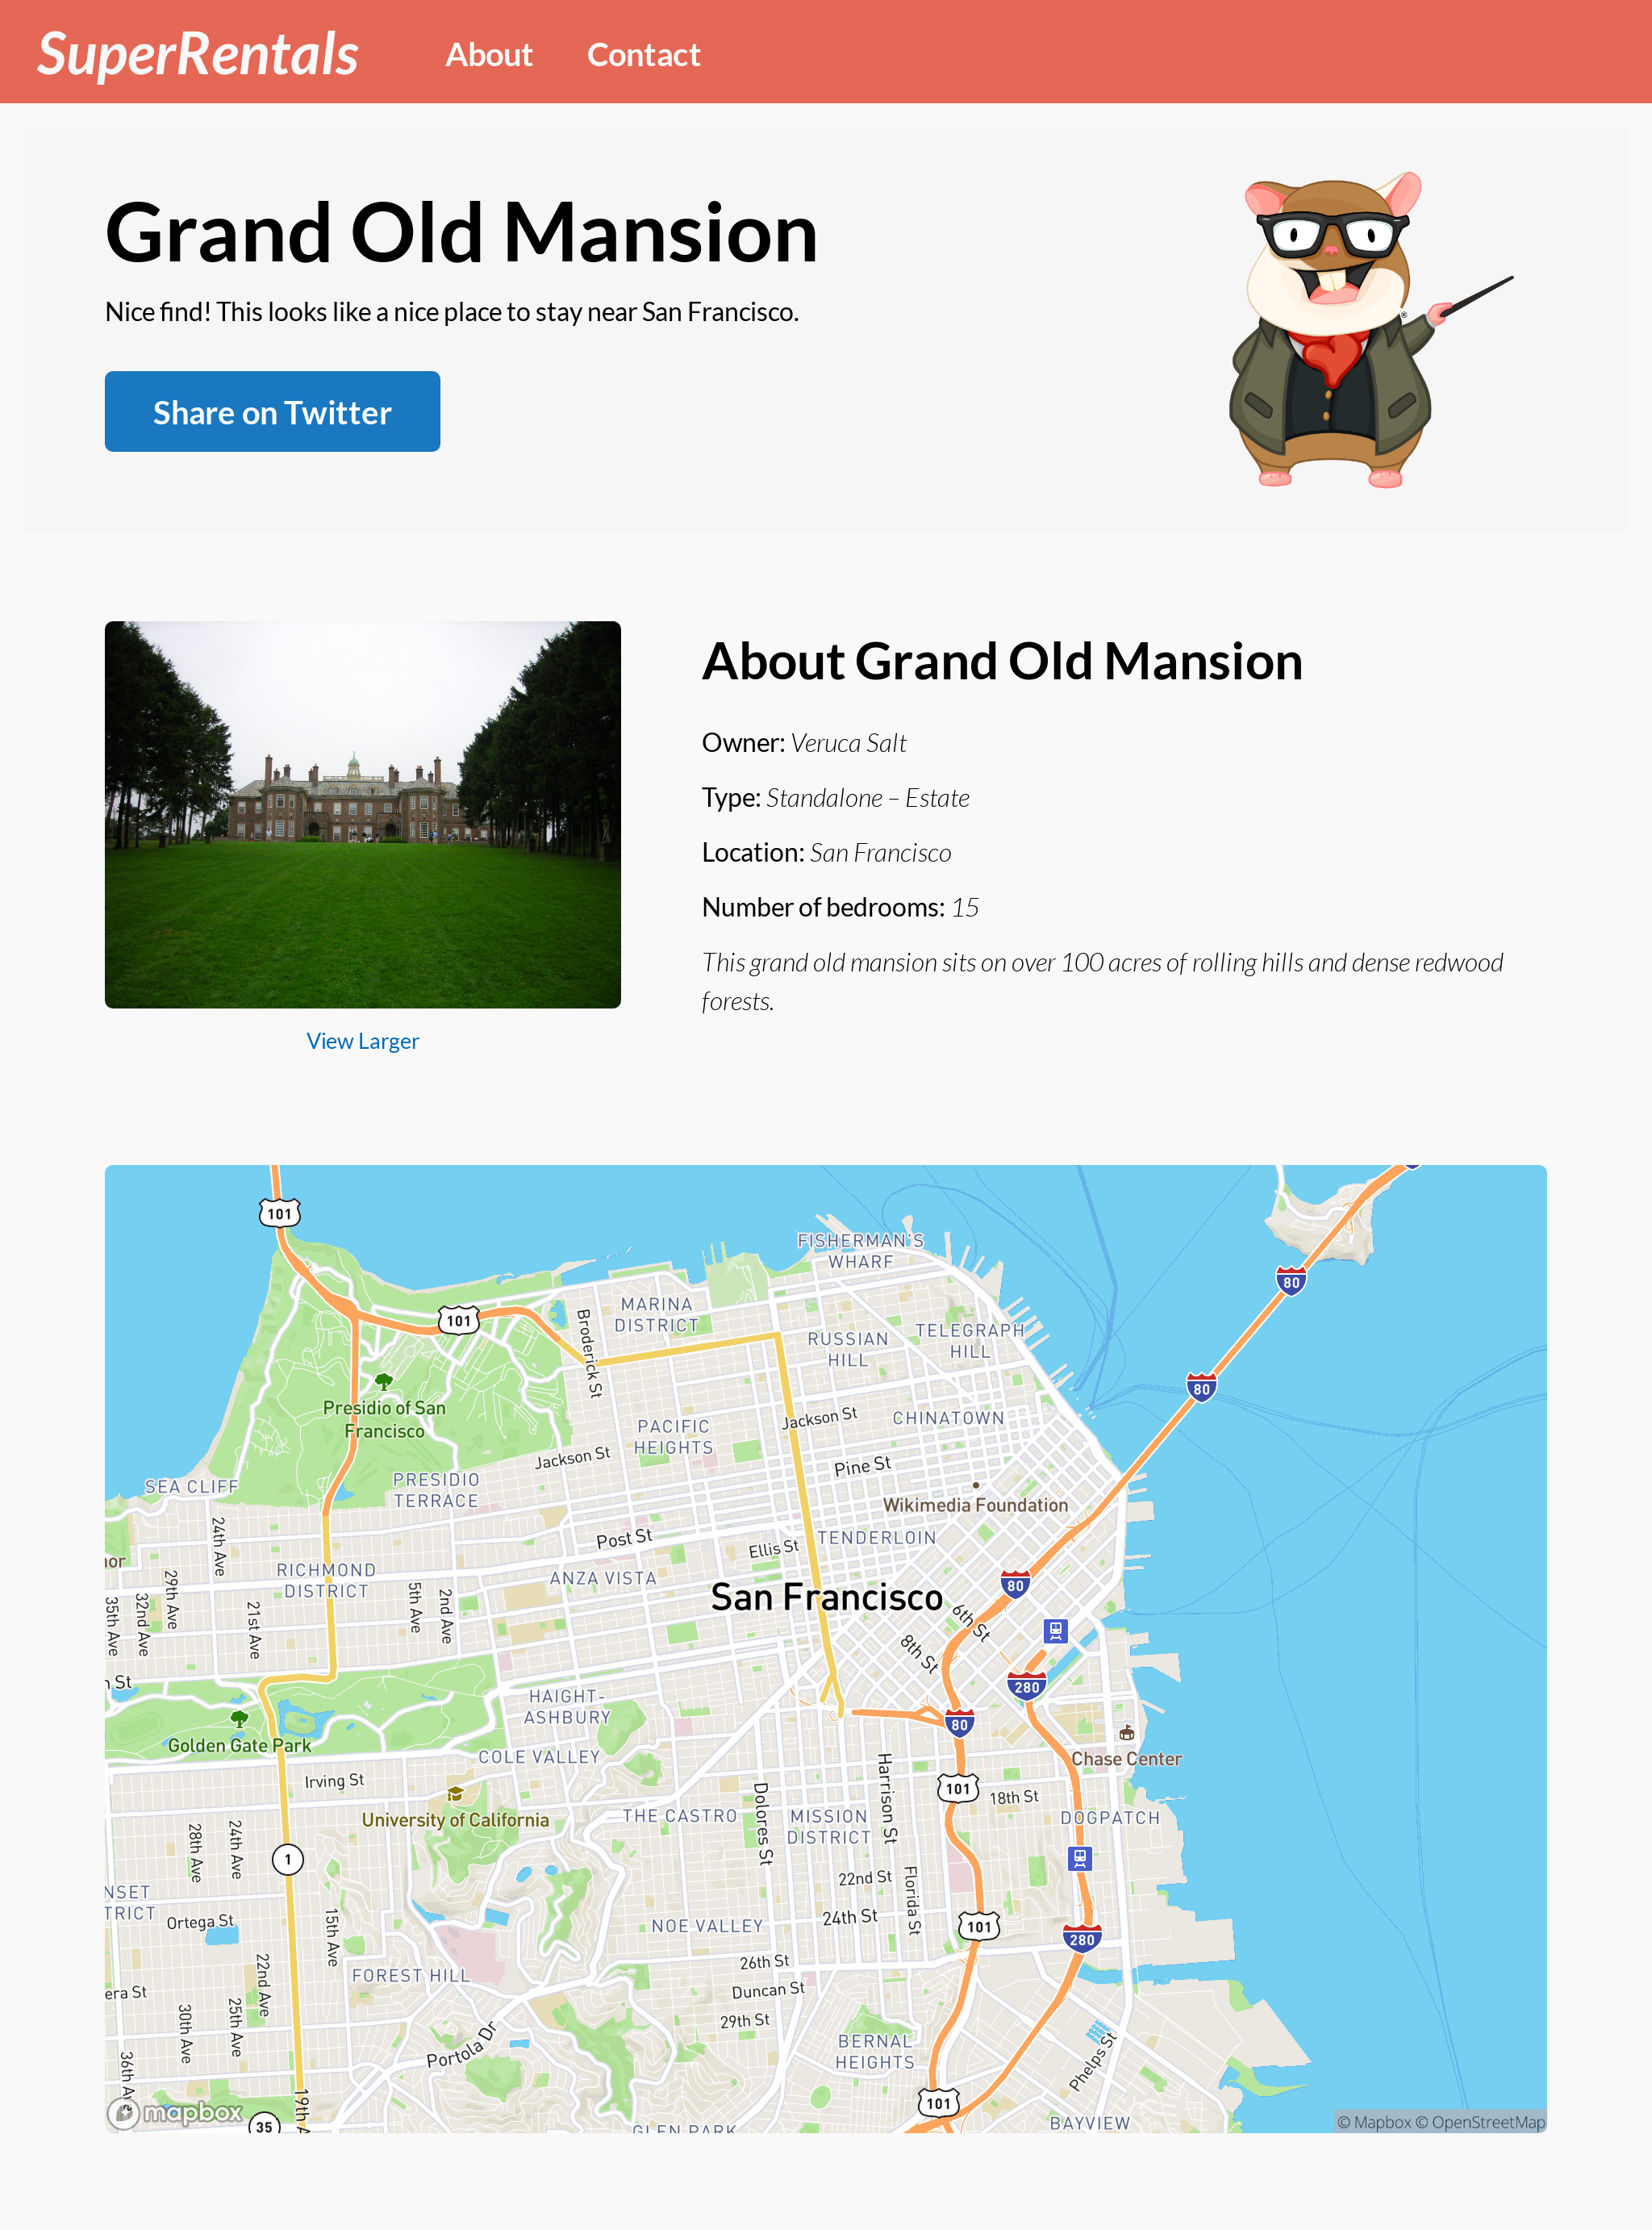
The UI works exactly the same as before as well, just with much less code!

Ember Data offers many, many features (like managing the relationships between different models) and there's a lot more we can learn about it. For example, if your backend's have some inconsistencies across different endpoints, Ember Data allows you to define more specific, per-model adapters and serializers too! We are just scratching the surface here. If you want to learn more about Ember Data, check out its own dedicated section in the guides!