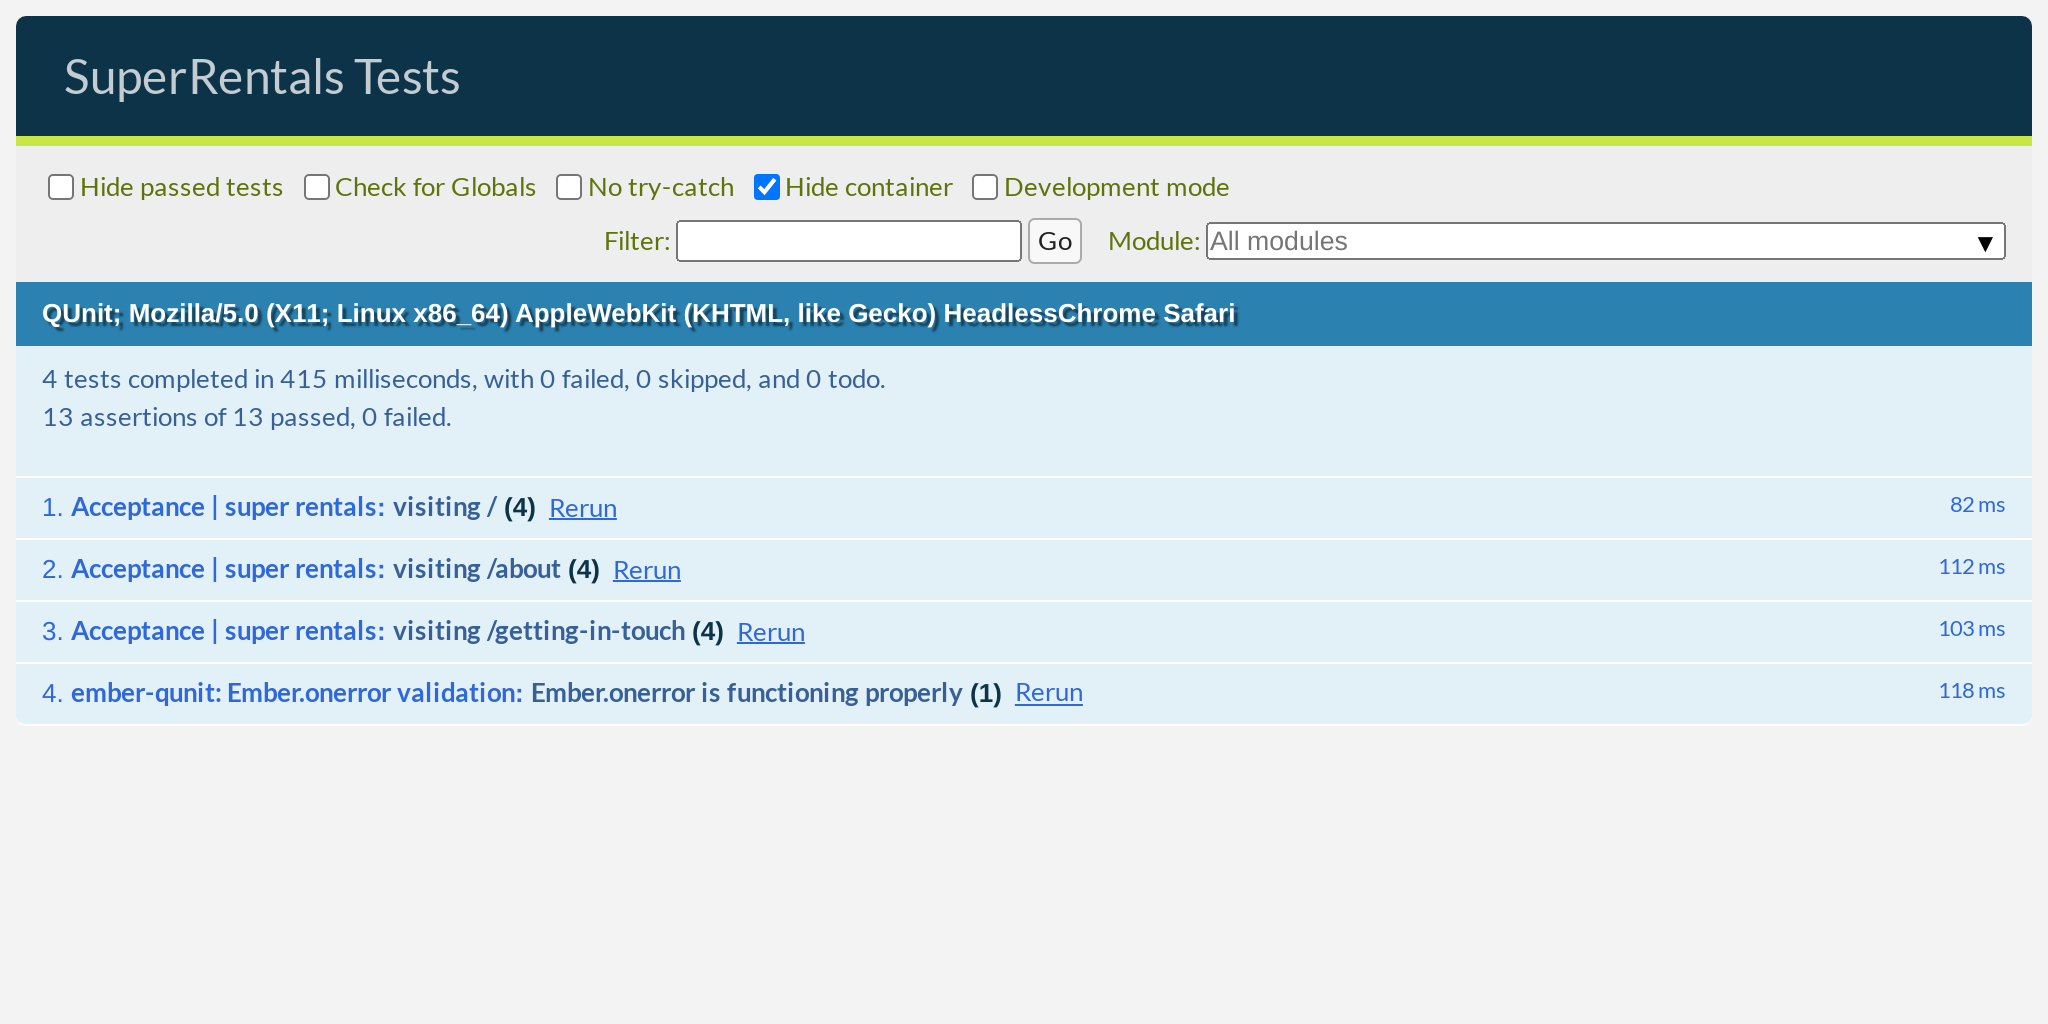
In this chapter, you will use Ember's built-in testing framework to write some automated tests for your app. By the end of this chapter, we will have an automated test suite that we can run to ensure our app is working correctly:

In the process, you will learn about:
- The purpose of automated testing
- Writing acceptance tests
- Using generators in Ember CLI
- Testing with the QUnit test framework
- Working with Ember's test helpers
- Practicing the testing workflow
The Purpose of Automated Testing
We accomplished a lot in the last few chapters! Let's recap—we started with a blank canvas, added a few pages of content, styled everything to look pretty, dropped in a picture of Tomster, added links between our pages and amazingly, everything worked together flawlessly!
But do we really know that everything is actually working? Sure, we clicked around a bit to confirm that things look as expected. But do we feel confident that we checked every page after the most recent change that we made?
After all, most of us have experienced (or heard horror stories about) making a Small Tweak™ in one area of the app that inadvertently broke everything else when we weren't looking.
Maybe we can write a checklist somewhere of all the things to check after making changes to our site. But surely, this will get out of hand as we add more features to our app. It is also going to get old really quickly—repetitive tasks like that are best left to robots.
Hmm, robots. That's an idea. What if we can write this checklist and just get the computer to check everything for us? I think we just invented the idea of automated testing! Okay, maybe we were not the first to come up with the concept, but we independently discovered it so we still deserve some credit.
Adding Acceptance Tests with Generators
Once we are done patting ourselves on the back, go ahead and run the following command in the terminal:
$ ember generate acceptance-test super-rentals
installing acceptance-test
  create tests/acceptance/super-rentals-test.js
This is called a generator command in Ember CLI. Generators automatically create files for us based on Ember's conventions and populate them with the appropriate boilerplate content, similar to how ember new initially created a skeleton app for us. It typically follows the pattern ember generate <type> <name>, where <type> is the kind of thing we are generating, and <name> is what we want to call it.
In this case, we generated an acceptance test located at tests/acceptance/super-rentals-test.js.
Generators aren't required; we could have created the file ourselves which would have accomplished the exact same thing. But, generators certainly save us a lot of typing. Go ahead and take a peek at the acceptance test file and see for yourself.

Writing Acceptance Tests
Acceptance tests, also known as application tests, are one of a few types of automated testing at our disposal in Ember. We will learn about the other types later, but what makes acceptance tests unique is that they test our app from the user's perspective—they are an automated version of the "click around and see if it works" testing we did earlier, which is exactly what we need.
Let's open the generated test file and replace the boilerplate test with our own:
import { module, test } from 'qunit';
import { visit, currentURL } from '@ember/test-helpers';
import { click, visit, currentURL } from '@ember/test-helpers';
import { setupApplicationTest } from 'ember-qunit';

module('Acceptance | super rentals', function (hooks) {
  setupApplicationTest(hooks);

  test('visiting /super-rentals', async function (assert) {
    await visit('/super-rentals');
  test('visiting /', async function (assert) {
    await visit('/');

    assert.strictEqual(currentURL(), '/super-rentals');
    assert.strictEqual(currentURL(), '/');
    assert.dom('h2').hasText('Welcome to Super Rentals!');

    assert.dom('.jumbo a.button').hasText('About Us');
    await click('.jumbo a.button');

    assert.strictEqual(currentURL(), '/about');
  });
});
First, we instruct the test robot to navigate to the / URL of our app by using the visit test helper provided by Ember. This is akin to us typing http://localhost:4200/ in the browser's address bar and hitting the enter key.
Because the page is going to take some time to load, this is known as an async (short for asynchronous) step, so we will need to tell the test robot to wait by using JavaScript's await keyword. That way, it will wait until the page completely finishes loading before moving on to the next step.
This is almost always the behavior we want, so we will almost always use await and visit as a pair. This applies to other kinds of simulated interaction too, such as clicking on a button or a link, as they all take time to complete. Even though sometimes these actions may seem imperceptibly fast to us, we have to remember that our test robot has really, really fast hands, as we will see in a moment.
After navigating to the / URL and waiting for things to settle, we check that the current URL matches the URL that we expect (/). We can use the currentURL test helper here, as well as equal assertion. This is how we encode our "checklist" into code—by specifying, or asserting how things should behave, we will be alerted if our app does not behave in the way that we expect.
Next, we confirmed that the page has an <h2> tag that contains the text "Welcome to Super Rentals!". Knowing this is true means that we can be quite certain that the correct template has been rendered, without errors.
Then, we looked for a link with the text About Us, located using the CSS selector .jumbo a.button. This is the same syntax we used in our stylesheet, which means "look inside the tag with the jumbo class for an <a> tag with the button class." This matches up with the HTML structure in our template.
Once the existence of this element on the page was confirmed, we told the test robot to click on this link. As mentioned above, this is a user interaction, so it needs to be await-ed.
Finally, we asserted that clicking on the link should bring us to the /about URL.

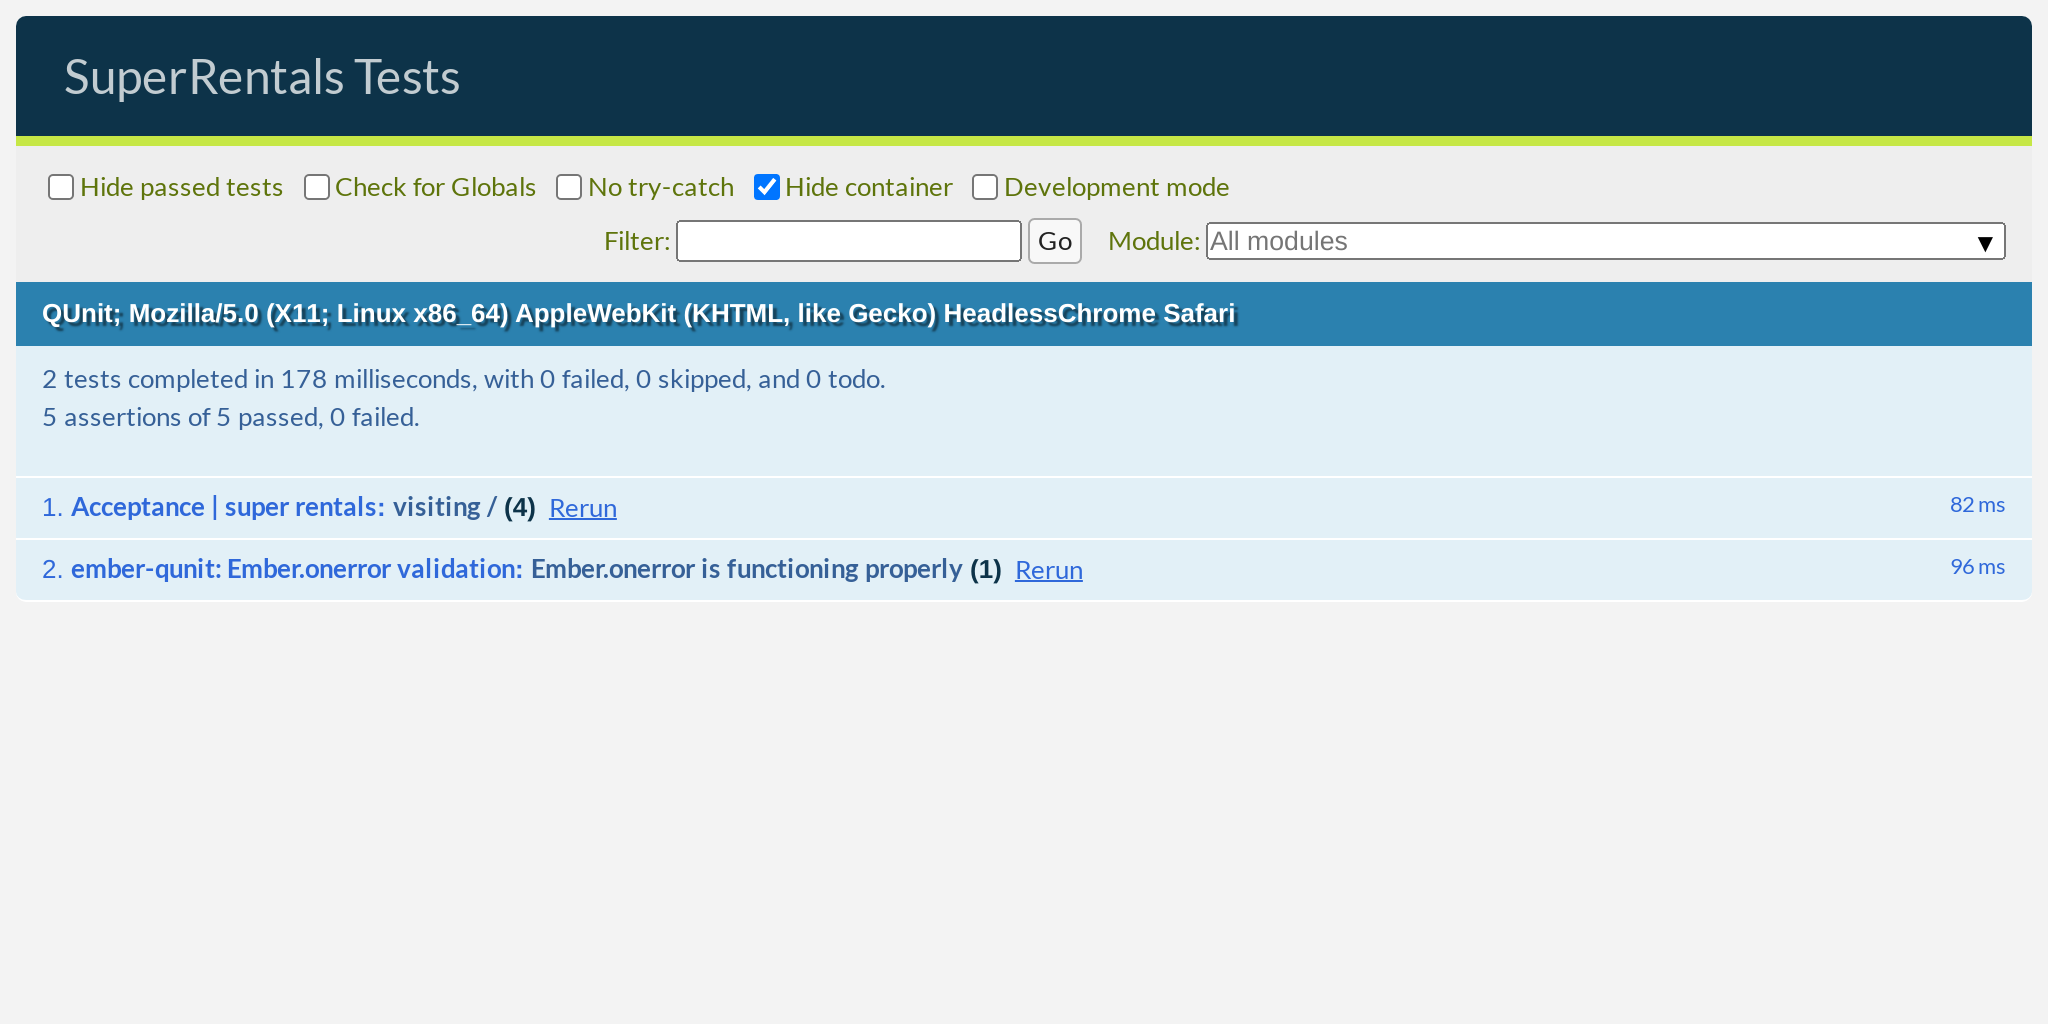
We can put our automated test into motion by running the test server using the ember test --server command, or ember t -s for short. This server behaves much like the development server, but it is explicitly running for our tests. It may automatically open a browser window and take you to the test UI, or you can open http://localhost:7357/ yourself.
If you watch really carefully, you can see our test robot roaming around our app and clicking links:

It happens really quickly though—blink and you might miss it! In fact, I had to slow this animation down by a hundred times just so you can see it in action. I told you the robot has really, really fast hands!
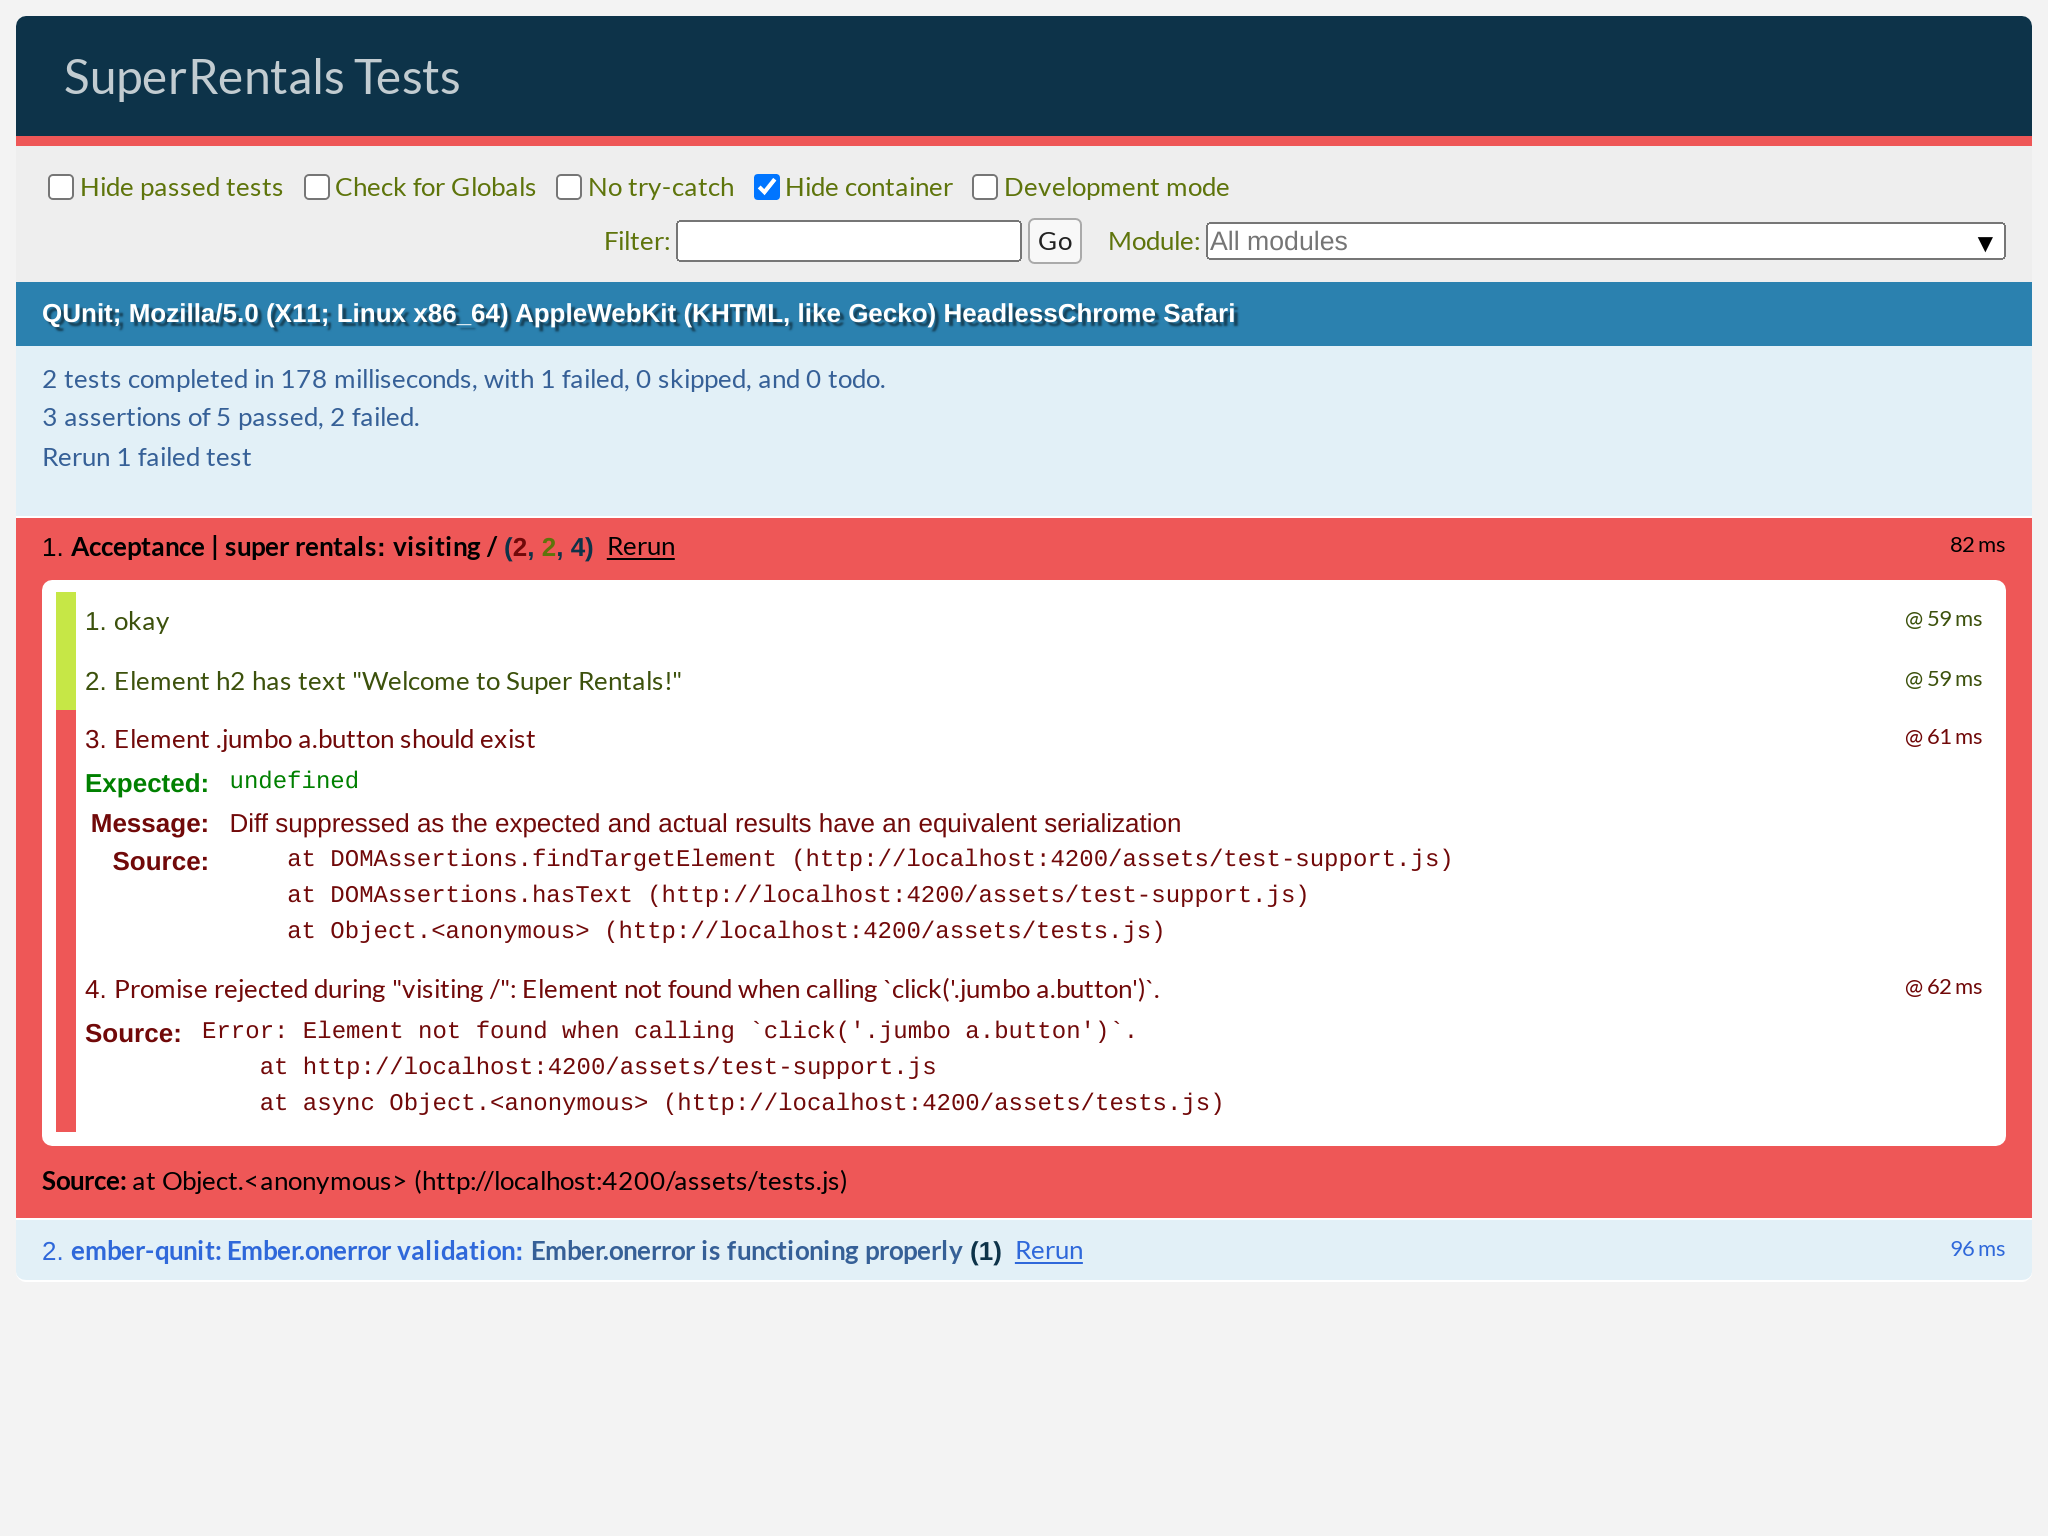
As much as I enjoy watching this robot hard at work, the important thing here is that the test we wrote has passed, meaning everything is working exactly as we expect and the test UI is all green and happy. If you want, you can go to index.hbs, delete the <LinkTo> component and see what things look like when we have a failing test.

Don't forget to put that line back in when you are done!
Practicing the Testing Workflow
Let's practice what we learned by adding tests for the remaining pages:
import { module, test } from 'qunit';
import { click, visit, currentURL } from '@ember/test-helpers';
import { setupApplicationTest } from 'ember-qunit';

module('Acceptance | super rentals', function (hooks) {
  setupApplicationTest(hooks);

  test('visiting /', async function (assert) {
    await visit('/');

    assert.strictEqual(currentURL(), '/');
    assert.dom('h2').hasText('Welcome to Super Rentals!');

    assert.dom('.jumbo a.button').hasText('About Us');
    await click('.jumbo a.button');

    assert.strictEqual(currentURL(), '/about');
  });

  test('visiting /about', async function (assert) {
    await visit('/about');

    assert.strictEqual(currentURL(), '/about');
    assert.dom('h2').hasText('About Super Rentals');

    assert.dom('.jumbo a.button').hasText('Contact Us');
    await click('.jumbo a.button');

    assert.strictEqual(currentURL(), '/getting-in-touch');
  });

  test('visiting /getting-in-touch', async function (assert) {
    await visit('/getting-in-touch');

    assert.strictEqual(currentURL(), '/getting-in-touch');
    assert.dom('h2').hasText('Contact Us');

    assert.dom('.jumbo a.button').hasText('About');
    await click('.jumbo a.button');

    assert.strictEqual(currentURL(), '/about');
  });
});
As with the development server, the test UI should automatically reload and rerun the entire test suite as you save the files. It is recommended that you keep this page open as you develop your app. That way, you will get immediate feedback if you accidentally break something.

For the rest of the tutorial, we will continue to add more automated tests as we develop new features. Testing is optional but highly recommended. Tests don't affect the functionality of your app, they just protect it from regressions, which is just a fancy way of saying "accidental breakages."
If you are in a hurry, you can skip over the testing sections in this tutorial and still be able to follow along with everything else. But don't you find it super satisfying—oddly satisfying—to watch a robot click on things really, really fast?