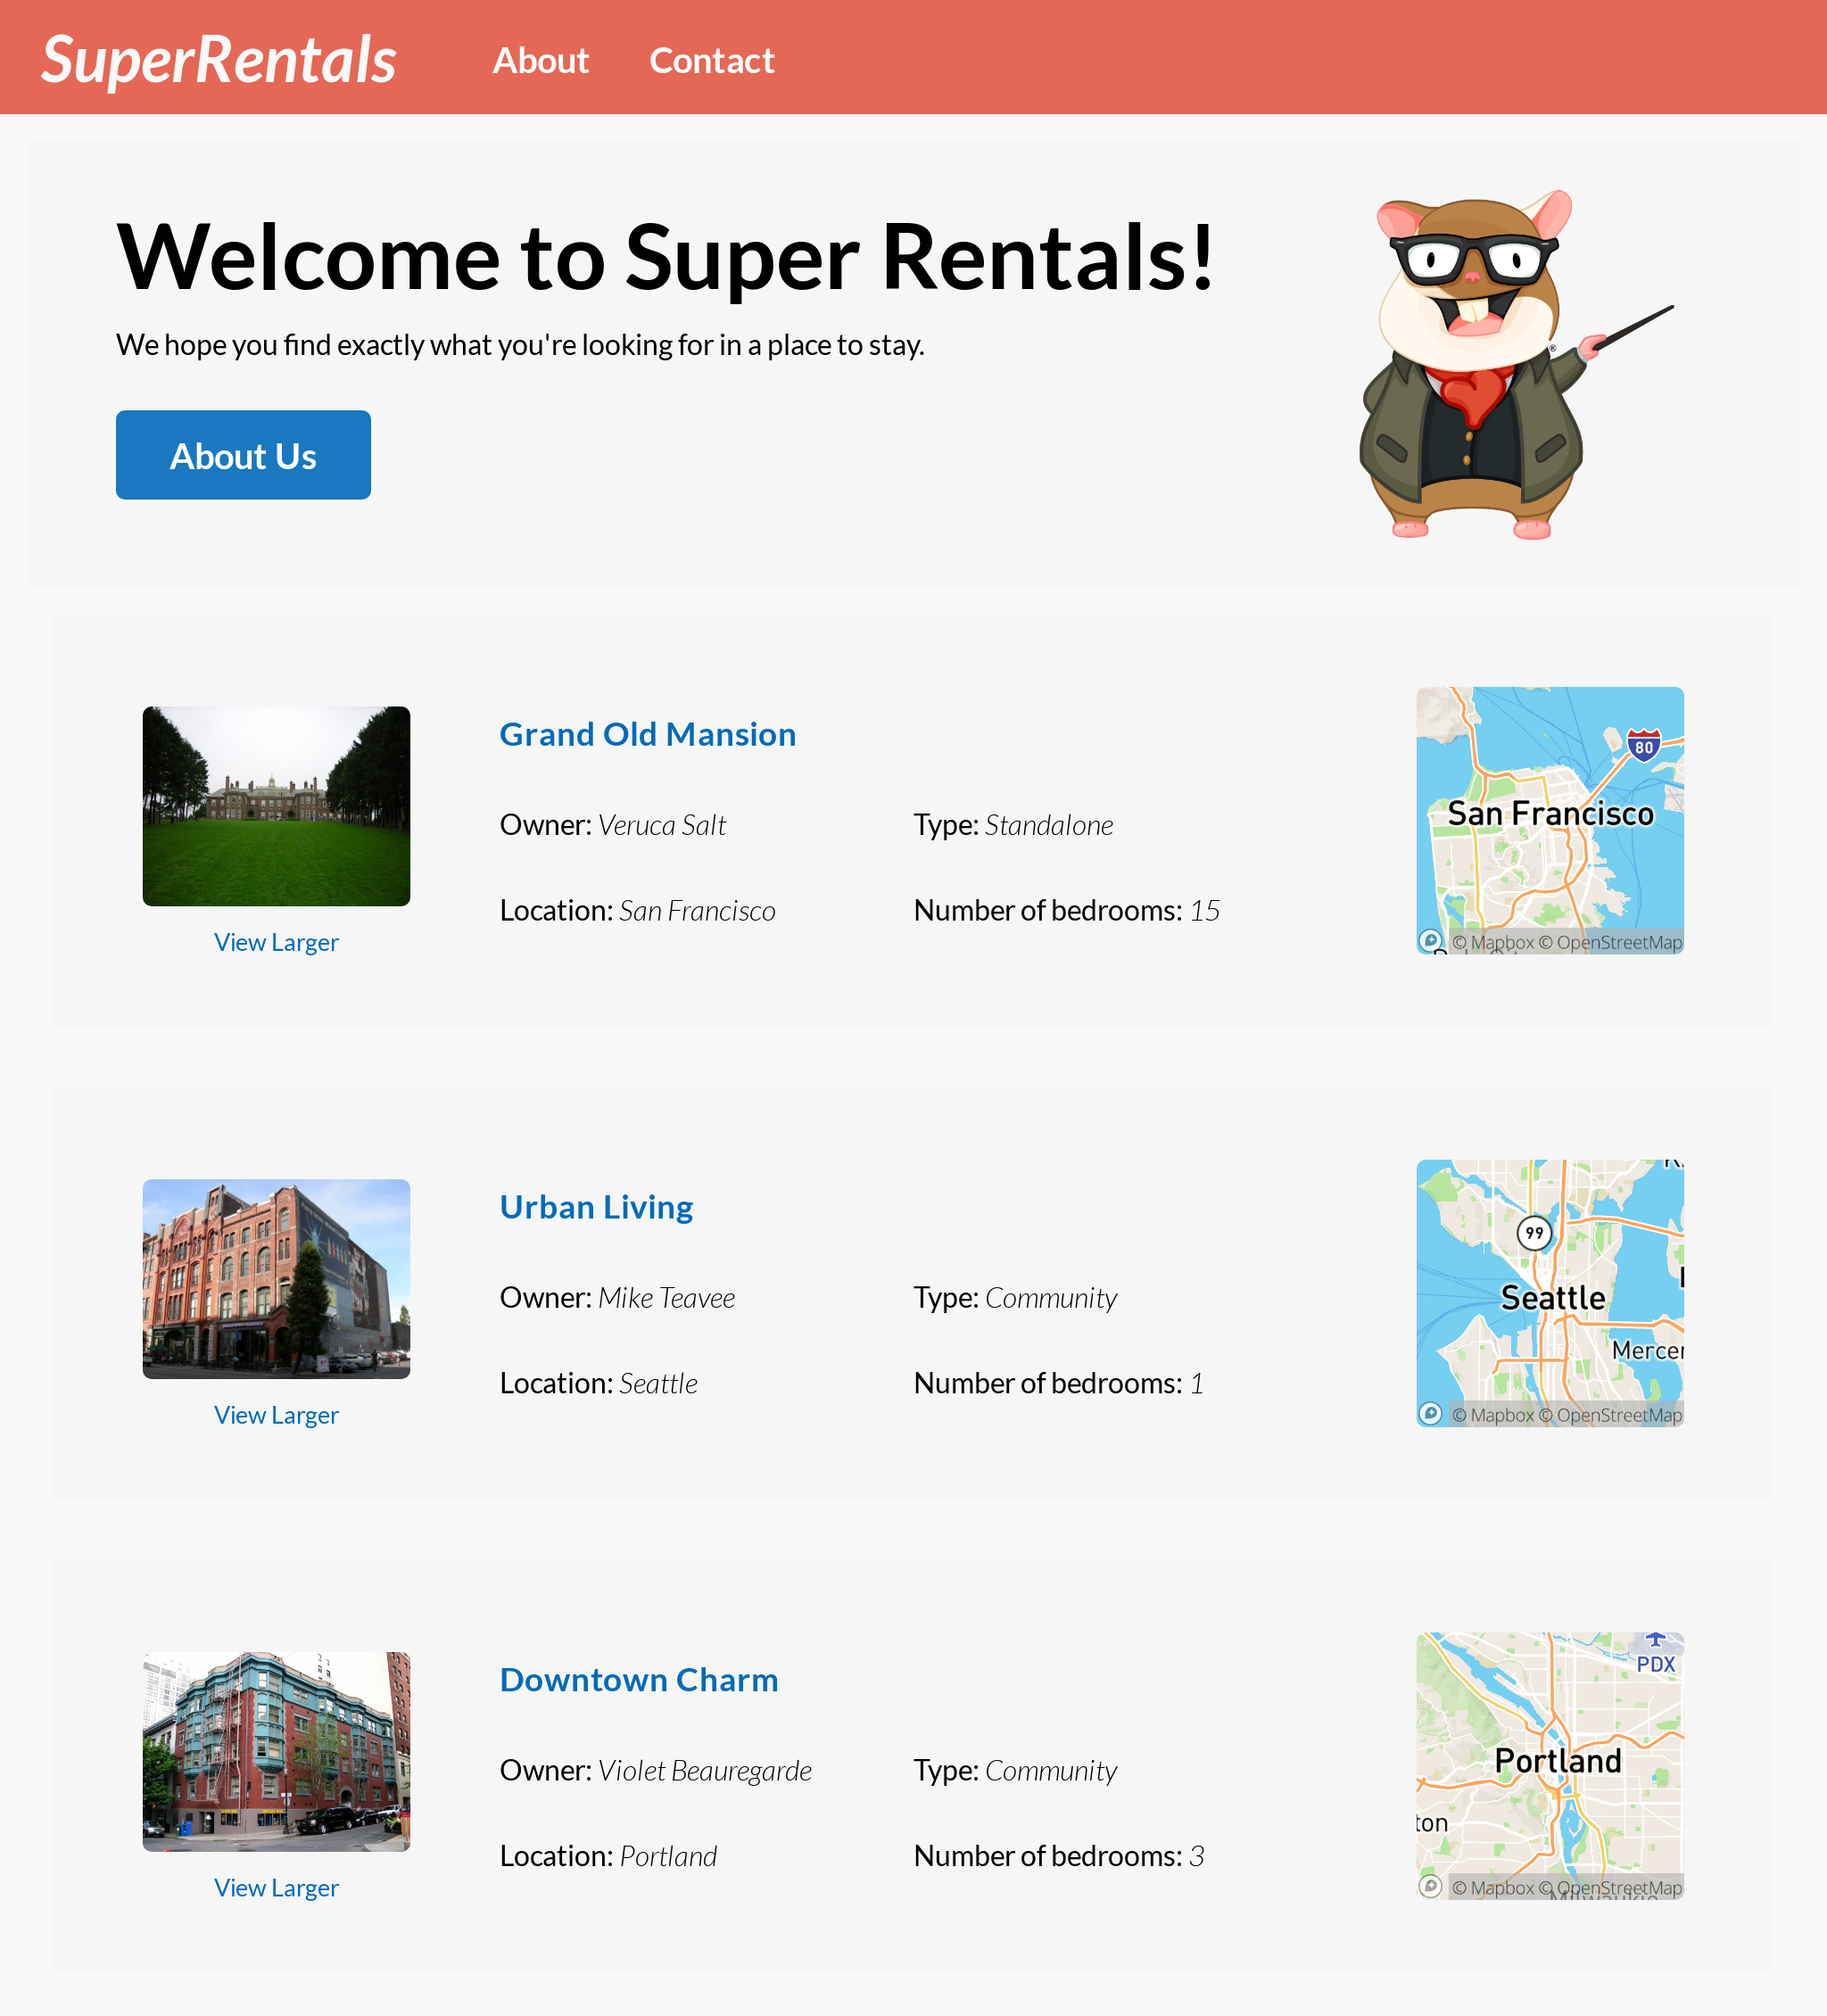
In this chapter, we will work on removing some code duplication in our route handlers, by switching to using EmberData to manage our data. The end result looks exactly the same as before:
During this refactor, you will learn about:
- EmberData models
- Testing models
- Loading models in routes
- The EmberData Store and RequestManager
- Working with Request builders and handlers
What is EmberData?
Now that we've added some features, it's time to do some clean up again!
A while back, we added the rental route. If memory serves us well, we didn't do anything too fancy when we added that new route; we just copy-pasted a lot of the same logic from the index route.
import Route from '@ember/routing/route';

const COMMUNITY_CATEGORIES = ['Condo', 'Townhouse', 'Apartment'];

export default class IndexRoute extends Route {
  async model() {
    let response = await fetch('/api/rentals.json');
    let { data } = await response.json();

    return data.map((model) => {
      let { id, attributes } = model;
      let type;

      if (COMMUNITY_CATEGORIES.includes(attributes.category)) {
        type = 'Community';
      } else {
        type = 'Standalone';
      }

      return { id, type, ...attributes };
    });
  }
}import Route from '@ember/routing/route';
const COMMUNITY_CATEGORIES = ['Condo', 'Townhouse', 'Apartment'];
export default class RentalRoute extends Route {
async model(params) {
let response = await fetch(`/api/rentals/${params.rental_id}.json`);
let { data } = await response.json();
let { id, attributes } = data;
let type;
if (COMMUNITY_CATEGORIES.includes(attributes.category)) {
type = 'Community';
} else {
type = 'Standalone';
}
return { id, type, ...attributes };
}
}This duplication incurred a bit of technical debt for us, making our code base harder to maintain in the long run. For example, if we wanted to change something about how our data-fetching logic worked, we'd have to change it in both the index and rental routes. If we changed things in one place, but forgot about the other spot, we could end up with really subtle bugs in our app! Yikes!
Chances are, as we keep working on this app, we will need to add more routes that fetch data from the server. Since all of our server's API endpoints follow the JSON:API format, we'd have to keep copying this boilerplate for every single new route we add to the app!
Fortunately, we're not going to do any of that. As it turns out, there's a much better solution here: we can use EmberData! As its name implies, EmberData is a library that helps manage data and application state in Ember applications.
There's a lot to learn about EmberData, but let's start by uncovering features that help with our immediate problem.

EmberData Models
EmberData is built around the idea of organizing your app's data into model objects. These objects represent units of information that our application presents to the user. For example, the rental property data we have been working with would be a good candidate.
Enough talking, why don't we give that a try!
import Model, { attr } from '@ember-data/model';

const COMMUNITY_CATEGORIES = ['Condo', 'Townhouse', 'Apartment'];

export default class RentalModel extends Model {
  @attr title;
  @attr owner;
  @attr city;
  @attr location;
  @attr category;
  @attr image;
  @attr bedrooms;
  @attr description;

  get type() {
    if (COMMUNITY_CATEGORIES.includes(this.category)) {
      return 'Community';
    } else {
      return 'Standalone';
    }
  }
}
Here, we created a RentalModel class that extends EmberData's Model superclass. When fetching the listing data from the server, each individual rental property will be represented by an instance (also known as a record) of our RentalModel class.
We used the @attr decorator to declare the attributes of a rental property. These attributes correspond directly to the attributes data we expect the server to provide in its responses:
{
  "data": {
    "type": "rental",
    "id": "grand-old-mansion",
    "attributes": {
      "title": "Grand Old Mansion",
      "owner": "Veruca Salt",
      "city": "San Francisco",
      "location": {
        "lat": 37.7749,
        "lng": -122.4194
      },
      "category": "Estate",
      "bedrooms": 15,
      "image": "https://upload.wikimedia.org/wikipedia/commons/c/cb/Crane_estate_(5).jpg",
      "description": "This grand old mansion sits on over 100 acres of rolling hills and dense redwood forests."
    }
  }
}
We can access these attributes for an instance of RentalModel using standard dot notation, such as model.title or model.location.lat. In addition to the attributes we declared here, there will always be an implicit id attribute as well, which is used to uniquely identify the model object and can be accessed using model.id.
Model classes in EmberData are no different than any other classes we've worked with so far, in that they allow for a convenient place for adding custom behavior. We took advantage of this feature to move our type logic (which is a major source of unnecessary duplication in our route handlers) into a getter on our model class. Once we have everything working here, we will go back to clean that up.
Attributes declared with the @attr decorator work with the auto-track feature (which we learned about in a previous chapter). Therefore, we are free to reference any model attributes in our getter (this.category), and Ember will know when to invalidate its result.
Testing Models
So far, we haven't had a good place to write tests for the rental property's type logic. Now that we have found a home for it in the model class, it also made it easy to test this behavior. We can add a test file for our model using the model-test generator:
$ ember generate model-test rental
installing model-test
  create tests/unit/models/rental-test.js

Running "lint:fix" script...The generator created some boilerplate code for us, which serves as a pretty good starting point for writing our test:
import { setupTest } from 'super-rentals/tests/helpers';
import { module, test } from 'qunit';

module('Unit | Model | rental', function (hooks) {
  setupTest(hooks);

  // Replace this with your real tests.
  test('it exists', function (assert) {
  test('it has the right type', function (assert) {
    const store = this.owner.lookup('service:store');
    const model = store.createRecord('rental', {});
    assert.ok(model, 'model exists');
    let rental = store.createRecord('rental', {
      id: 'grand-old-mansion',
      title: 'Grand Old Mansion',
      owner: 'Veruca Salt',
      city: 'San Francisco',
      location: {
        lat: 37.7749,
        lng: -122.4194,
      },
      category: 'Estate',
      bedrooms: 15,
      image:
        'https://upload.wikimedia.org/wikipedia/commons/c/cb/Crane_estate_(5).jpg',
      description:
        'This grand old mansion sits on over 100 acres of rolling hills and dense redwood forests.',
    });

    assert.strictEqual(rental.type, 'Standalone');

    rental.category = 'Condo';
    assert.strictEqual(rental.type, 'Community');

    rental.category = 'Townhouse';
    assert.strictEqual(rental.type, 'Community');

    rental.category = 'Apartment';
    assert.strictEqual(rental.type, 'Community');

    rental.category = 'Estate';
    assert.strictEqual(rental.type, 'Standalone');
  });
});
This model test is also known as a unit test. Unlike any of the other tests that we've written thus far, this test doesn't actually render anything. It just instantiates the rental model object and tests the model object directly, manipulating its attributes and asserting their value.
It is worth pointing out that EmberData provides a store service, also known as the EmberData store. In our test, we used the this.owner.lookup('service:store') API to get access to the EmberData store. The store provides a createRecord method to instantiate our model object for us. To make this store service available, we must add the following file:
export { default } from 'ember-data/store';Running the tests in the browser confirms that everything is working as intended:

Loading Models in Routes
Alright, now that we have our model set up, it's time to refactor our route handlers to use EmberData and remove the duplication!
import Route from '@ember/routing/route';

const COMMUNITY_CATEGORIES = ['Condo', 'Townhouse', 'Apartment'];
import { service } from '@ember/service';
import { query } from '@ember-data/json-api/request';

export default class IndexRoute extends Route {
  async model() {
    let response = await fetch('/api/rentals.json');
    let { data } = await response.json();

    return data.map((model) => {
      let { id, attributes } = model;
      let type;
  @service store;

      if (COMMUNITY_CATEGORIES.includes(attributes.category)) {
        type = 'Community';
      } else {
        type = 'Standalone';
      }

      return { id, type, ...attributes };
    });
  async model() {
    const { content } = await this.store.request(query('rental'));
    return content.data;
  }
}import Route from '@ember/routing/route';
const COMMUNITY_CATEGORIES = ['Condo', 'Townhouse', 'Apartment'];
import { service } from '@ember/service';
import { findRecord } from '@ember-data/json-api/request';
export default class RentalRoute extends Route {
async model(params) {
let response = await fetch(`/api/rentals/${params.rental_id}.json`);
let { data } = await response.json();
let { id, attributes } = data;
let type;
@service store;
if (COMMUNITY_CATEGORIES.includes(attributes.category)) {
type = 'Community';
} else {
type = 'Standalone';
}
return { id, type, ...attributes };
async model(params) {
const { content } = await this.store.request(
findRecord('rental', params.rental_id),
);
return content.data;
}
}Wow... that removed a lot of code! This is all possible thanks to the power of conventions!
The EmberData Store
As mentioned above, EmberData provides a store service, which we can inject into our route using the @service store; declaration, making the EmberData store available as this.store. It provides the request method for making fetch requests using RequestManager. As its name implies: the RequestManager is request centric. Instead of answering questions about specific records or types of records, we ask it about the status of a specific request. To initiate a request, we use the request method on the store, passing in a request object. The request object is created using builders from @ember-data/json-api/request. Specifically, the findRecord builder takes a model type (rental in our case) and a model ID (for us, that would be params.rental_id from the URL) as arguments and builds fetch options for a single record. On the other hand, the query builder takes the model type as an argument and builds fetch options to query for all records of that type.
EmberData can do many things, and in default setup it provides caching. EmberData's store caches server responses, allowing instant access to previously fetched data. If the data is already cached, you don't need to wait for the server to respond again. If not, the store fetches it for you.
That's a lot of theory, but is this going to work in our app? Let's run the tests and find out!
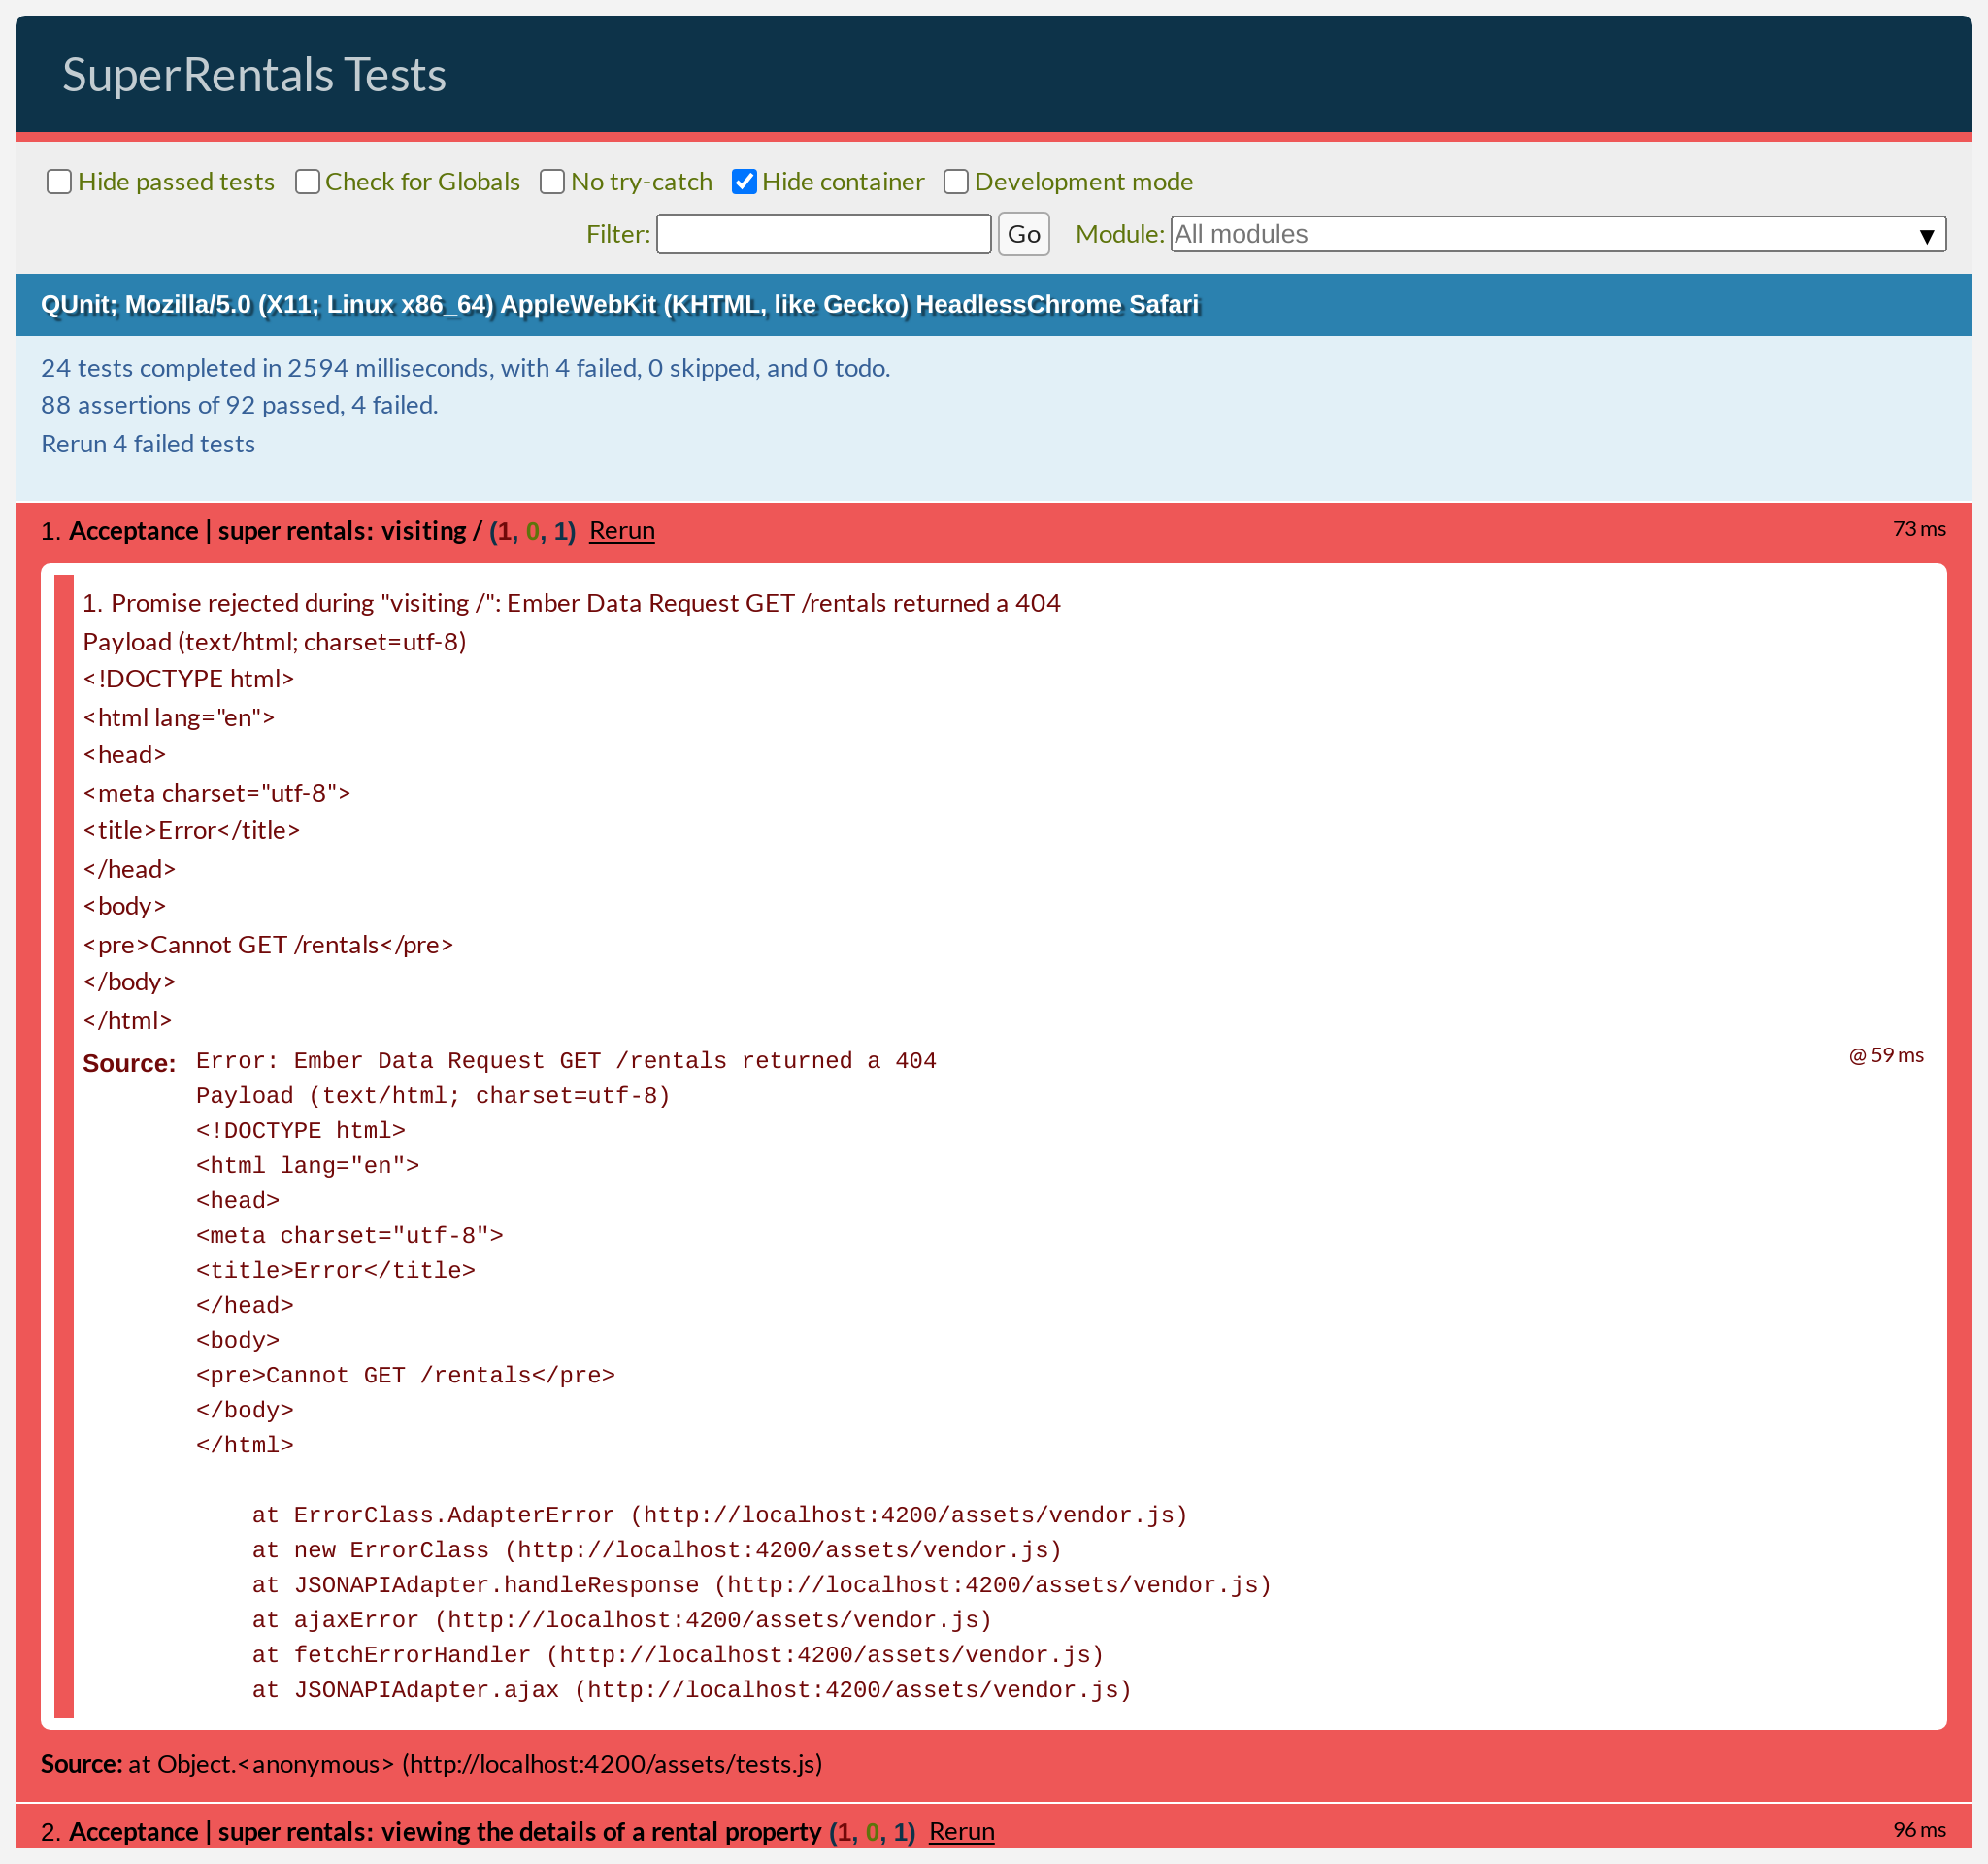
Darn, there were a couple of failing tests! At the same time, it's great that we were made aware of the potential problems – yay, regression tests!
Looking at the failure messages, the problem appears to be that the store went to the wrong URLs when fetching data from the server, resulting in some 404 errors. Specifically:
- When building the
query('rental')request, the resultedurlin request options was/rentals, instead of/api/rentals.json. - When building the
findRecord('rental', 'grand-old-mansion')request, the resultedurlin request options was/rentals/grand-old-mansion, instead of/api/rentals/grand-old-mansion.json.
Hm, okay, so we have to teach EmberData to fetch data from the correct location. But how does EmberData know how to fetch data from our server in the first place?
Working with Request builders and Handlers
Let's start customizing the things that didn't work for us by default. Specifically:
- Our resource URLs have an extra
/apinamespace prefix. - Our resource URLs have a
.jsonextension at the end.
The first thing we want to do is have our builder respect a configurable default host and/or namespace. Adding a namespace prefix happens to be pretty common across Ember apps, so EmberData provides a global config mechanism for host and namespace. Typically you will want to do this either in your store file or app file.
import Application from '@ember/application';
import Resolver from 'ember-resolver';
import loadInitializers from 'ember-load-initializers';
import config from 'super-rentals/config/environment';
import { setBuildURLConfig } from '@ember-data/request-utils';

setBuildURLConfig({
  namespace: 'api',
});

export default class App extends Application {
  modulePrefix = config.modulePrefix;
  podModulePrefix = config.podModulePrefix;
  Resolver = Resolver;
}

loadInitializers(App, config.modulePrefix);
Adding the .json extension is a bit less common, and doesn't have a declarative configuration API of its own. We could just modify request options directly in place of use, but that would be a bit messy. Instead, let's create a handler to do this for us.
export const JsonSuffixHandler = {
  request(context, next) {
    const { request } = context;
    const updatedRequest = Object.assign({}, request, {
      url: request.url + '.json',
    });

    return next(updatedRequest);
  },
};
As you can see, the handler appends .json to the URL of each request. Pretty simple, right? Then it calls the next function with the modified copy of the request object (because it is immutable). This is how we can chain multiple handlers together to build up a request.
The next step that we need to do, is to configure RequestManager to use this handler. Let's create the request-manager service.
import BaseRequestManager from '@ember-data/request';
import Fetch from '@ember-data/request/fetch';
import { JsonSuffixHandler } from 'super-rentals/utils/handlers';

export default class RequestManager extends BaseRequestManager {
  constructor(args) {
    super(args);

    this.use([JsonSuffixHandler, Fetch]);
  }
}
Notice that we are using the JsonSuffixHandler we created earlier. We also use the Fetch handler, which is a built-in handler that makes the actual fetch request. The use method is used to add handlers to the request manager. The order in which handlers are added is important, as they will be executed in the order they were added.
Lastly, let's update our store service to use the new RequestManager we created.
export { default } from 'ember-data/store';
// eslint-disable-next-line ember/use-ember-data-rfc-395-imports
import BaseStore from 'ember-data/store';
import { service } from '@ember/service';

export default class Store extends BaseStore {
  @service requestManager;
}
With our new EmberData configuration in place, all our tests should pass again.

The UI works exactly the same as before as well, just with much less code!

EmberData offers many, many features (like managing the relationships between different models) and there's a lot more we can learn about it. For example, if your backend's have some inconsistencies across different endpoints, EmberData allows you to define request specific handlers and builders! We are just scratching the surface here. If you want to learn more about EmberData, check out its own dedicated section in the guides!