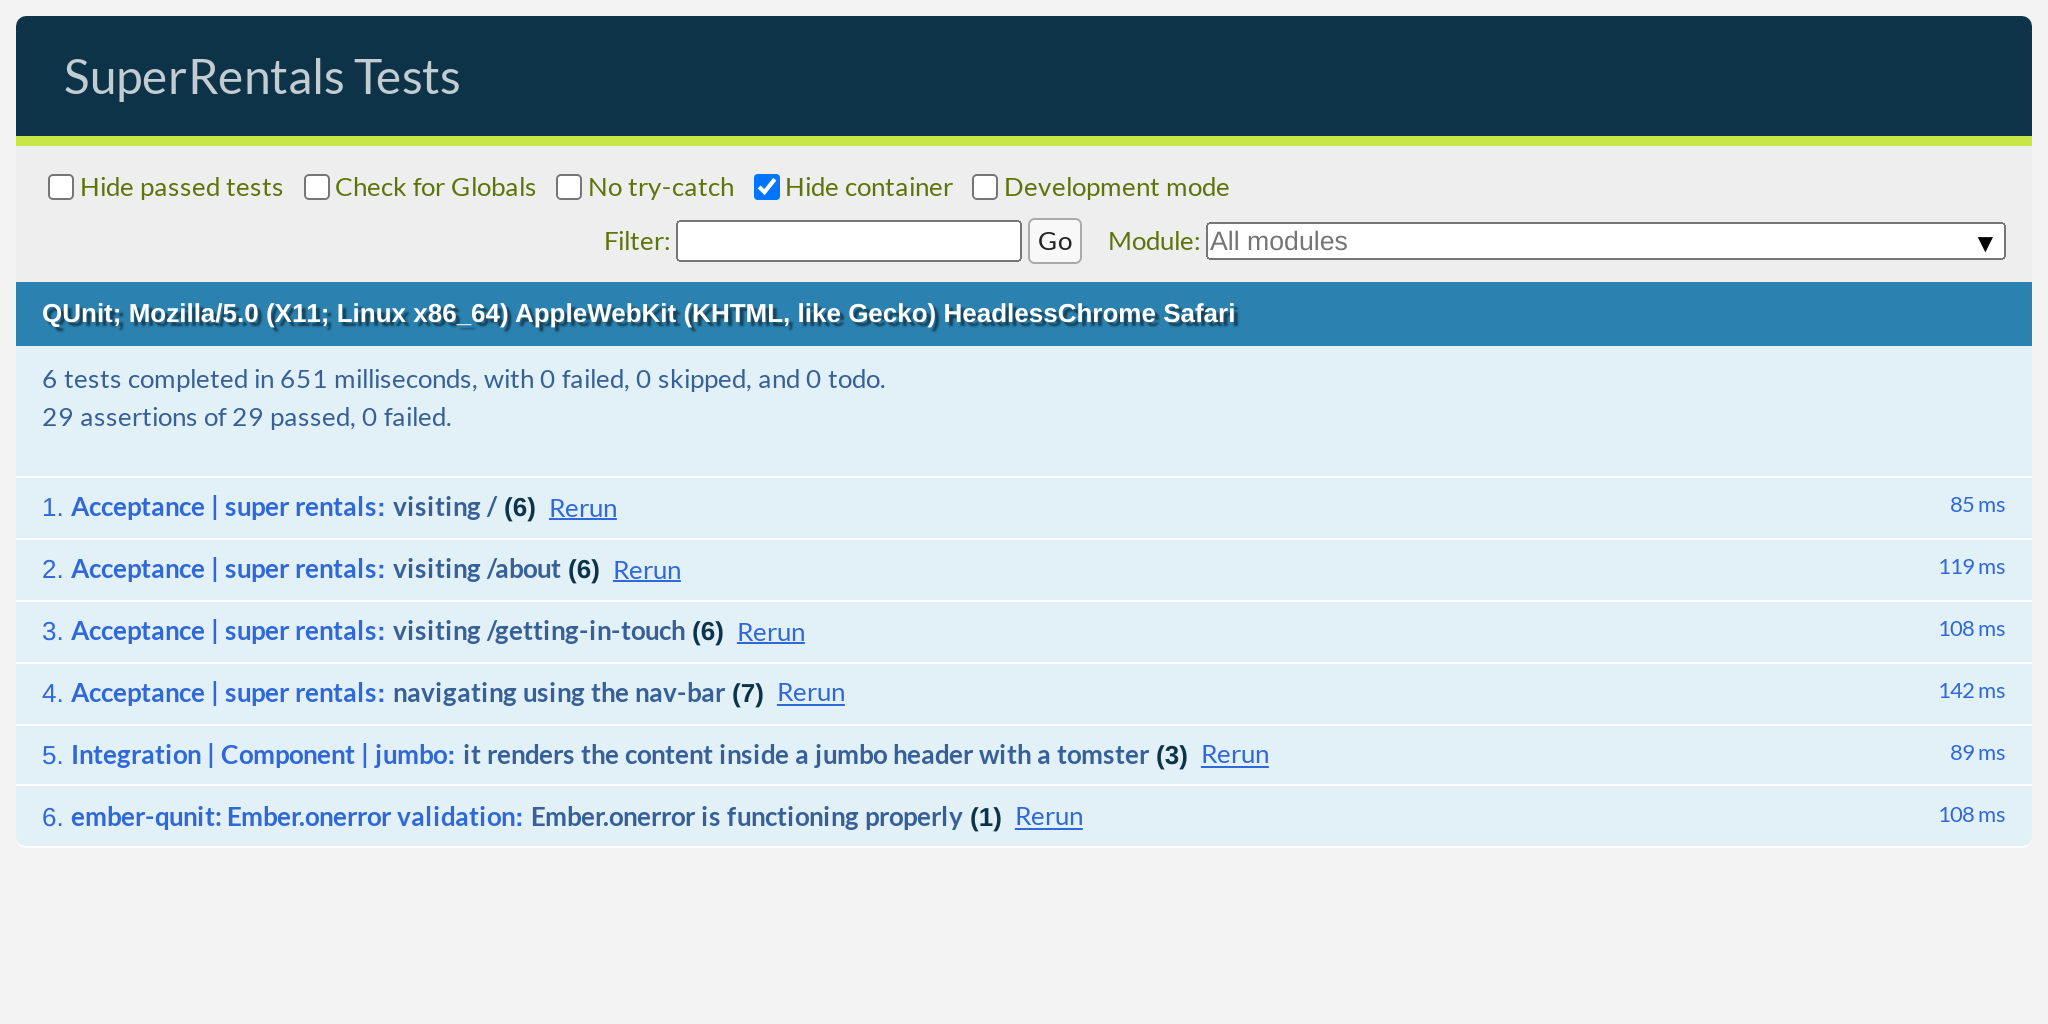
In this chapter, you will refactor your existing templates to use components. We will also be adding a site-wide navigation bar:

In doing so, you will learn about:
- Extracting markup into components
- Invoking components
- Passing content to components
- Yielding content with the
{{yield}}keyword - Refactoring existing code
- Writing component tests
- Using the application template and
{{outlet}}s
Extracting Markup into Components
In a previous chapter, we got a light introduction to components when using <LinkTo> to connect our pages. To recap, we said that components are Ember's way of creating custom tags to supplement the built-in HTML tags from the browser. Now, we are going to create our own components!
During the course of developing an app, it is pretty common to reuse the same UI element across different parts of the app. For example, we have been using the same "jumbo" header in all three pages so far. On every page we worked to follow the same basic structure:
<div class="jumbo">
  <div class="right tomster"></div>
  <!-- page specific content -->
</div>
Since it is not a lot of code, it may not seem like a big deal to duplicate this structure on each page. However, if our designer wanted us to make a change to the header, we would have to find and update every single copy of this code. As our app gets bigger, this will become even more of a problem.
Components are the perfect solution to this. In its most basic form, a component is just a piece of template that can be referred to by name. Let's start by creating a new file at app/components/jumbo.gjs with markup for the "jumbo" header:
<template>
  <div class="jumbo">
    <div class="right tomster"></div>
    {{yield}}
  </div>
</template>
That's it, we have created our first component! We can now invoke this component anywhere in our app, by importing it and using it like we saw with <LinkTo> previously.
Passing Content to Components with {{yield}}
When invoking a component, Ember will replace the component tag with the content found in the component's template. Just like regular HTML tags, it is common to pass content to components, like <Jumbo>some content</Jumbo>. We can enable this using the {{yield}} keyword, which will be replaced with the content that was passed to the component.
Let's try it out by editing the index template:
import { LinkTo } from '@ember/routing';
import { LinkTo } from '@ember/routing';
import Jumbo from 'super-rentals/components/jumbo';

<template>
  <div class="jumbo">
    <div class="right tomster"></div>
  <Jumbo>
    <h2>Welcome to Super Rentals!</h2>
    <p>We hope you find exactly what you're looking for in a place to stay.</p>
    <LinkTo @route="about" class="button">About Us</LinkTo>
  </div>
  </Jumbo>
</template>
Refactoring Existing Code
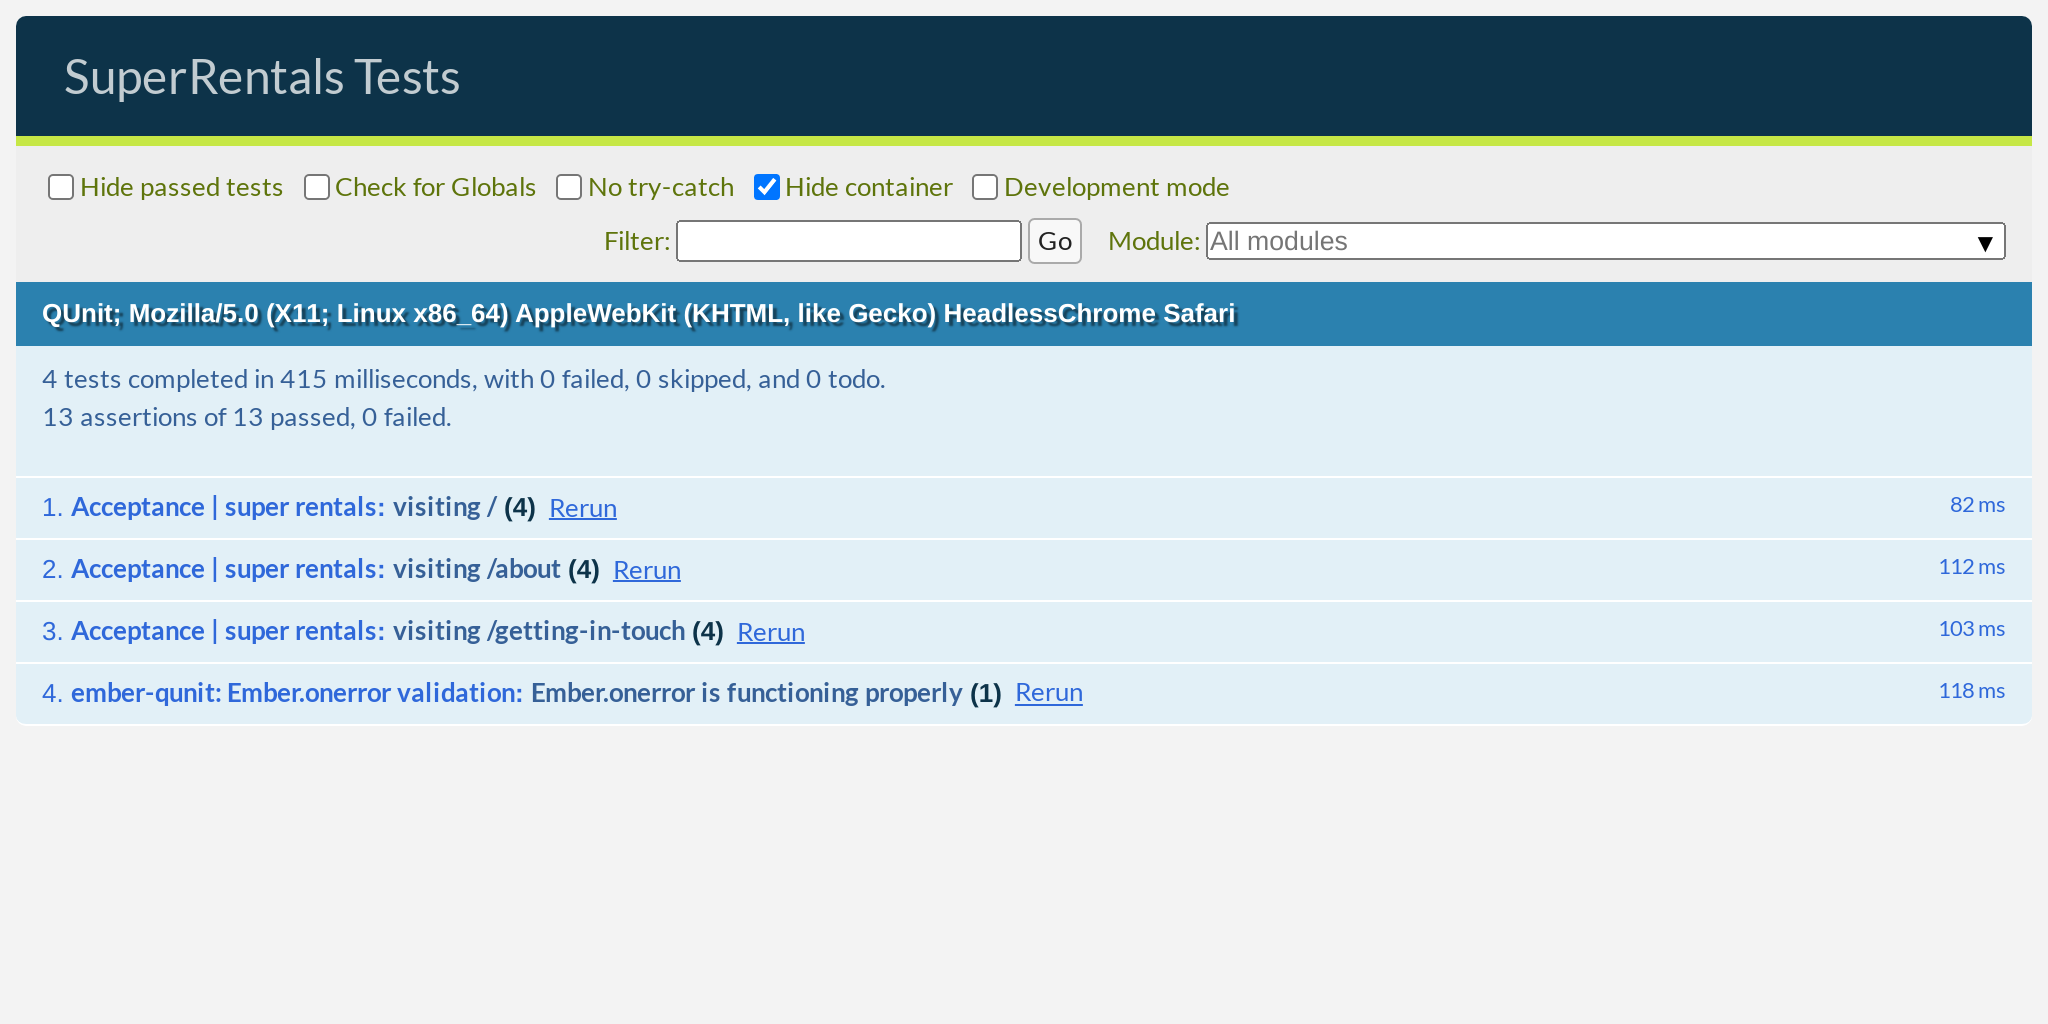
After saving the changes, your page should automatically reload, and, voilà... nothing changed? Well, that's exactly what we wanted to happen this time! We successfully refactored our index template to use the <Jumbo> component, and everything still works as expected. And the tests still pass!

Let's do the same for our other two pages as well.
import { LinkTo } from '@ember/routing';
import Jumbo from 'super-rentals/components/jumbo';

<template>
  <div class="jumbo">
    <div class="right tomster"></div>
  <Jumbo>
    <h2>About Super Rentals</h2>
    <p>
      The Super Rentals website is a delightful project created to explore Ember.
      By building a property rental site, we can simultaneously imagine traveling
      AND building Ember applications.
    </p>
    <LinkTo @route="contact" class="button">Contact Us</LinkTo>
  </div>
  </Jumbo>
</template>import { LinkTo } from '@ember/routing';
import Jumbo from 'super-rentals/components/jumbo';
<template>
<div class="jumbo">
<div class="right tomster"></div>
<Jumbo>
<h2>Contact Us</h2>
<p>
Super Rentals Representatives would love to help you<br>
choose a destination or answer any questions you may have.
</p>
<address>
Super Rentals HQ
<p>
1212 Test Address Avenue<br>
Testington, OR 97233
</p>
<a href="tel:503.555.1212">+1 (503) 555-1212</a><br>
<a href="mailto:superrentalsrep@emberjs.com">superrentalsrep@emberjs.com</a>
</address>
<LinkTo @route="about" class="button">About</LinkTo>
</div>
</Jumbo>
</template>After saving, everything should look exactly the same as before, and all the tests should still pass. Very nice!


While it may not save you a lot of characters in this case, encapsulating the implementation of the "jumbo" header into its own component makes the template slightly easier to read, as it allows the reader to focus on things that are unique to just that page. Further, if we need to make a change to the header, we can make it in a single place. Feel free to give that a try!
Writing Component Tests
Before we move on to the next component, let's write an automated test for our <Jumbo> component. Run this command in your terminal:
$ ember generate component-test jumbo
installing component-test
  create tests/integration/components/jumbo-test.gjs

Running "lint:fix" script...
Here, we used the generator to generate a component test, also known as a rendering test. These are used to render and test a single component at a time. This is in contrast to the acceptance tests that we wrote earlier, which have to navigate and render entire pages worth of content.
Let's replace the boilerplate code that was generated for us with our own test:
import { module, test } from 'qunit';
import { setupRenderingTest } from 'super-rentals/tests/helpers';
import { render } from '@ember/test-helpers';
import Jumbo from 'super-rentals/components/jumbo';

module('Integration | Component | jumbo', function (hooks) {
  setupRenderingTest(hooks);

  test('it renders', async function (assert) {
    // Updating values is achieved using autotracking, just like in app code. For example:
    // class State { @tracked myProperty = 0; }; const state = new State();
    // and update using state.myProperty = 1; await rerender();
    // Handle any actions with function myAction(val) { ... };

    await render(<template><Jumbo /></template>);

    assert.dom().hasText('');

    // Template block usage:
  test('it renders the content inside a jumbo header with a tomster', async function (assert) {
    await render(<template>
      <Jumbo>
        template block text
      </Jumbo>
      <Jumbo>Hello World</Jumbo>
    </template>);

    assert.dom().hasText('template block text');
    assert.dom('.jumbo').exists();
    assert.dom('.jumbo').hasText('Hello World');
    assert.dom('.jumbo .tomster').exists();
  });
});
Instead of navigating to a URL, we start the test by rendering our <Jumbo> component on the test page. This is useful because it may otherwise require a lot of setup and interaction just to get to a page where your component is used. Component tests allows us to skip all of that and focus exclusively on testing the component in isolation.
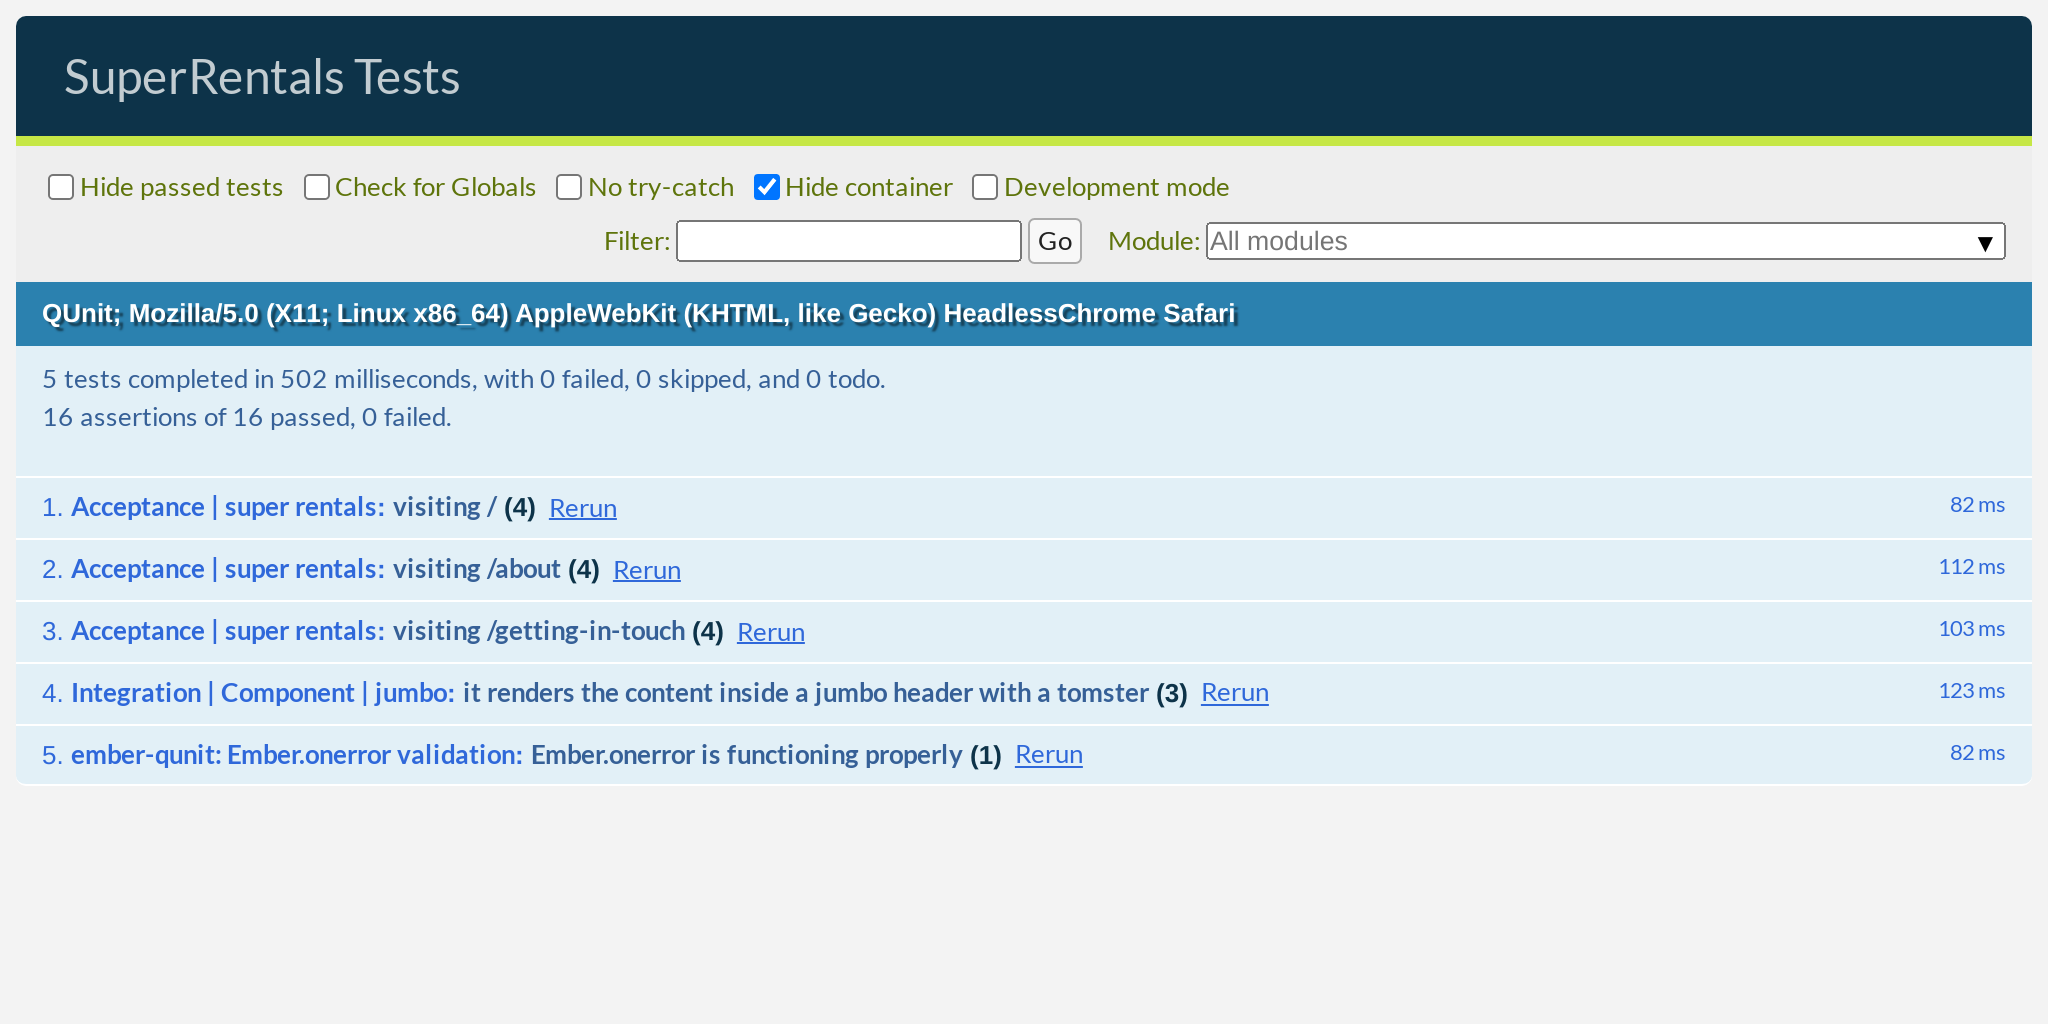
Just like visit and click, which we used earlier, render is also an async step, so we need to pair it with the await keyword. Other than that, the rest of the test is very similar to the acceptance tests we wrote in the previous chapter. Make sure the test is passing by checking the tests UI in the browser.
We've been refactoring our existing code for a while, so let's change gears and implement a new feature: the site-wide navigation bar.
We can create a <NavBar> component at app/components/nav-bar.gjs:
import { LinkTo } from '@ember/routing';

<template>
  <nav class="menu">
    <LinkTo @route="index" class="menu-index">
      <h1>SuperRentals</h1>
    </LinkTo>
    <div class="links">
      <LinkTo @route="about" class="menu-about">
        About
      </LinkTo>
      <LinkTo @route="contact" class="menu-contact">
        Contact
      </LinkTo>
    </div>
  </nav>
</template>
Next, we will add our <NavBar> component to the top of each page:
import { LinkTo } from '@ember/routing';
import Jumbo from 'super-rentals/components/jumbo';
import NavBar from 'super-rentals/components/nav-bar';

<template>
  <NavBar />
  <Jumbo>
    <h2>About Super Rentals</h2>
    <p>
      The Super Rentals website is a delightful project created to explore Ember.
      By building a property rental site, we can simultaneously imagine traveling
      AND building Ember applications.
    </p>
    <LinkTo @route="contact" class="button">Contact Us</LinkTo>
  </Jumbo>
</template>import { LinkTo } from '@ember/routing';
import Jumbo from 'super-rentals/components/jumbo';
import NavBar from 'super-rentals/components/nav-bar';
<template>
<NavBar />
<Jumbo>
<h2>Contact Us</h2>
<p>
Super Rentals Representatives would love to help you<br>
choose a destination or answer any questions you may have.
</p>
<address>
Super Rentals HQ
<p>
1212 Test Address Avenue<br>
Testington, OR 97233
</p>
<a href="tel:503.555.1212">+1 (503) 555-1212</a><br>
<a href="mailto:superrentalsrep@emberjs.com">superrentalsrep@emberjs.com</a>
</address>
<LinkTo @route="about" class="button">About</LinkTo>
</Jumbo>
</template>import { LinkTo } from '@ember/routing';
import Jumbo from 'super-rentals/components/jumbo';
import NavBar from 'super-rentals/components/nav-bar';
<template>
<NavBar />
<Jumbo>
<h2>Welcome to Super Rentals!</h2>
<p>We hope you find exactly what you're looking for in a place to stay.</p>
<LinkTo @route="about" class="button">About Us</LinkTo>
</Jumbo>
</template>Voilà, we made another component!


Everything looks great in the browser, but as we know, we can never be too sure. So let's write some tests!
But what kind of test? We could write a component test for the <NavBar> by itself, like we just did for the <Jumbo> component. However, since the job of <NavBar> is to navigate us around the app, it would not make a lot of sense to test this particular component in isolation. So, let's go back to writing some acceptance tests!
import { module, test } from 'qunit';
import { click, visit, currentURL } from '@ember/test-helpers';
import { setupApplicationTest } from 'super-rentals/tests/helpers';

module('Acceptance | super rentals', function (hooks) {
  setupApplicationTest(hooks);

  test('visiting /', async function (assert) {
    await visit('/');

    assert.strictEqual(currentURL(), '/');
    assert.dom('nav').exists();
    assert.dom('h1').hasText('SuperRentals');
    assert.dom('h2').hasText('Welcome to Super Rentals!');

    assert.dom('.jumbo a.button').hasText('About Us');
    await click('.jumbo a.button');

    assert.strictEqual(currentURL(), '/about');
  });

  test('visiting /about', async function (assert) {
    await visit('/about');

    assert.strictEqual(currentURL(), '/about');
    assert.dom('nav').exists();
    assert.dom('h1').hasText('SuperRentals');
    assert.dom('h2').hasText('About Super Rentals');

    assert.dom('.jumbo a.button').hasText('Contact Us');
    await click('.jumbo a.button');

    assert.strictEqual(currentURL(), '/getting-in-touch');
  });

  test('visiting /getting-in-touch', async function (assert) {
    await visit('/getting-in-touch');

    assert.strictEqual(currentURL(), '/getting-in-touch');
    assert.dom('nav').exists();
    assert.dom('h1').hasText('SuperRentals');
    assert.dom('h2').hasText('Contact Us');

    assert.dom('.jumbo a.button').hasText('About');
    await click('.jumbo a.button');

    assert.strictEqual(currentURL(), '/about');
  });

  test('navigating using the nav-bar', async function (assert) {
    await visit('/');

    assert.dom('nav').exists();
    assert.dom('nav a.menu-index').hasText('SuperRentals');
    assert.dom('nav a.menu-about').hasText('About');
    assert.dom('nav a.menu-contact').hasText('Contact');

    await click('nav a.menu-about');
    assert.strictEqual(currentURL(), '/about');

    await click('nav a.menu-contact');
    assert.strictEqual(currentURL(), '/getting-in-touch');

    await click('nav a.menu-index');
    assert.strictEqual(currentURL(), '/');
  });
});
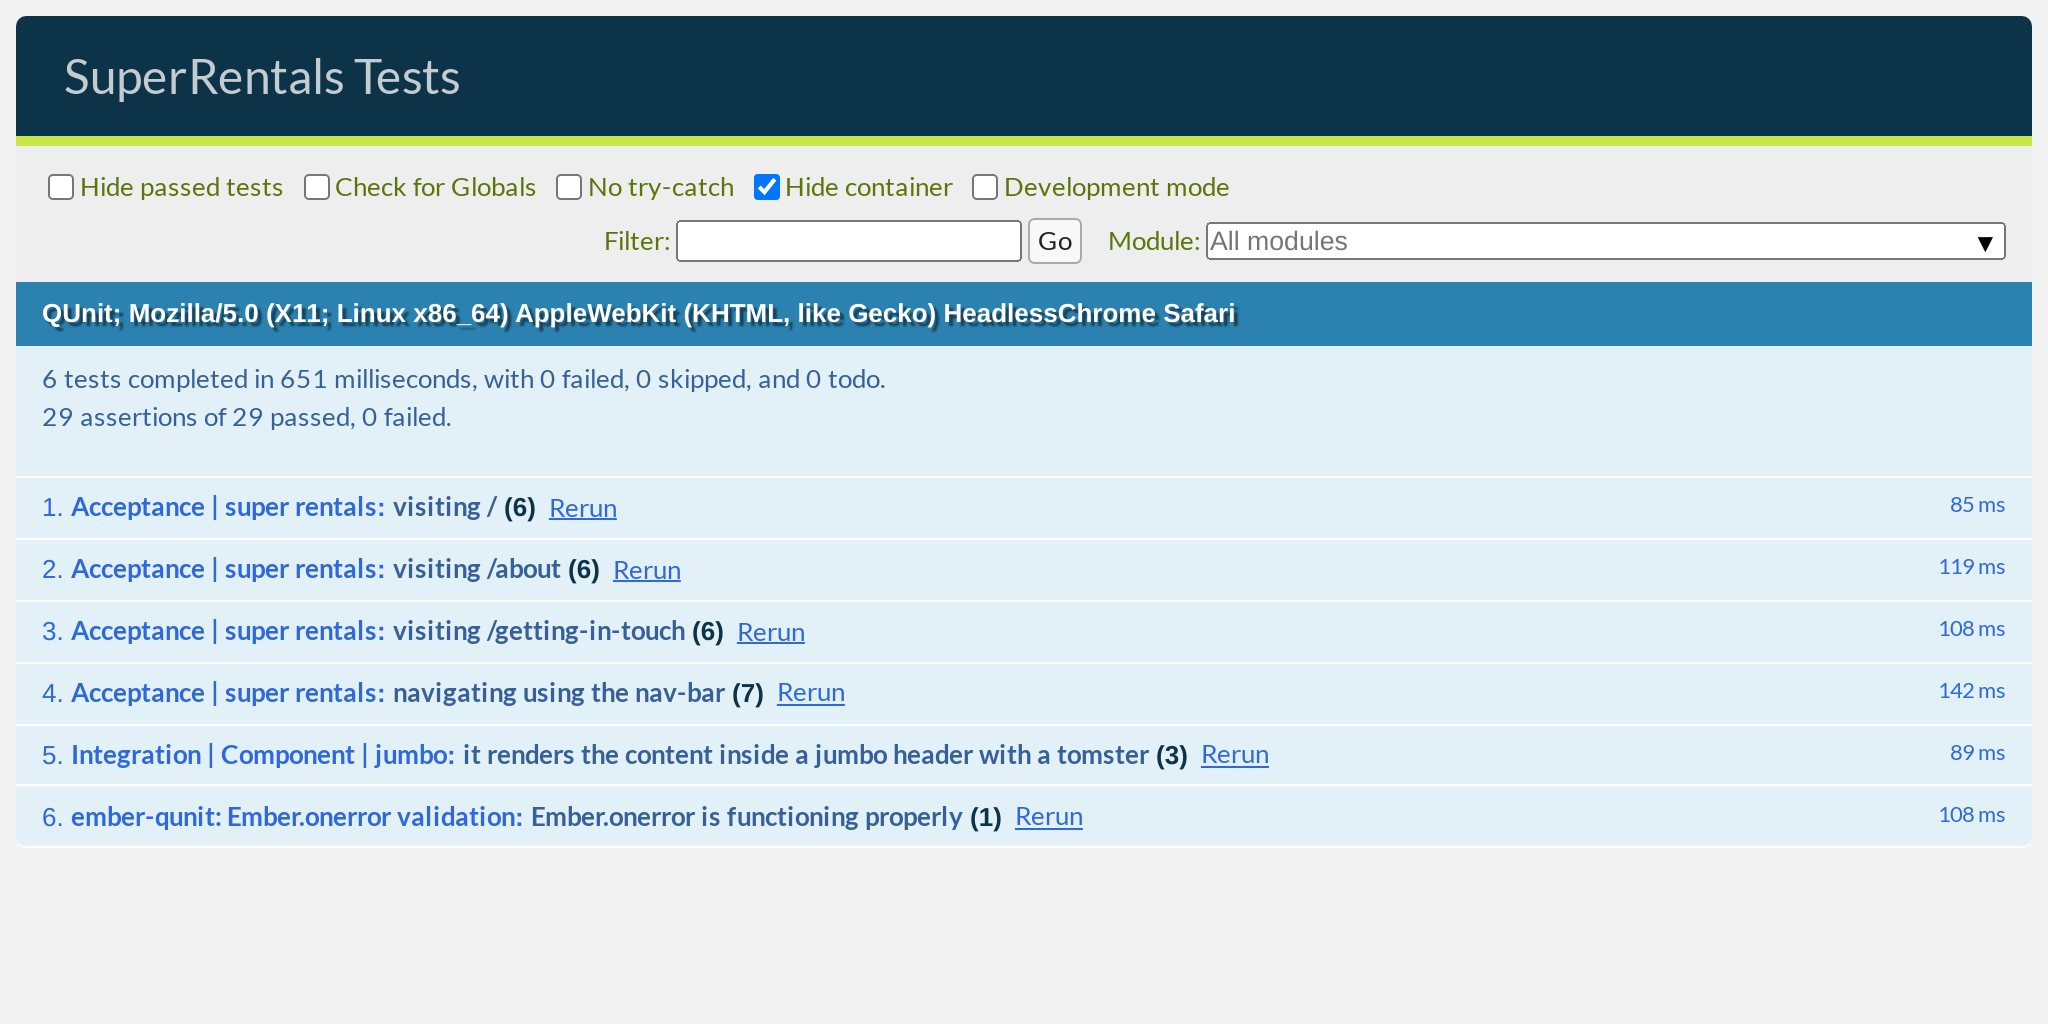
We updated the existing tests to assert that a <nav> element exists on each page. This is important for accessibility since screen readers will use that element to provide navigation. Then, we added a new test that verifies the behavior of the <NavBar> links.
All tests should pass at this point!
Using the Application Template and {{outlet}}s
Before we move on to the next feature, there is one more thing we could clean up. Since the <NavBar> is used for site-wide navigation, it really needs to be displayed on every page in the app. So far, we have been adding the component on each page manually. This is a bit error-prone, as we could easily forget to do this the next time that we add a new page.
We can solve this problem by moving the nav-bar into a special template called application.gjs. You may remember that it was generated for us when we first created the app but we deleted it. Now, it's time for us to bring it back!
This template is special in that it does not have its own URL and cannot be navigated to on its own. Rather, it is used to specify a common layout that is shared by every page in your app. This is a great place to put site-wide UI elements, like a nav-bar and a site footer.
While we are at it, we will also add a container element that wraps around the whole page, as requested by our designer for styling purposes.
import NavBar from 'super-rentals/components/nav-bar';

<template>
  <div class="container">
    <NavBar />
    <div class="body">
      {{outlet}}
    </div>
  </div>
</template>import { LinkTo } from '@ember/routing';
import Jumbo from 'super-rentals/components/jumbo';
import NavBar from 'super-rentals/components/nav-bar';
<template>
<NavBar />
<Jumbo>
<h2>Welcome to Super Rentals!</h2>
<p>We hope you find exactly what you're looking for in a place to stay.</p>
<LinkTo @route="about" class="button">About Us</LinkTo>
</Jumbo>
</template>import { LinkTo } from '@ember/routing';
import Jumbo from 'super-rentals/components/jumbo';
import NavBar from 'super-rentals/components/nav-bar';
<template>
<NavBar />
<Jumbo>
<h2>Contact Us</h2>
<p>
Super Rentals Representatives would love to help you<br>
choose a destination or answer any questions you may have.
</p>
<address>
Super Rentals HQ
<p>
1212 Test Address Avenue<br>
Testington, OR 97233
</p>
<a href="tel:503.555.1212">+1 (503) 555-1212</a><br>
<a href="mailto:superrentalsrep@emberjs.com">superrentalsrep@emberjs.com</a>
</address>
<LinkTo @route="about" class="button">About</LinkTo>
</Jumbo>
</template>import { LinkTo } from '@ember/routing';
import Jumbo from 'super-rentals/components/jumbo';
import NavBar from 'super-rentals/components/nav-bar';
<template>
<NavBar />
<Jumbo>
<h2>About Super Rentals</h2>
<p>
The Super Rentals website is a delightful project created to explore Ember.
By building a property rental site, we can simultaneously imagine traveling
AND building Ember applications.
</p>
<LinkTo @route="contact" class="button">Contact Us</LinkTo>
</Jumbo>
</template>The {{outlet}} keyword denotes the place where our site's pages should be rendered into, similar to the {{yield}} keyword we saw earlier.
This is much nicer! We can run our test suite, which confirms that everything still works after our refactor. We are ready to move on to the next feature!
