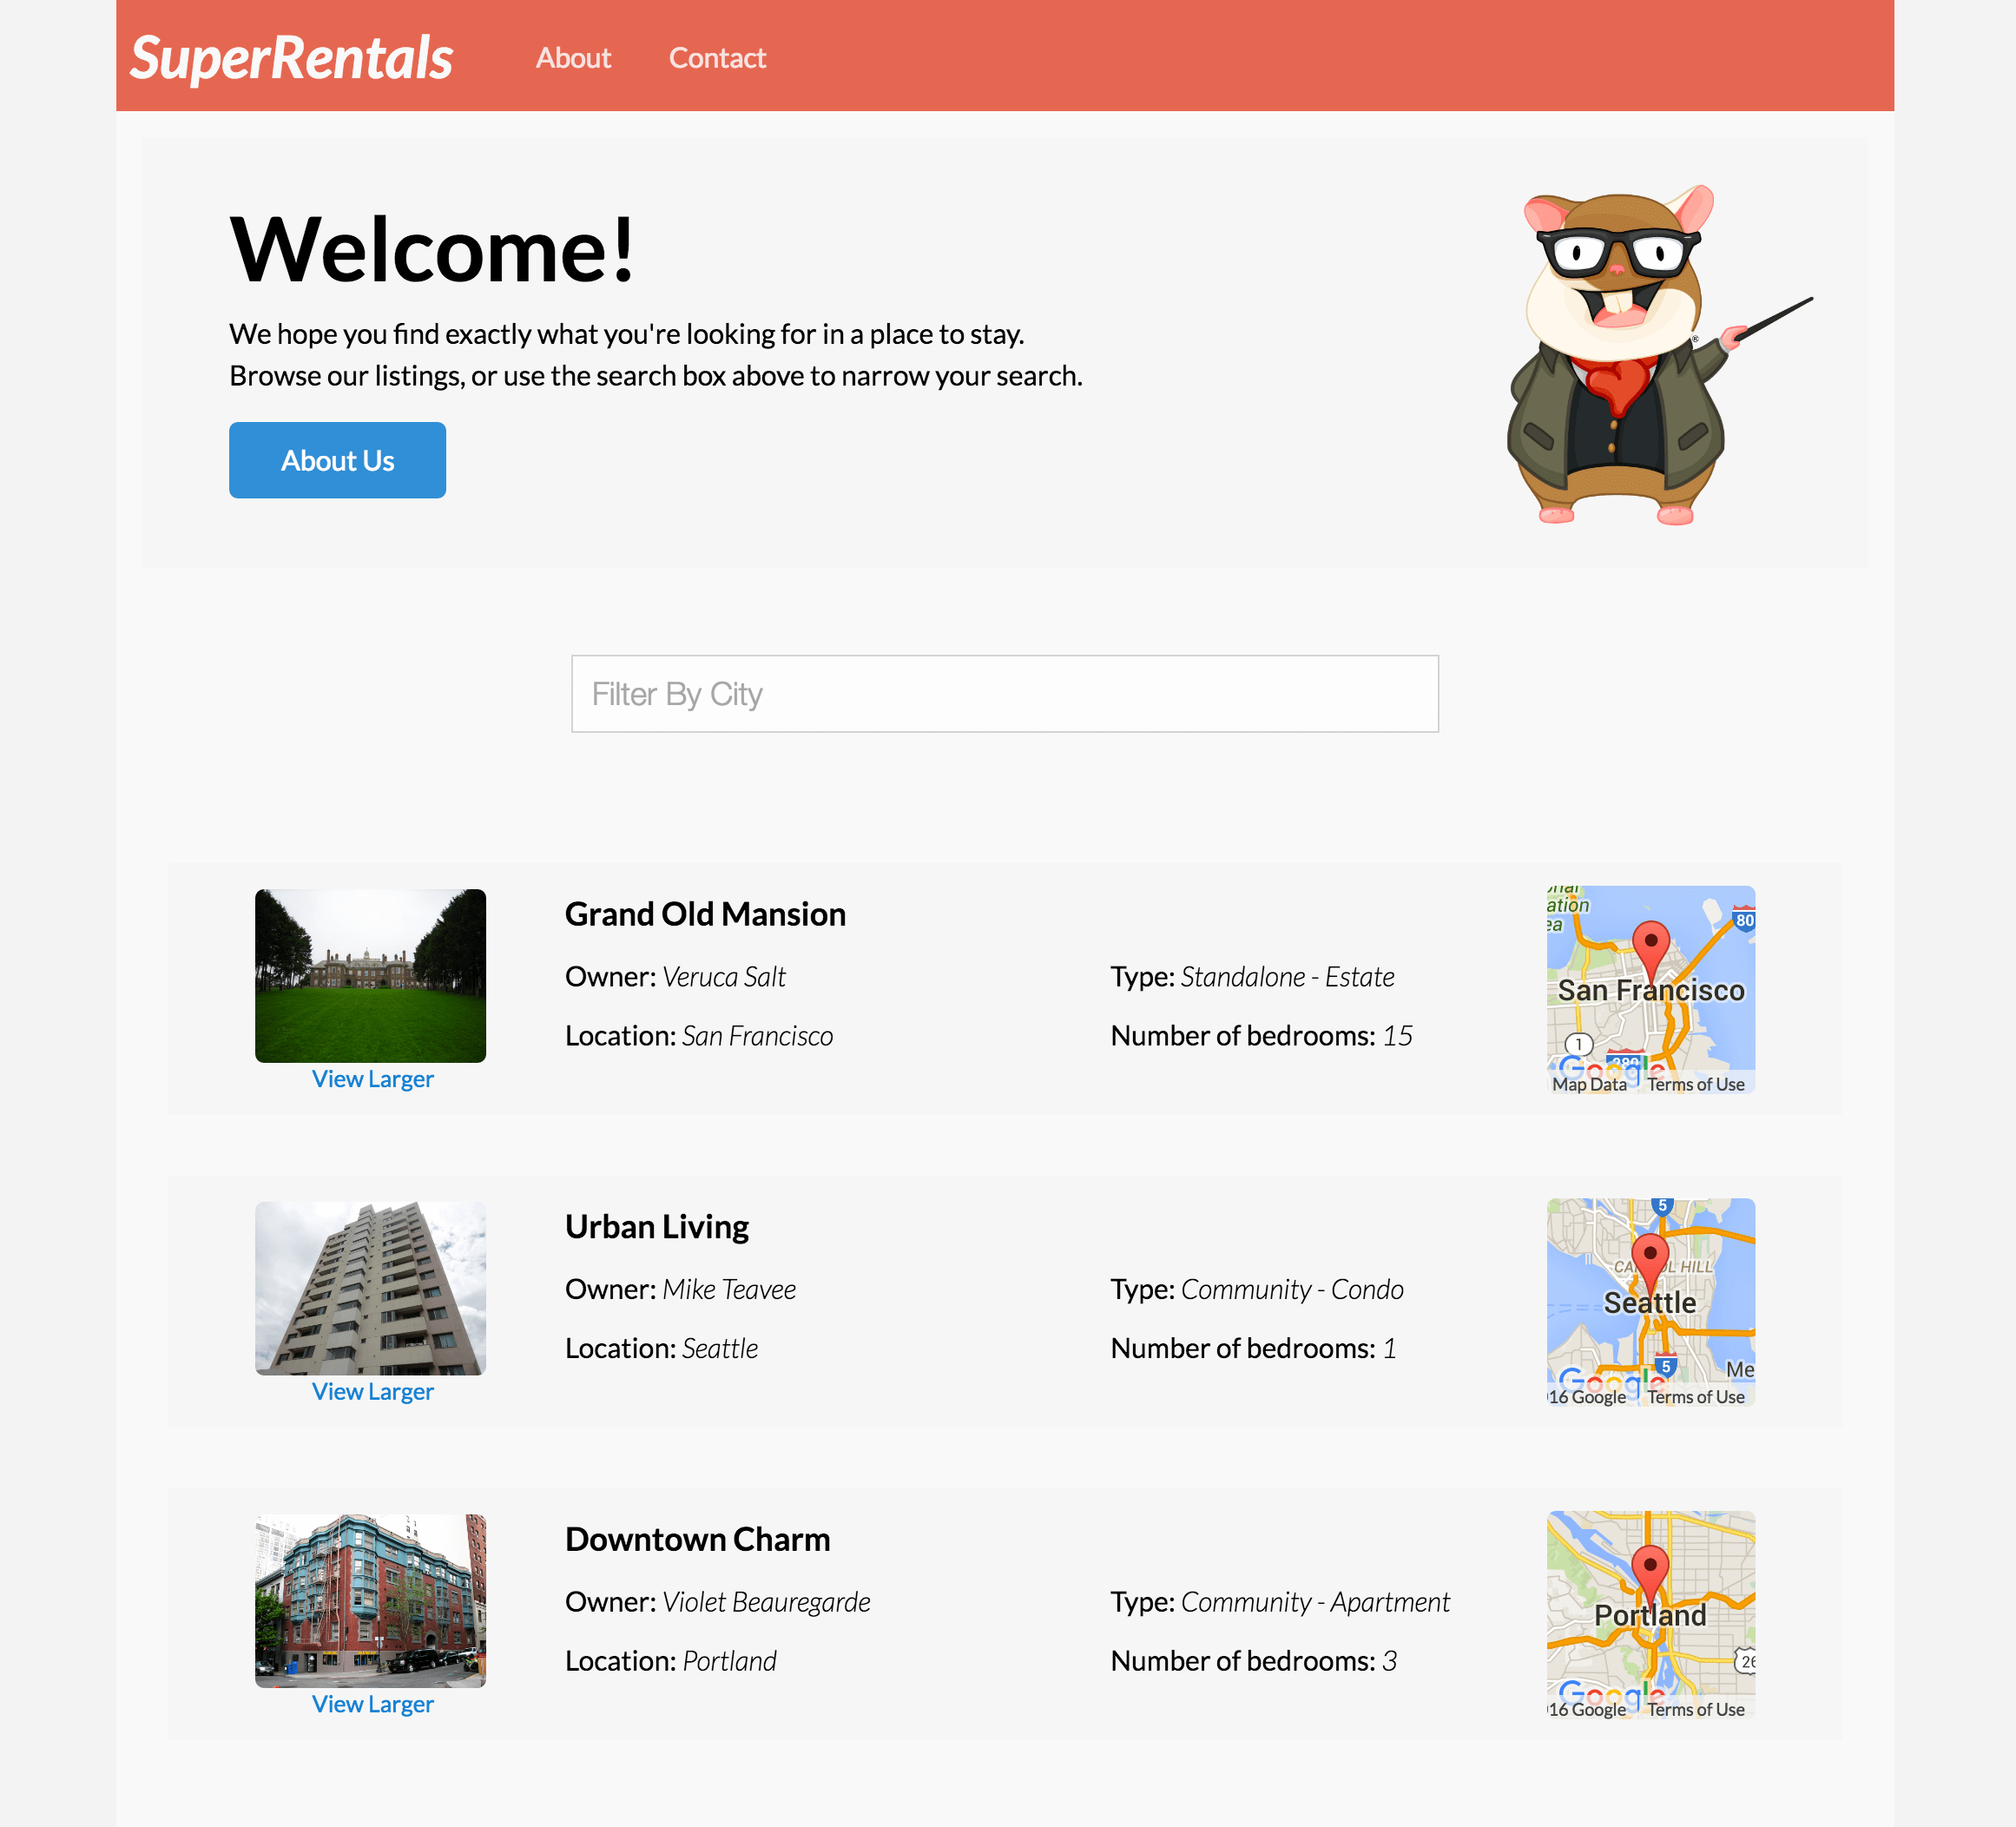
For Super Rentals, we want to be able to display a map showing where each rental is. To implement this feature, we will take advantage of several Ember concepts:
- A component to display a map on each rental listing.
- A service to keep a cache of rendered maps to use in different places in the application.
- A utility function to create a map from the Google Maps API.
We'll start by displaying the map and work our way back to using the Google Map API.
Display Maps With a Component
We'll start by adding a component that shows the rental's city on a map.
<article class="listing">
  <a {{action 'toggleImageSize'}} class="image {{if isWide "wide"}}">
    <img src="{{rental.image}}" alt="">
    <small>View Larger</small>
  </a>
  <h3>{{rental.title}}</h3>
  <div class="detail owner">
    <span>Owner:</span> {{rental.owner}}
  </div>
  <div class="detail type">
    <span>Type:</span> {{rental-property-type rental.type}} - {{rental.type}}
  </div>
  <div class="detail location">
    <span>Location:</span> {{rental.city}}
  </div>
  <div class="detail bedrooms">
    <span>Number of bedrooms:</span> {{rental.bedrooms}}
  </div>
  {{location-map location=rental.city}}
</article>
Next, generate the map component using Ember-CLI.
ember g component location-mapRunning this command generates three files: a component JavaScript file, a template, and a test file. To help think through what we want our component to do, we'll implement a test first.
In this case, we plan on having our Google Maps service handle map display. Our component's job will be to take the results from the map service (which is a map element) and append it to an element in the component template.
To limit the test to validating just this behavior, we'll take advantage of the registration API to provide a stub maps service.
A stub stands in place of the real object in your application and simulates its behavior.
In the stub service, define a method that will fetch the map based on location, called getMapElement.
import { moduleForComponent, test } from 'ember-qunit';
import hbs from 'htmlbars-inline-precompile';
import Ember from 'ember';

let StubMapsService = Ember.Service.extend({
  getMapElement(location) {
    this.set('calledWithLocation', location);
    // We create a div here to simulate our maps service,
    // which will create and then cache the map element
    return document.createElement('div');
  }
});

moduleForComponent('location-map', 'Integration | Component | location map', {
  integration: true,
  beforeEach() {
    this.register('service:maps', StubMapsService);
    this.inject.service('maps', { as: 'mapsService' });
  }
});

test('should append map element to container element', function(assert) {
  this.set('myLocation', 'New York');
  this.render(hbs`{{location-map location=myLocation}}`);
  assert.equal(this.$('.map-container').children().length, 1, 'the map element should be put onscreen');
  assert.equal(this.get('mapsService.calledWithLocation'), 'New York', 'a map of New York should be requested');
});
In the beforeEach function that runs before each test, we use the implicit function this.register to register our stub service in place of the maps service.
Registration makes an object available to your Ember application for things like loading components from templates and injecting services in this case.
The call to the function this.inject.service injects the service we just registered into the context of the tests, so each test may access it through this.get('mapsService').
In the example we assert that calledWithLocation in our stub is set to the location we passed to the component.
To get the test to pass, add the container element to the component template.
<div class="map-container"></div>Then update the component to append the map output to its inner container element.
We'll add a maps service injection, and call the getMapElement function with the provided location.
We then append the map element we get back from the service by implementing didInsertElement,
which is a component lifecycle hook.
This function gets executed at render time after the component's markup gets inserted into the DOM.
import Ember from 'ember';

export default Ember.Component.extend({
  maps: Ember.inject.service(),

  didInsertElement() {
    this._super(...arguments);
    let location = this.get('location');
    let mapElement = this.get('maps').getMapElement(location)
    this.$('.map-container').append(mapElement);
  }
});
Fetching Maps With a Service
Now we have a passing component integration test, but no maps showing up when we view our web page. To generate the maps, we'll implement the maps service.
Accessing our maps API through a service will give us several benefits
- It is injected with a service locator pattern, meaning it will abstract the maps API from the code that uses it, allowing for easier refactoring and maintenance
- It is lazy-loaded, meaning it won't be initialized until it is called the first time. In some cases this can reduce your app's processor load and memory consumption.
- It is a singleton, which will allow us cache map data.
- It follows a lifecycle, meaning we have hooks to execute cleanup code when the service stops, preventing things like memory leaks and unnecessary processing.
Let's get started creating our service by generating it through Ember-CLI, which will create the service file, as well as a unit test for it.
ember g service mapsThe service will keep a cache of map elements based on location. If the map element exists in the cache, the service will return it, otherwise it will create a new one and add it to the cache.
To test our service, we'll want to assert that locations that have been previously loaded are fetched from cache, while new locations are created using the utility.
import { moduleFor, test } from 'ember-qunit';
import Ember from 'ember';

const DUMMY_ELEMENT = {};

let MapUtilStub = Ember.Object.extend({
  createMap(element, location) {
    this.assert.ok(element, 'createMap called with element');
    this.assert.ok(location, 'createMap called with location');
    return DUMMY_ELEMENT;
  }
});

moduleFor('service:maps', 'Unit | Service | maps', {
  needs: ['util:google-maps']
});

test('should create a new map if one isnt cached for location', function (assert) {
  assert.expect(4);
  let stubMapUtil = MapUtilStub.create({ assert });
  let mapService = this.subject({ mapUtil: stubMapUtil });
  let element = mapService.getMapElement('San Francisco');
  assert.ok(element, 'element exists');
  assert.equal(element.className, 'map', 'element has class name of map');
});

test('should use existing map if one is cached for location', function (assert) {
  assert.expect(1);
  let stubCachedMaps = Ember.Object.create({
    sanFrancisco: DUMMY_ELEMENT
  });
  let mapService = this.subject({ cachedMaps: stubCachedMaps });
  let element = mapService.getMapElement('San Francisco');
  assert.equal(element, DUMMY_ELEMENT, 'element fetched from cache');
});
Note that the test uses a dummy object as the returned map element. This can be any object because it is only used to assert that the cache has been accessed.
Also note that the location has been camelized in the cache object, so that it may be used as a key.
Now implement the service as follows. Note that we check if a map already exists for the given location and use that one, otherwise we call a Google Maps utility to create one. We abstract our interaction with the maps API behind an Ember utility so that we can test our service without making network requests to Google.
import Ember from 'ember';
import MapUtil from '../utils/google-maps';

export default Ember.Service.extend({

  init() {
    if (!this.get('cachedMaps')) {
      this.set('cachedMaps', Ember.Object.create());
    }
    if (!this.get('mapUtil')) {
      this.set('mapUtil', MapUtil.create());
    }
  },

  getMapElement(location) {
    let camelizedLocation = location.camelize();
    let element = this.get(`cachedMaps.${camelizedLocation}`);
    if (!element) {
      element = this.createMapElement();
      this.get('mapUtil').createMap(element, location);
      this.set(`cachedMaps.${camelizedLocation}`, element);
    }
    return element;
  },

  createMapElement() {
    let element = document.createElement('div');
    element.className = 'map';
    return element;
  }

});
Making Google Maps Available
Before implementing the map utility, we need to make the 3rd party map API available to our Ember app. There are several ways to include 3rd party libraries in Ember. See the guides section on managing dependencies as a starting point when you need to add one.
Since Google provides its map API as a remote script, we'll use curl to download it into our project's vendor directory.
From your project's root directory, run the following command to put the Google maps script in your projects vendor folder as gmaps.js.
Curl is a UNIX command, so if you are on windows you should take advantage of Windows bash support, or use an alternate method to download the script into the vendor directory.
curl -o vendor/gmaps.js https://maps.googleapis.com/maps/api/js?v=3.22Once in the vendor directory, the script can be built into the app. We just need to tell Ember-CLI to import it using our build file:
/*jshint node:true*/
/* global require, module */
var EmberApp = require('ember-cli/lib/broccoli/ember-app');

module.exports = function(defaults) {
  var app = new EmberApp(defaults, {
    // Add options here
  });

  // Use `app.import` to add additional libraries to the generated
  // output files.
  //
  // If you need to use different assets in different
  // environments, specify an object as the first parameter. That
  // object's keys should be the environment name and the values
  // should be the asset to use in that environment.
  //
  // If the library that you are including contains AMD or ES6
  // modules that you would like to import into your application
  // please specify an object with the list of modules as keys
  // along with the exports of each module as its value.
  app.import('vendor/gmaps.js');

  return app.toTree();
};
Accessing the Google Maps API
Now that we have the maps API available to the application, we can create our map utility. Utility files can be generated using Ember CLI.
ember g util google-mapsThe CLI generate util command will create a utility file and a unit test.
We'll delete the unit test since we don't want to test Google code.
Our app needs a single function, createMapElement, which makes use of google.maps.Map to create our map element, google.maps.Geocoder to lookup the coordinates of our location, and google.maps.Marker to pin our map based on the resolved location.
import Ember from 'ember';

const google = window.google;

export default Ember.Object.extend({

  init() {
    this.set('geocoder', new google.maps.Geocoder());
  },

  createMap(element, location) {
    let map = new google.maps.Map(element, { scrollwheel: false, zoom: 10 });
    this.pinLocation(location, map);
    return map;
  },

  pinLocation(location, map) {
    this.get('geocoder').geocode({address: location}, (result, status) => {
      if (status === google.maps.GeocoderStatus.OK) {
        let location = result[0].geometry.location;
        let position = { lat: location.lat(), lng: location.lng() };
        map.setCenter(position);
        new google.maps.Marker({ position, map, title: location });
      }
    });
  }

});
We should now see some end to end maps functionality show up on our front page!

Stubbing Services in Acceptance Tests
Finally, we want to update our acceptance tests to account for our new service. While it would be great to verify that a map is displaying, we don't want to hammer the Google Maps API every time we run our acceptance test. For this tutorial we'll rely on our component integration tests to ensure that the map DOM is being attached to our screen. To avoid hitting our Maps request limit, we'll stub out our Maps service in our acceptance tests.
Often, services connect to third party APIs that are not desirable to include in automated tests. To stub these services we simply have to register a stub service that implements the same API, but does not have the dependencies that are problematic for the test suite.
Add the following code after the imports to our acceptance test:
let StubMapsService = Ember.Service.extend({
  getMapElement() {
    return document.createElement('div');
  }
});

moduleForAcceptance('Acceptance | list rentals', {
  beforeEach() {
    this.application.register('service:stubMaps', StubMapsService);
    this.application.inject('component:location-map', 'maps', 'service:stubMaps');
  }
});
What's happening here is we are adding our own stub maps service that simply creates an empty div.
Then we are putting it in Ember's registry, and injecting it into the location-map component that uses it.
That way every time that component is created, our stub map service gets injected over the Google maps service.
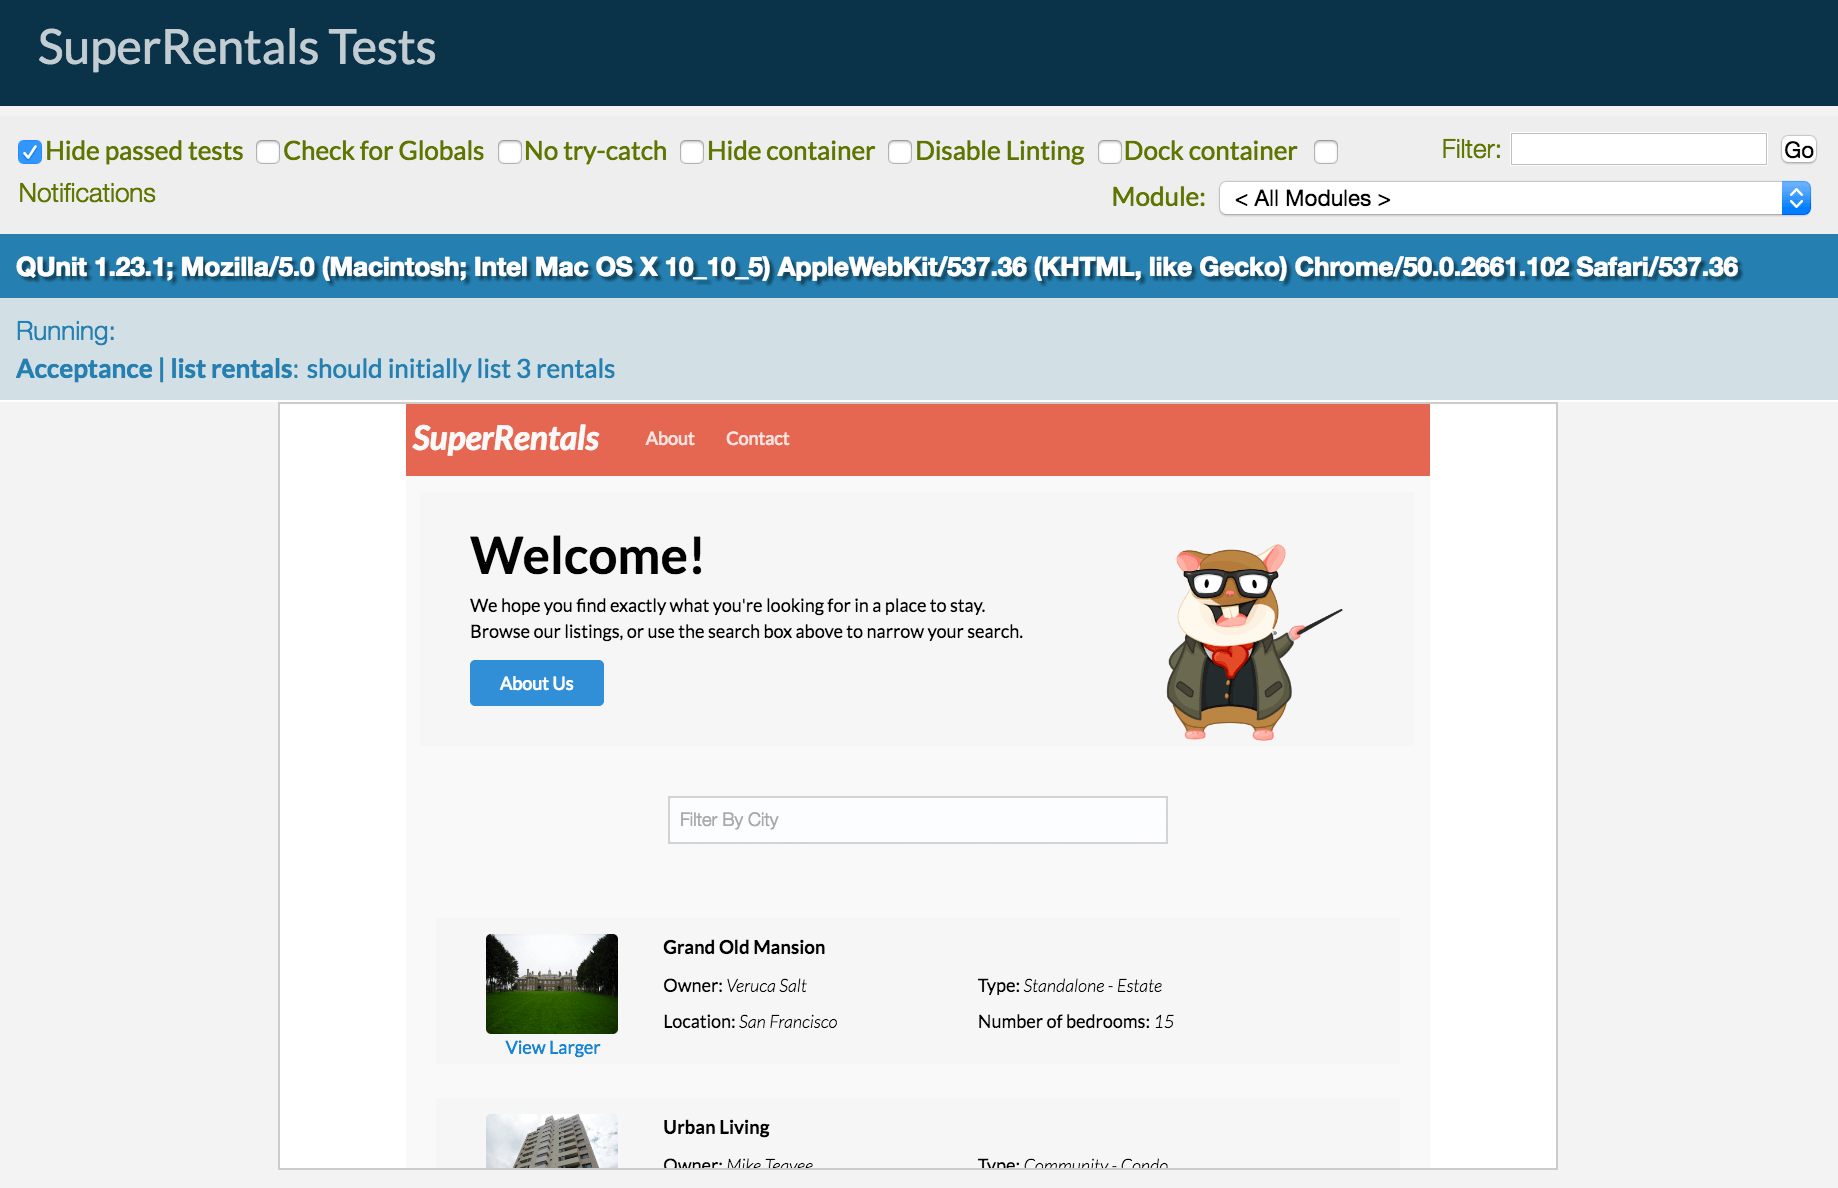
Now when we run our acceptance tests, you'll notice that maps do not get rendered as the test runs.
