As a user looks through our list of rentals, they may want to have some interactive options to help them make a decision. Let's add the ability to toggle the size of the image for each rental. To do this, we'll use a component.
Let's generate a rental-listing component that will manage the behavior for each of our rentals.
A dash is required in every component name to avoid conflicting with a possible HTML element,
so rental-listing is acceptable but rental would not be.
ember g component rental-listingEmber CLI will then generate a handful of files for our component:
installing component
  create app/components/rental-listing.js
  create app/templates/components/rental-listing.hbs
installing component-test
  create tests/integration/components/rental-listing-test.js
We'll start by implementing a failing test with the image toggling behavior that we want.
For our integration test, we'll create a stub rental that has all the properties that our rental model has.
We will assert that the component is initially rendered without the wide class name. Clicking the image will add the class wide to our element, and clicking it a second time will take the wide class away.
Note that we find the image element using the the CSS selector .image.
import { moduleForComponent, test } from 'ember-qunit';
import hbs from 'htmlbars-inline-precompile';
import Ember from 'ember';

moduleForComponent('rental-listing', 'Integration | Component | rental listing', {
  integration: true
});

test('should toggle wide class on click', function(assert) {
  assert.expect(3);
  let stubRental = Ember.Object.create({
    image: 'fake.png',
    title: 'test-title',
    owner: 'test-owner',
    type: 'test-type',
    city: 'test-city',
    bedrooms: 3
  });
  this.set('rentalObj', stubRental);
  this.render(hbs`{{rental-listing rental=rentalObj}}`);
  assert.equal(this.$('.image.wide').length, 0, 'initially rendered small');
  this.$('.image').click();
  assert.equal(this.$('.image.wide').length, 1, 'rendered wide after click');
  this.$('.image').click();
  assert.equal(this.$('.image.wide').length, 0, 'rendered small after second click');
});
A component consists of two parts:
- A template that defines how it will look (
app/templates/components/rental-listing.hbs) - A JavaScript source file (
app/components/rental-listing.js) that defines how it will behave.
Our new rental-listing component will manage how a user sees and interacts with a rental.
To start, let's move the rental display details for a single rental from the index.hbs template into rental-listing.hbs and add the image field:
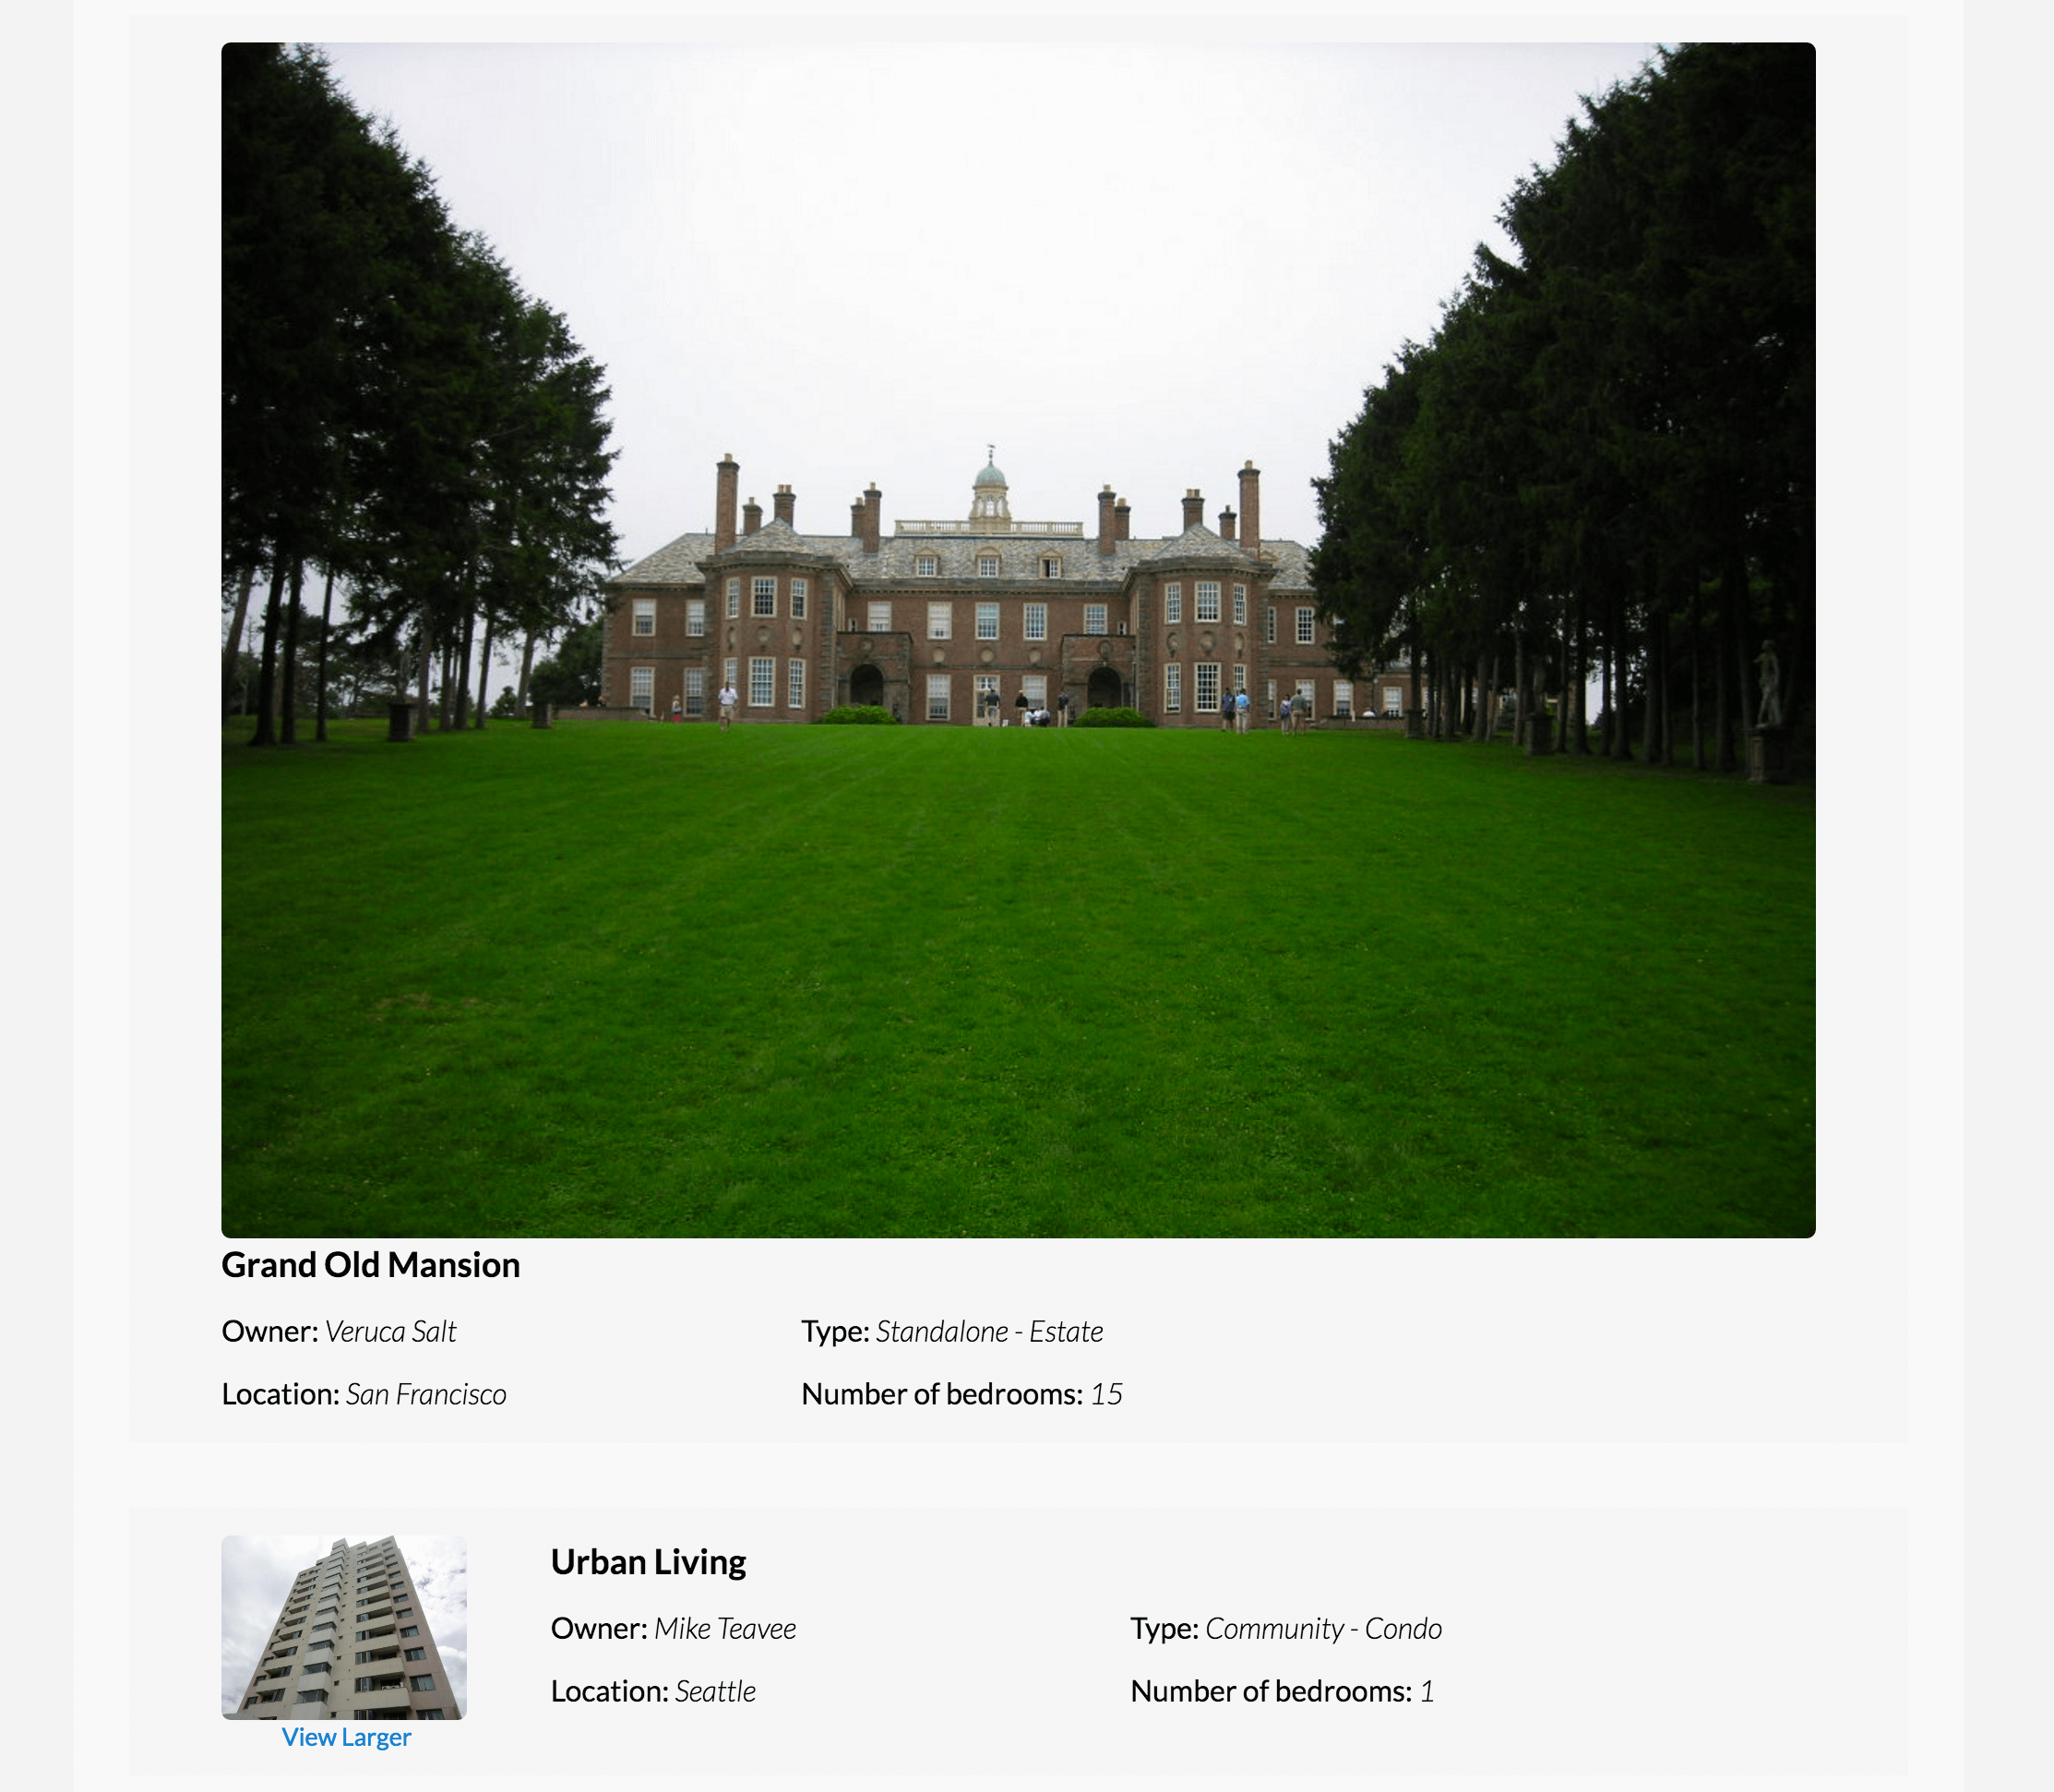
<article class="listing">
  <img src={{rental.image}} class="image" alt="">
  <h3>{{rental.title}}</h3>
  <div class="detail owner">
    <span>Owner:</span> {{rental.owner}}
  </div>
  <div class="detail type">
    <span>Type:</span> {{rental.type}}
  </div>
  <div class="detail location">
    <span>Location:</span> {{rental.city}}
  </div>
  <div class="detail bedrooms">
    <span>Number of bedrooms:</span> {{rental.bedrooms}}
  </div>
</article>
In our index.hbs template, let's replace the old HTML markup within our {{#each}} loop
with our new rental-listing component:
<div class="jumbo">
  <div class="right tomster"></div>
  <h2>Welcome!</h2>
  <p>
    We hope you find exactly what you're looking for in a place to stay.
    <br>Browse our listings, or use the search box above to narrow your search.
  </p>
  {{#link-to 'about' class="button"}}
    About Us
  {{/link-to}}
</div>

{{#each model as |rental|}}
  {{rental-listing rental=rental}}
  <article class="listing">
    <h3>{{rental.title}}</h3>
    <div class="detail owner">
      <span>Owner:</span> {{rental.owner}}
    </div>
    <div class="detail type">
      <span>Type:</span> {{rental.type}}
    </div>
    <div class="detail location">
      <span>Location:</span> {{rental.city}}
    </div>
    <div class="detail bedrooms">
      <span>Number of bedrooms:</span> {{rental.bedrooms}}
    </div>
  </article>
{{/each}}
Here we invoke the rental-listing component by name, and assign each rentalUnit as the rental attribute of the component.
Hiding and Showing an Image
Now we can add functionality that will show the image of a rental when requested by the user.
Let's use the {{#if}} helper to show our current rental image larger only when isWide is set to true, by setting the element class name to wide. We'll also add some text to indicate that the image can be clicked on, and wrap both with an anchor element, giving it the image class name so that our test can find it.
<article class="listing">
  <a class="image {{if isWide "wide"}}">
    <img src={{rental.image}} alt="">
    <small>View Larger</small>
  </a>
  <h3>{{rental.title}}</h3>
  <div class="detail owner">
    <span>Owner:</span> {{rental.owner}}
  </div>
  <div class="detail type">
    <span>Type:</span> {{rental.type}}
  </div>
  <div class="detail location">
    <span>Location:</span> {{rental.city}}
  </div>
  <div class="detail bedrooms">
    <span>Number of bedrooms:</span> {{rental.bedrooms}}
  </div>
</article>
The value of isWide comes from our component's JavaScript file, in this case rental-listing.js.
Since we do not want the image to be smaller at first, we will set the property to start as false:
import Ember from 'ember';

export default Ember.Component.extend({
  isWide: false
});
To allow the user to widen the image, we will need to add an action that toggles the value of isWide.
Let's call this action toggleImageSize
<article class="listing">
  <a {{action 'toggleImageSize'}} class="image {{if isWide "wide"}}">
    <img src={{rental.image}} alt="">
    <small>View Larger</small>
  </a>
  <h3>{{rental.title}}</h3>
  <div class="detail owner">
    <span>Owner:</span> {{rental.owner}}
  </div>
  <div class="detail type">
    <span>Type:</span> {{rental-property-type rental.type}} - {{rental.type}}
  </div>
  <div class="detail location">
    <span>Location:</span> {{rental.city}}
  </div>
  <div class="detail bedrooms">
    <span>Number of bedrooms:</span> {{rental.bedrooms}}
  </div>
</article>
Clicking the anchor element will send the action to the component.
Ember will then go into the actions hash and call the toggleImageSize function.
Let's create the toggleImageSize function and toggle the isWide property on our component:
import Ember from 'ember';

export default Ember.Component.extend({
  isWide: false,
  actions: {
    toggleImageSize() {
      this.toggleProperty('isWide');
    }
  }
});
Now when we click the image or the View Larger link in our browser, we see our image show larger,
or when we click the enlarged image we again see it smaller.